By Forbes
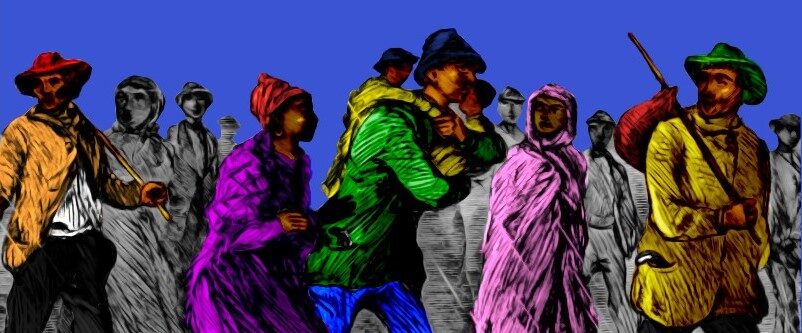
At the House Divided Project , we are starting to colorize the dozens of richly engraved illustrations by John Osler and other artists which first appeared in William Still’s Underground Road (1872). Most of these scenes depict dramatic Underground Railroad escapes documented in the antebellum records of the Philadelphia Vigilance Committee. Over the years, we’ve experimented with several other colorizing projects, including most notably for the Dickinson & Slavery initiative. This current effort with Still’s famous illustrations is designed to support our work with the National Park Service Network to Freedom.
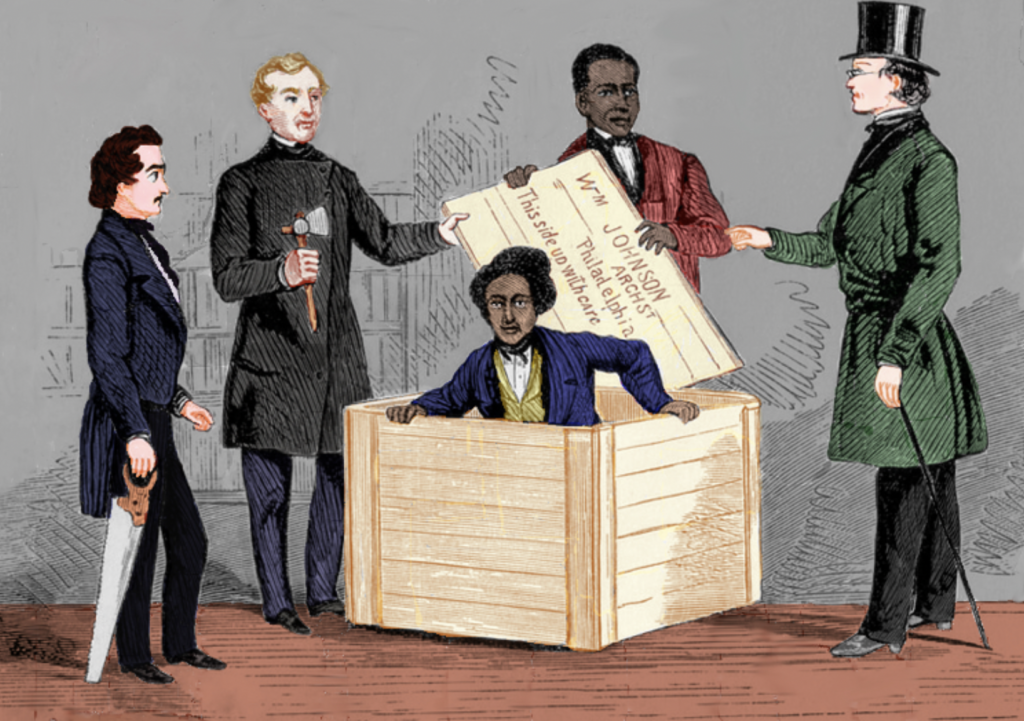
Henry “Box” Brown (1849), colorized by Forbes (House Divided Project)
When in the process of colorizing, sometimes you will encounter historic illustrations which were not created to look fully realistic and which require a different approach to colorizing than with historic photographs. One way to colorize such images is to use brighter colors and less subtle tint differences; more like a cartoon or graphic novel than an attempt at realism. This post contains directions concerning how best to complete this process.

Cambridge MD (1857), colorized by Gabe Pinsker (House Divided Project)
How to Colorize Using the Editing Software ‘GIMP’
- Open GIMP on your computer, then click the word “File” in that window’s upper left corner. Select “Open”, and then select the file you wish to colorize.
- In the same line of options from which you selected “File”, look for “Layer”. Click on that word, and then select “New Layer…” from the drop-down menu.
- When you click “New Layer…”, a window should open, and the lowest option on the window should be labeled “Fill with”. Select “Transparency”. Make sure that the “Opacity” option is at 100, and then click “OK”.
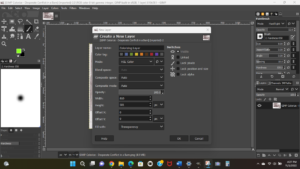
- Select the Paintbrush tool out of the grid of possible tools in the upper left corner of the screen. A small window should pop up, titled “Tool Options”. (If this window does not show up, see step 4a.) In that window, there will be a section titled “Mode” which should be clickable. Open its drop-down menu, scroll to “Hard light”, and select that option.
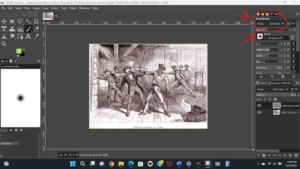 (4a. To access “Tool Options” (if it does not pop up automatically when you begin to use the Paintbrush), click on “Windows” in the menu bar at the top of the page. Hover your mouse over “Dockable Dialogues”, and you should see “Tool Options” at the top of the drop-down menu that appears. Click “Tool Options”. A window in which you can adjust opacity levels, brush size, and other metrics as you please should open.)
 - Now you can begin colorization! Below the paintbrush icon in the corner of the screen, there will be two squares: one black and one white. Click on the square to the left and on top of the other. This allows you to select a specific color using various scales, and then use that color on your illustration.
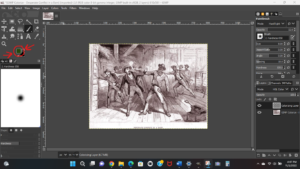
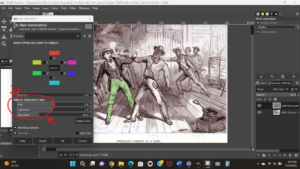
- After you pick a color, click and drag on top of the illustration, and color should appear and follow underneath your mouse. It should not remove the picture’s details from view; it will just color over them. If the brushstrokes are too opaque or unable to be seen, that can be fixed in the “Tool Options” window.
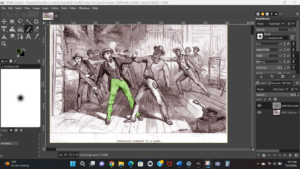
- If a color you have chosen does not show up optimally, it is possible to edit. In the same line of options as “File” and “Layer” is a “Color” option. Click on that to open a drop-down menu, and then select “Hue Saturation”. Once you click that option, a window with several scales inside of it should show up. “Hue”, “Lightness”, and “Saturation” can be changed to modify the color of your selection.
