
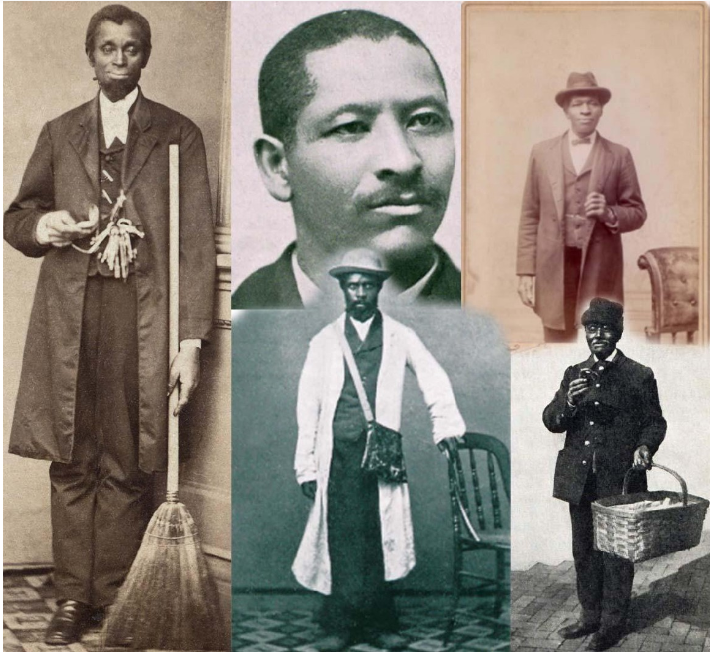
Images add detail and visual interest to any multimedia project, but layering multiple images in a collage can create a story all on its own. Even better, it’s very easy to do on any photo editing software, or even Microsoft Word.
How to Layer in Photoshop
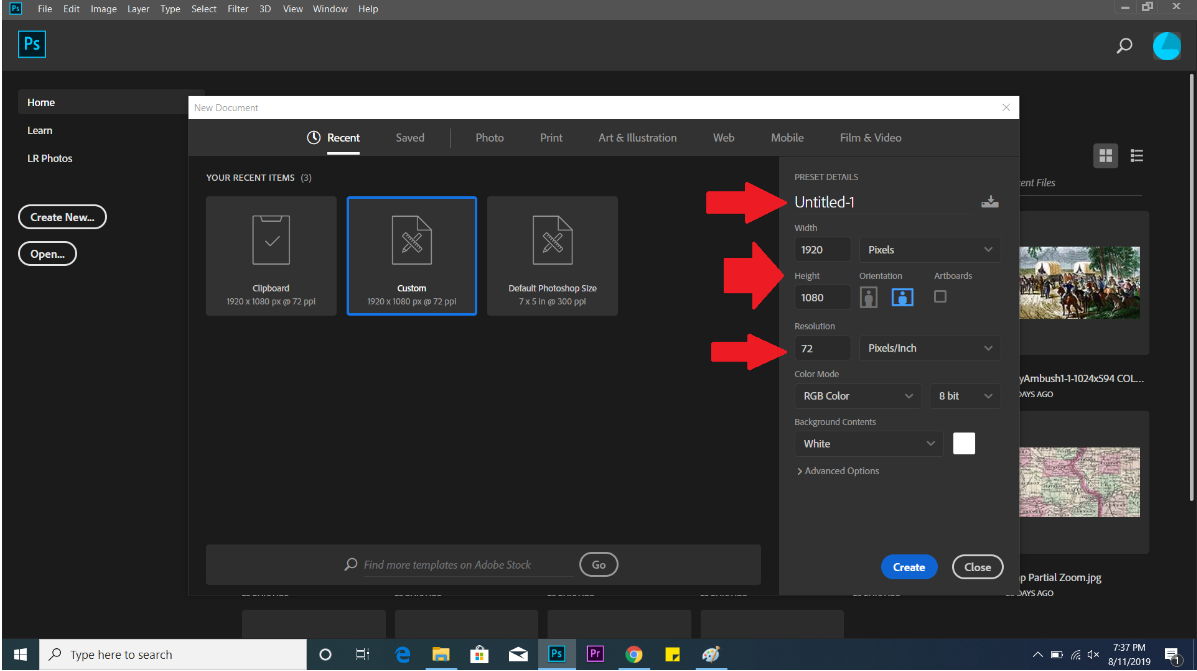
1. Once you open Photoshop, select Create New… to start a new project. A window will appear in which you can name your new project and set the size and resolution of your collage. Set the size to your desire, likely based on the size and number of images you wish to include in the collage, and set the resolution to 720 ppi. When you are ready, click
Create.
 2. Next, you need to add the images you selected for your collage. To do so, it is easiest to
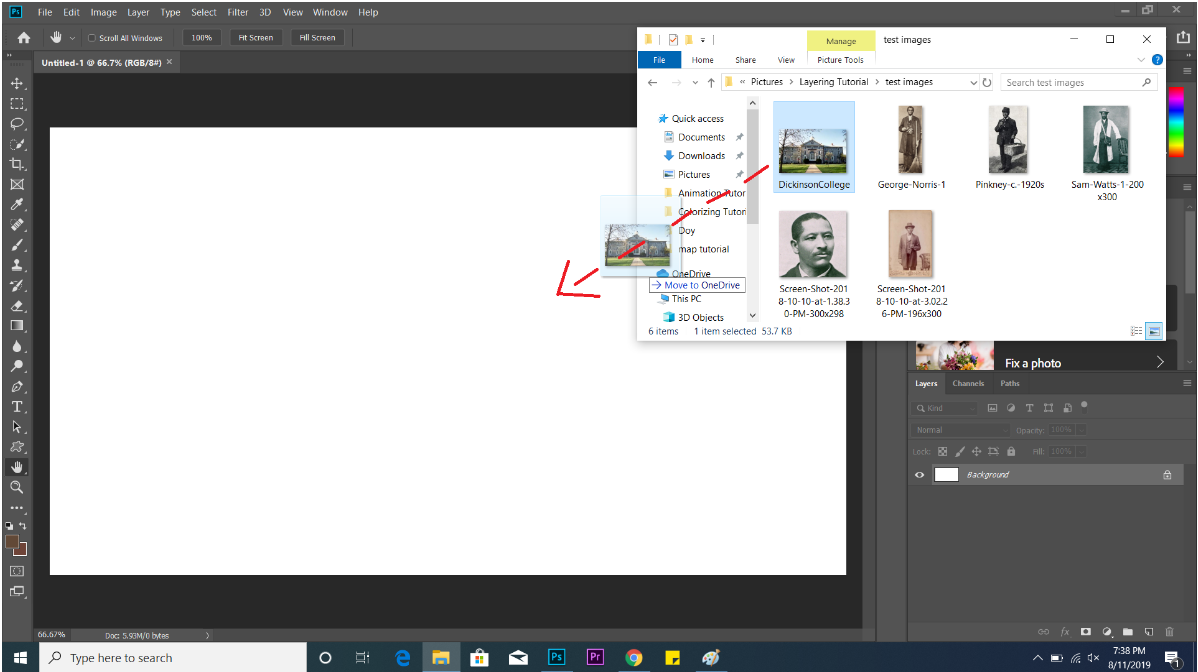
directly drag and drop the images into the new Photoshop project. Once your images are
downloaded to your computer, open your computer’s File Explorer, minimize the screen,
and click and drag each image into the Photoshop window. Adding the images this way
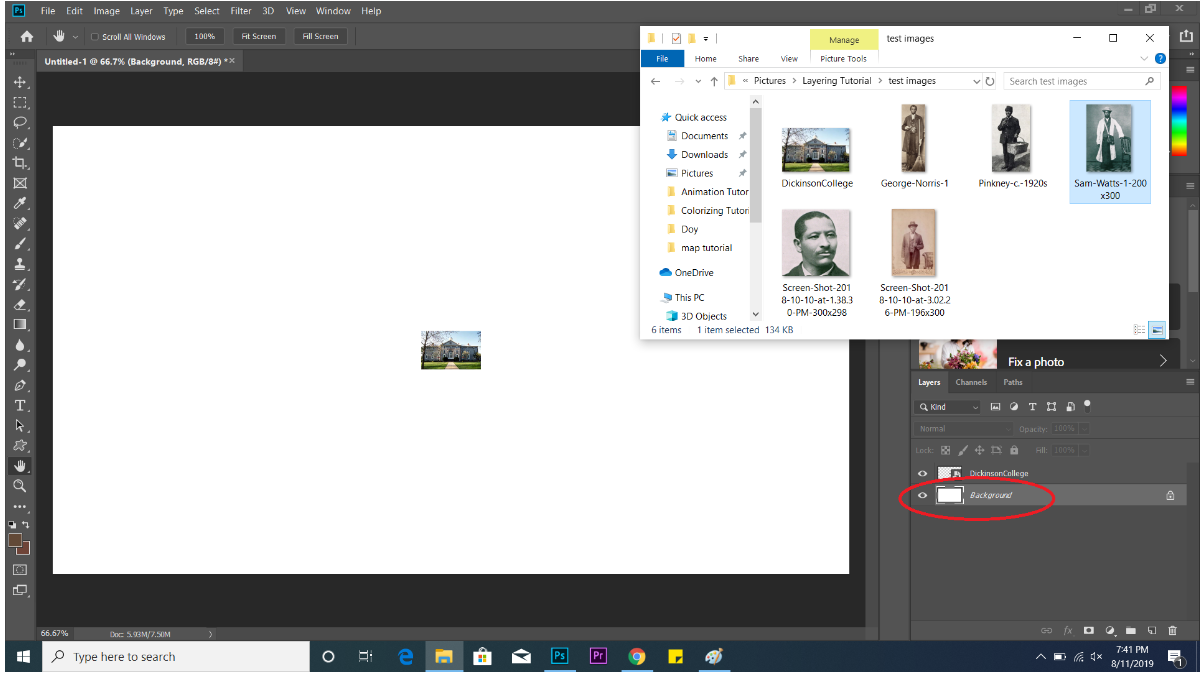
sets them as Smart Objects, which allows them to be resized and edited later on. You will
also notice that each new photo added creates a new layer in the bottom right-hand corner of your screen. Make sure that the Background layer is selected before you click
and drag a new image, otherwise Photoshop will not accept it.
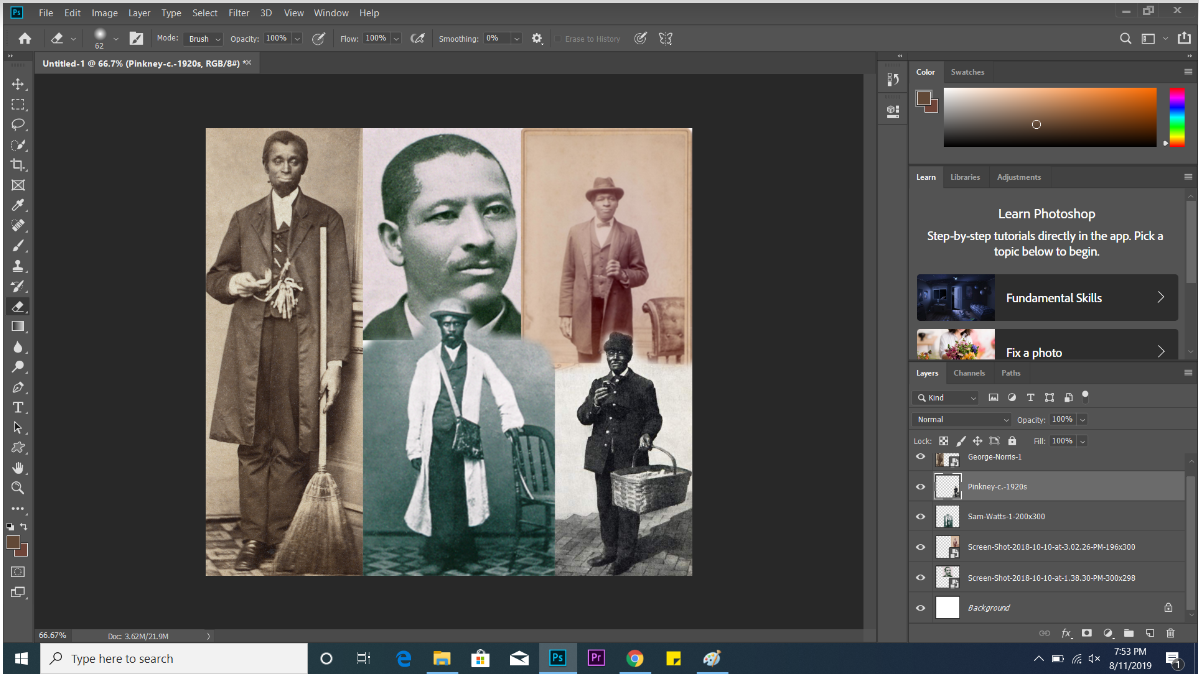
 3. Once all your images are added, you will want to edit and move them to create your
collage. To change which images are “on top” (covering others it overlaps with) and
which are “on the bottom” (covered up by other overlapping images) click and drag the
layers on the lower right-hand corner of the screen.
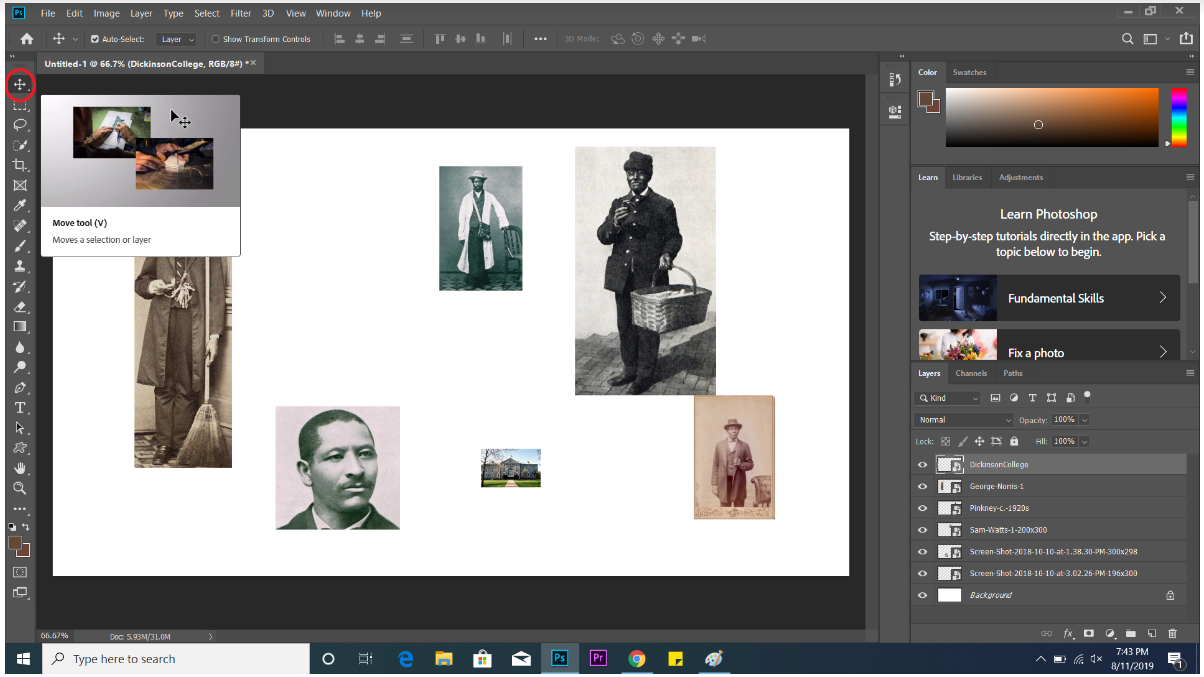
4. To move an image, make sure that the Move tool is selected from the left side of the
screen, and then either click on the image directly or its corresponding layer to select a
single image. Once the image is selected, you can click and drag to move it around on
your screen.
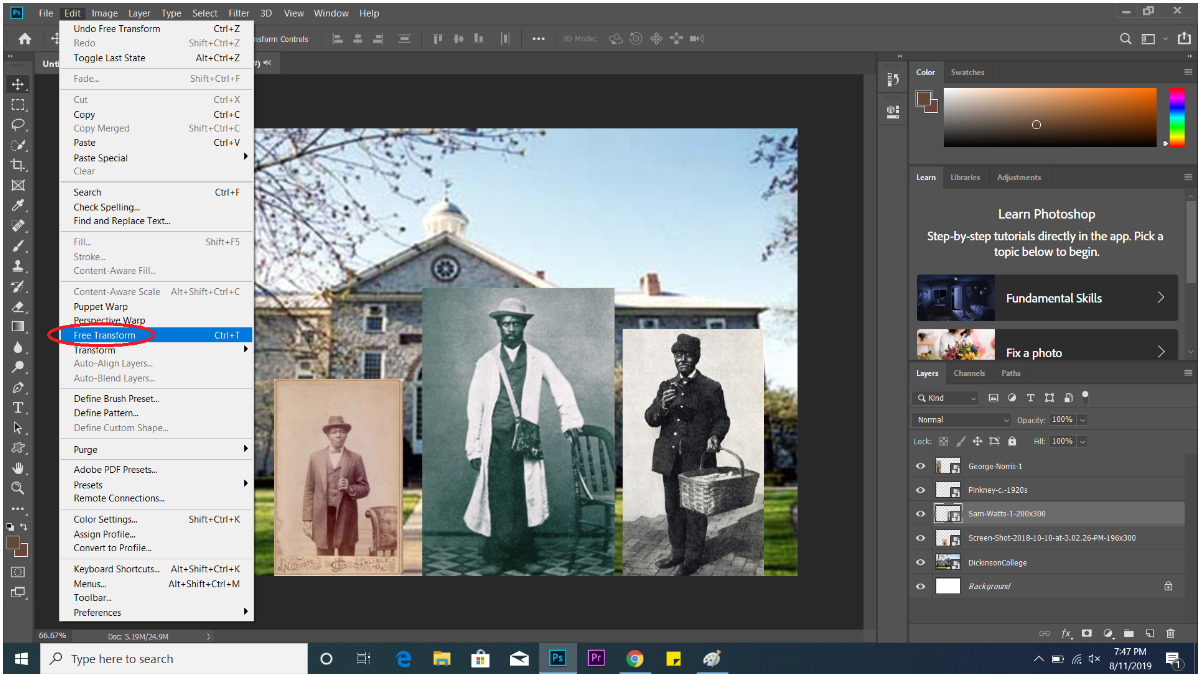
5. To change the size or rotation of the images you have added, select the image and then
click Edit-Free Transform (keyboard shortcut: Ctrl + T) in the menu on the top of your screen. Free transform allows you to resize, move, and rotate your image by clicking and dragging the boxes in each four corners. Use the Move tool and Free Transform to set up the collage the way you
want it.
6. If you change your mind about the images you added, you can add more in the same way
you added them originally, or you can delete them by selecting their corresponding layer
and clicking delete on your keyboard.
7. There are some additional tools in Photoshop that allow you to further improve your
college:
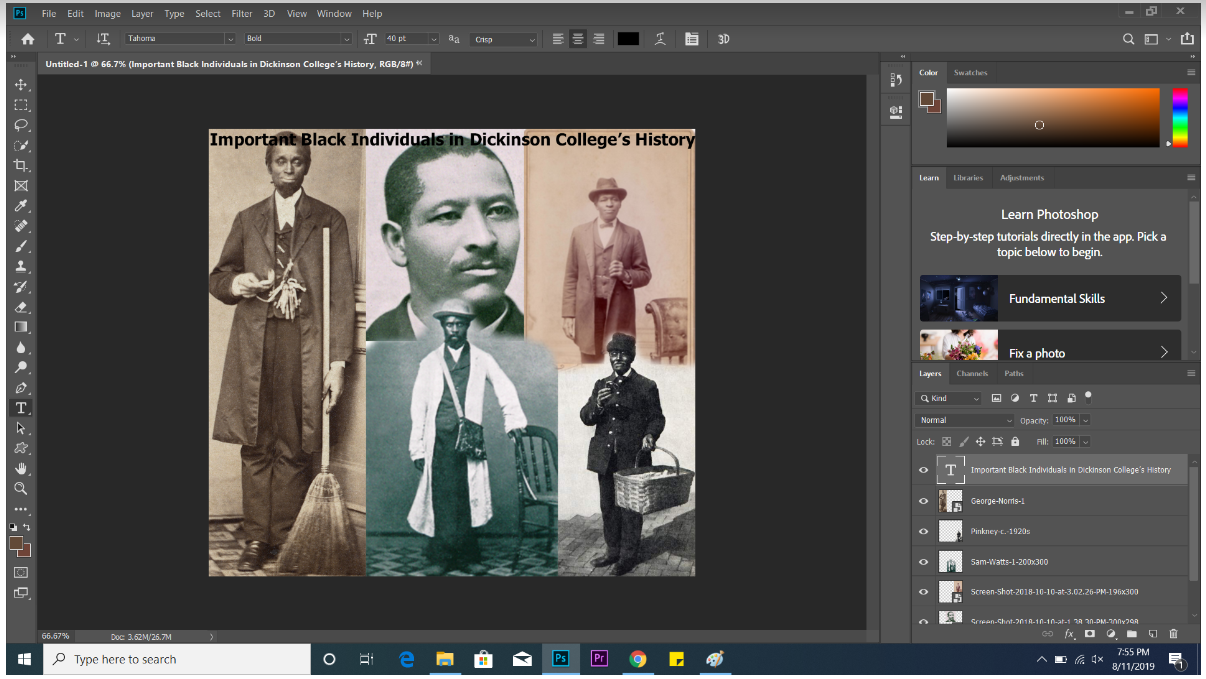
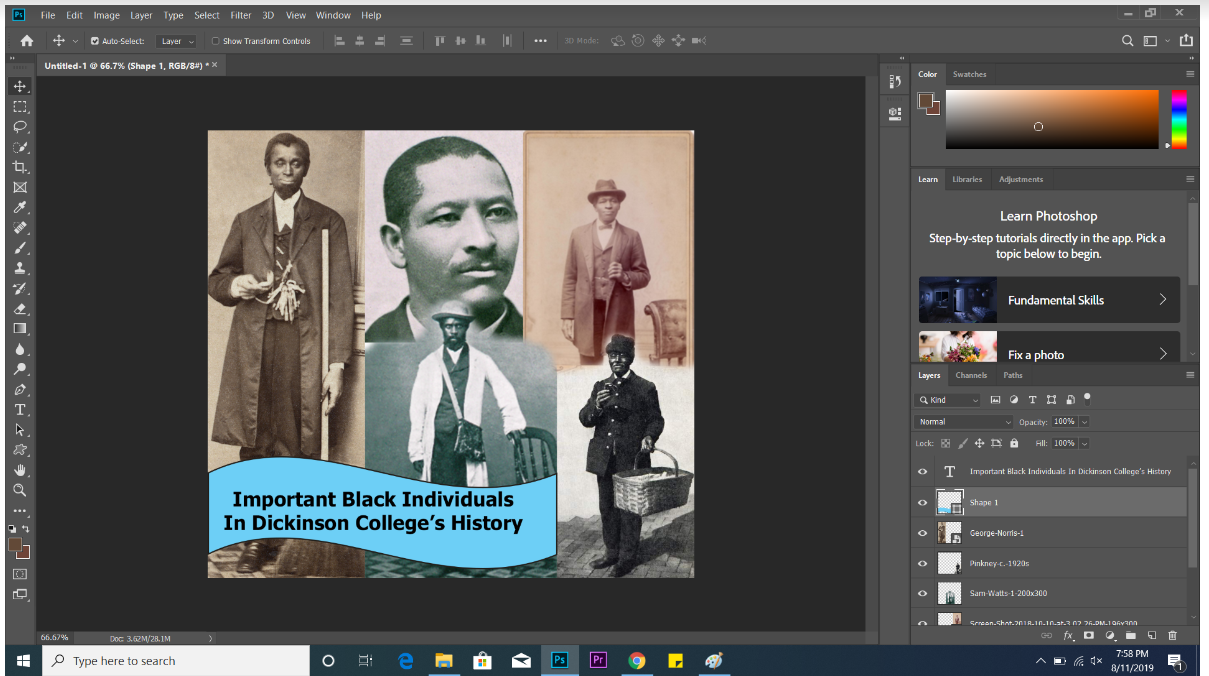
a. Use the Text tool to add a title, a quote, or text information to your collage.
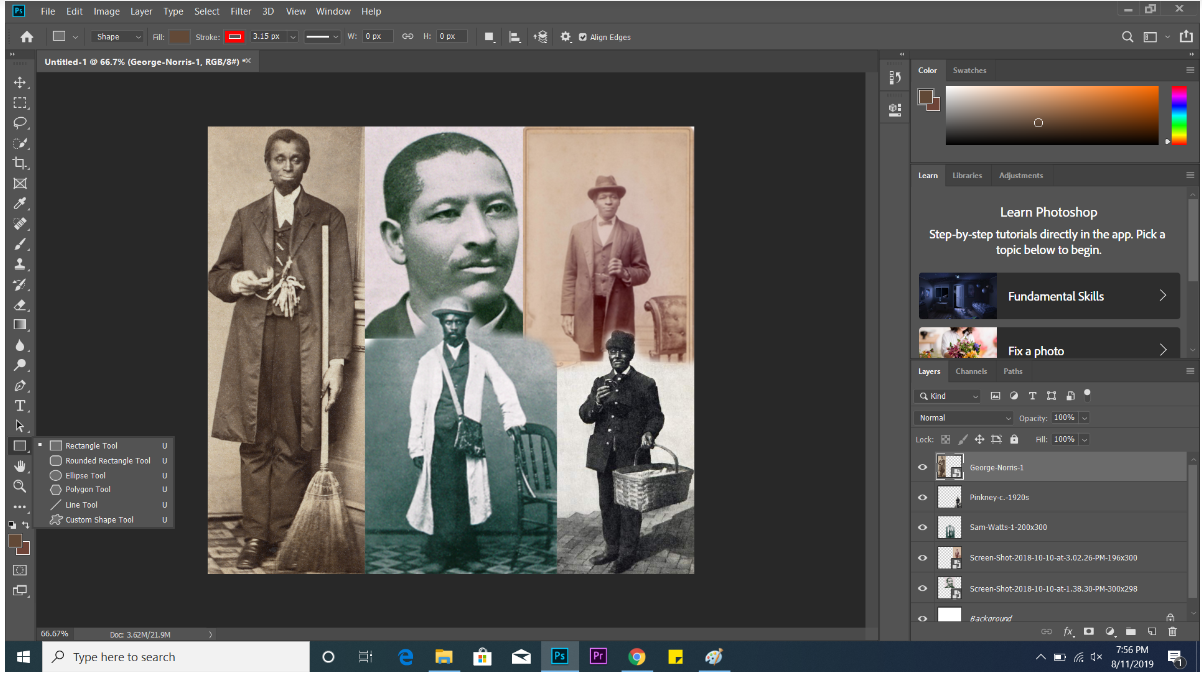
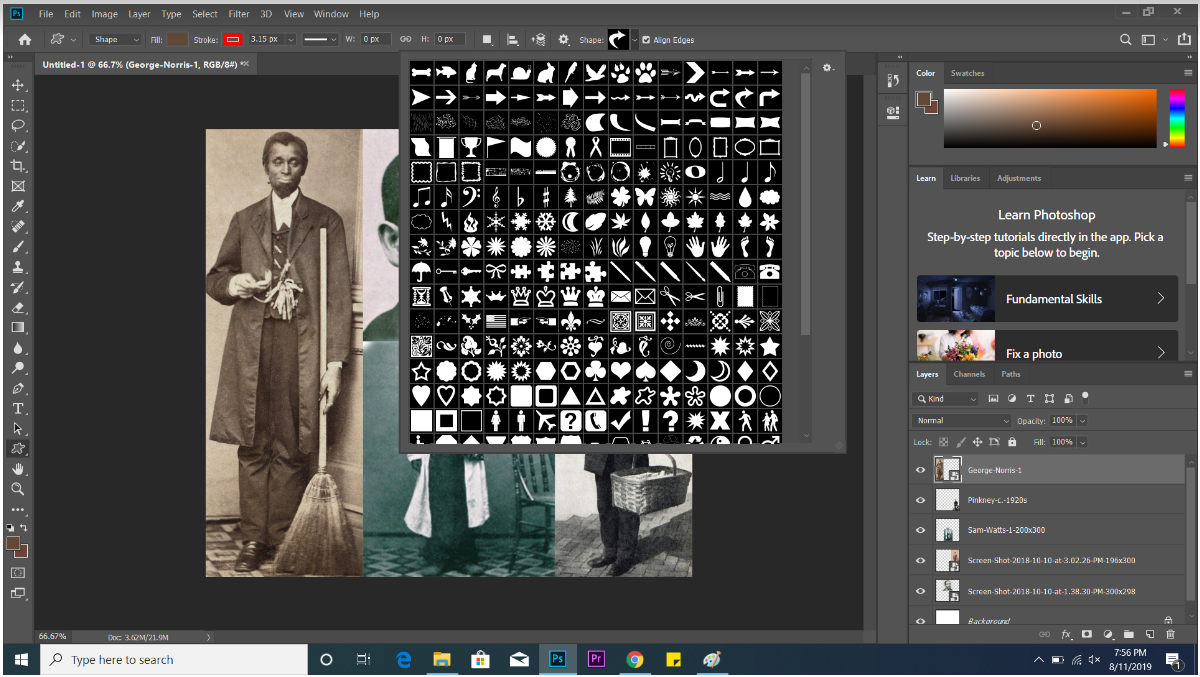
b. To add preset shapes, right click on the Rectangle Tool on the left side of your
screen, and choose Custom Shape Tool. Use the menu that appears along the top
of the screen to set the color, size, and outline thickness of your shape, and then
choose from the shape menu that appears by clicking the drop-down arrow on the
right-hand side of the menu. Click and drag to add the desired shape to your
collage.
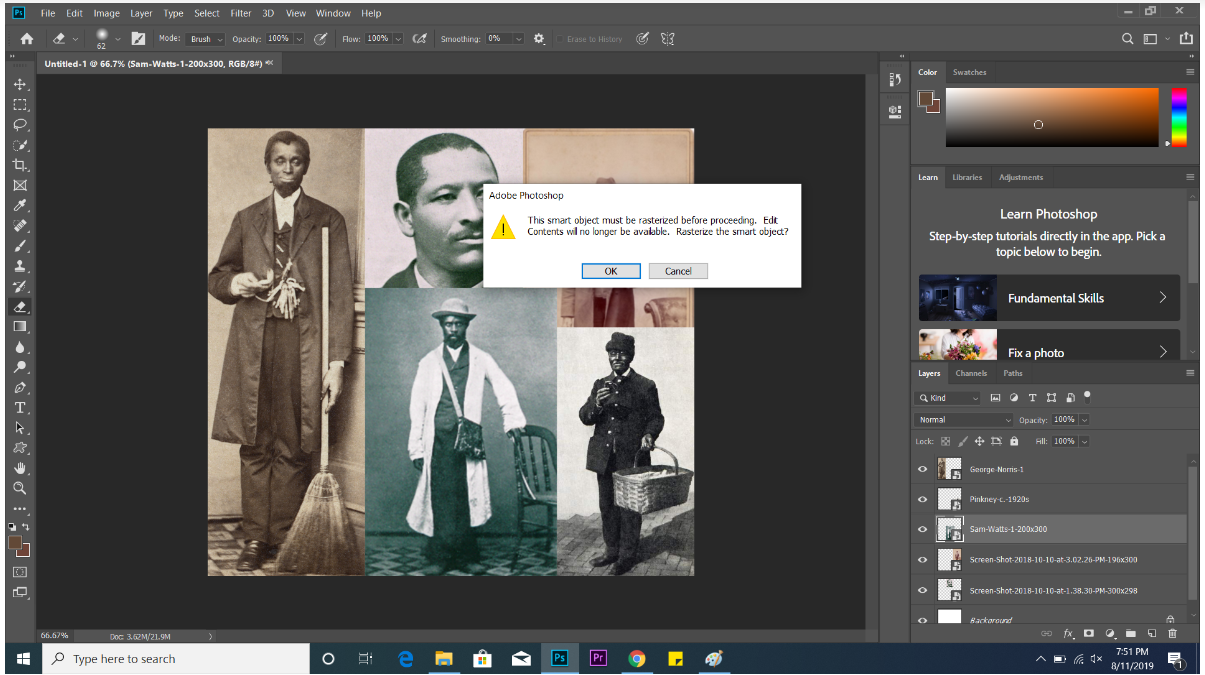
c. Use the Eraser tool if you want overlapping images to blend/fade into one
another. Before you are able to use the eraser tool, Photoshop will prompt you
that the image will need to be rasterized if you wish to use it. This means that the
image will no longer be a smart object, so make sure you have set the size of the
image to your liking before this step, as it will not easily resize after it is
rasterized. If you are ready, click OK, and then click and drag the eraser tool over
an image (make sure its corresponding layer is selected, otherwise nothing will
erase) to erase part of it.
8. Once your collage is finished, select File–Save to save it to your computer.
How to Layer Images in Microsoft Word
Not everyone has Photoshop, but it is possible to create collages of images on more common
software, such as Microsoft Word.
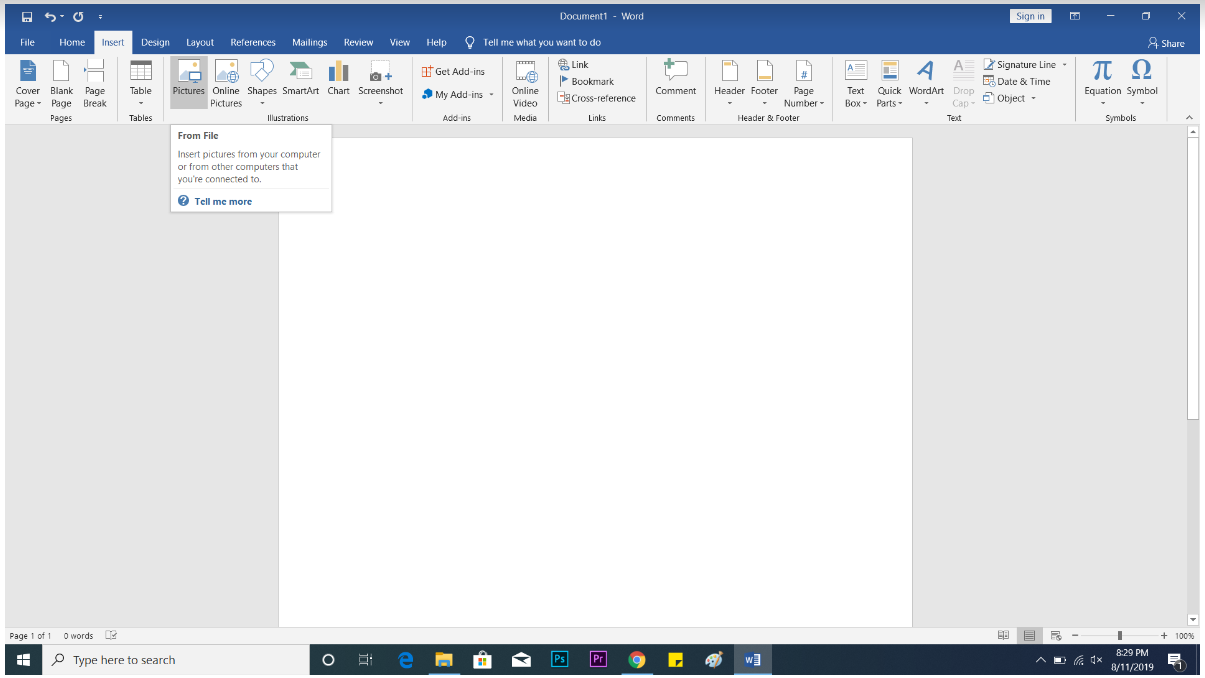
1. Once you open Microsoft Word, click Insert–Pictures from the menu at the top of your
screen. From the window that opens, select the images you want in your collage and click
OK.
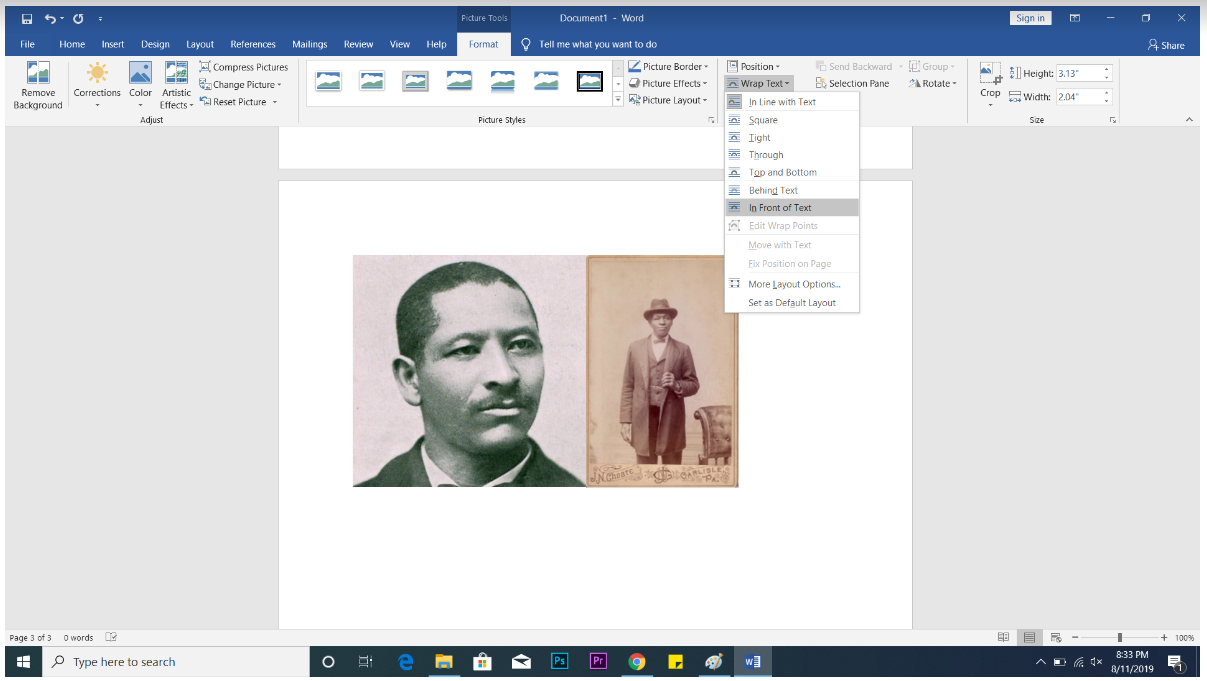
2. Once your images are inserted, you will notice that instead of layering on top of one
another, they are next to each other, or perhaps each is on their own line. To fix this,
select an image, and then from the Picture Tools menu at the top of the screen, click
Wrap Text–In Front of Text. This will allow the images to layer and overlap. Follow
the same steps with each image.
3. Now, you can click and drag your images wherever you want on the page to create your
collage. To resize or rotate an image, select it and then click and drag on the circles at
each corner.
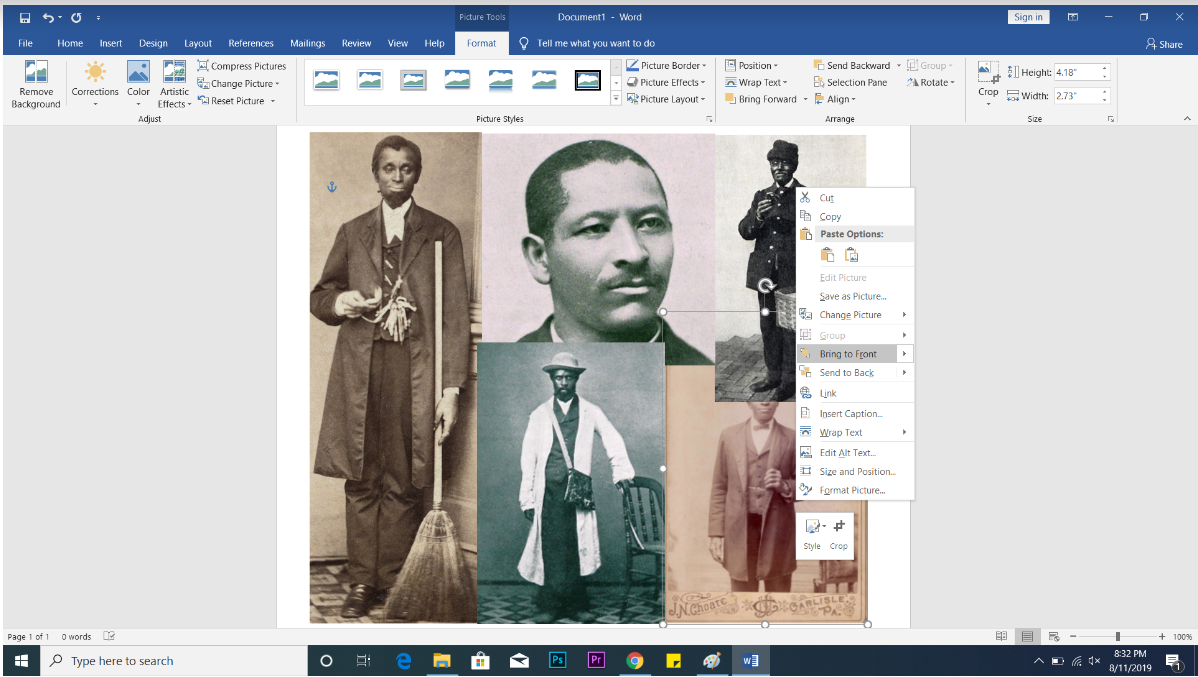
4. If you want the images to overlap one another in your collage, you will need to set which
one is layered “on top” of the surrounding overlapping images. To do this, right-click on
an image; in the menu that appears, you will see “Bring to Front” and “Send to Back.”
Click Bring to Front if you want the image to be overtop of the others, or select Send to
Back if you want it to be behind overlapping images.
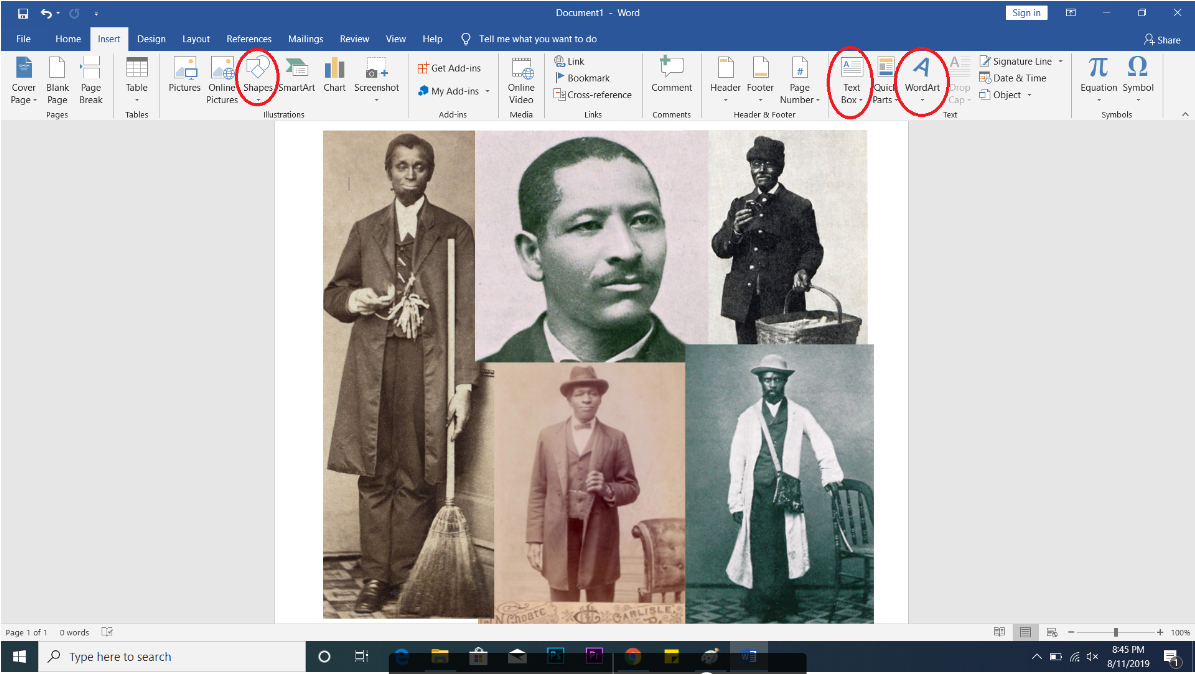
5. In Word, you can also add shapes, text, or WordArt to your collage within the Insert
menu on the top of your screen.
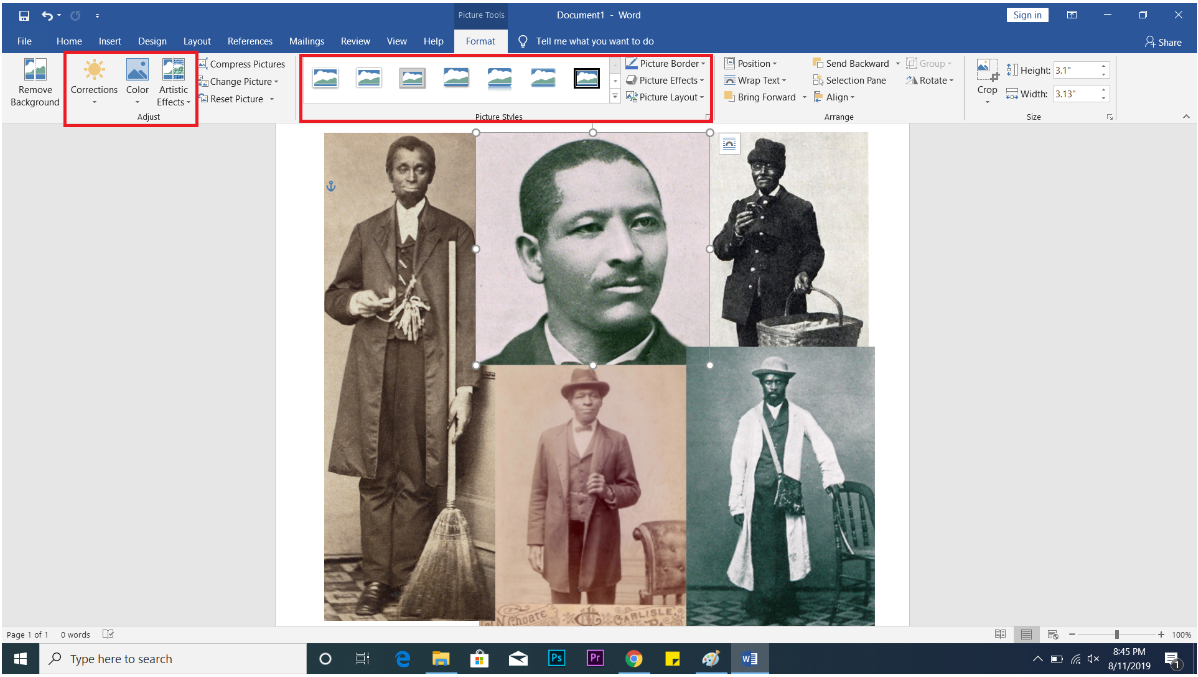
6. You can also edit each image by playing around with the tools in the Picture Tools menu
that appears when you select an image. Most of these tools deal with filters or color
corrections, and can be altered to change the style/tone of your collage. You can also add
borders to your images to differentiate them within the collage.
7. Once you have completed your collage, select File–Save to save the finished product to
your computer.