
Part 1: General Instructions
How to choose theme:
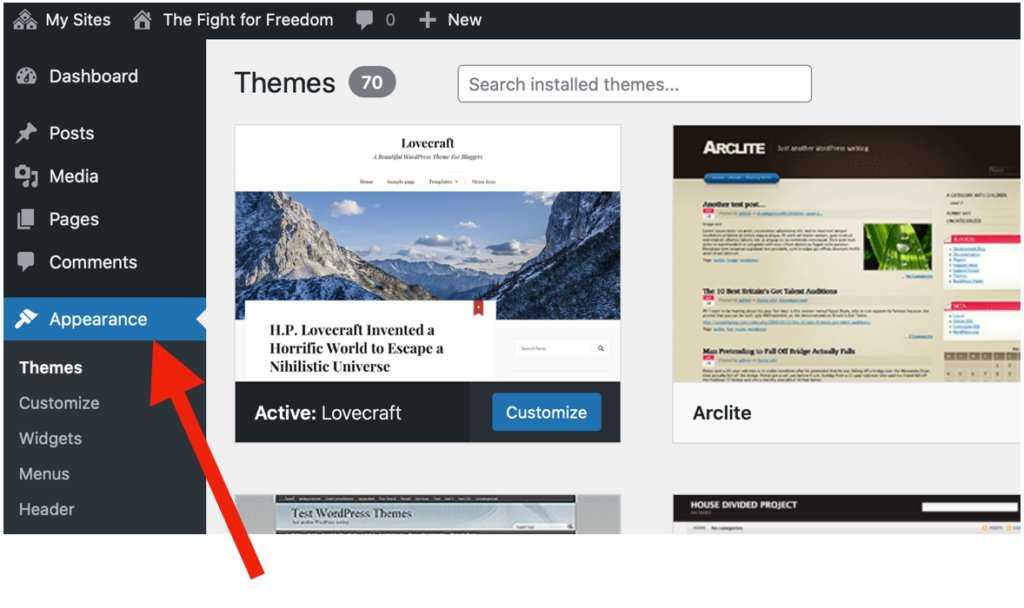
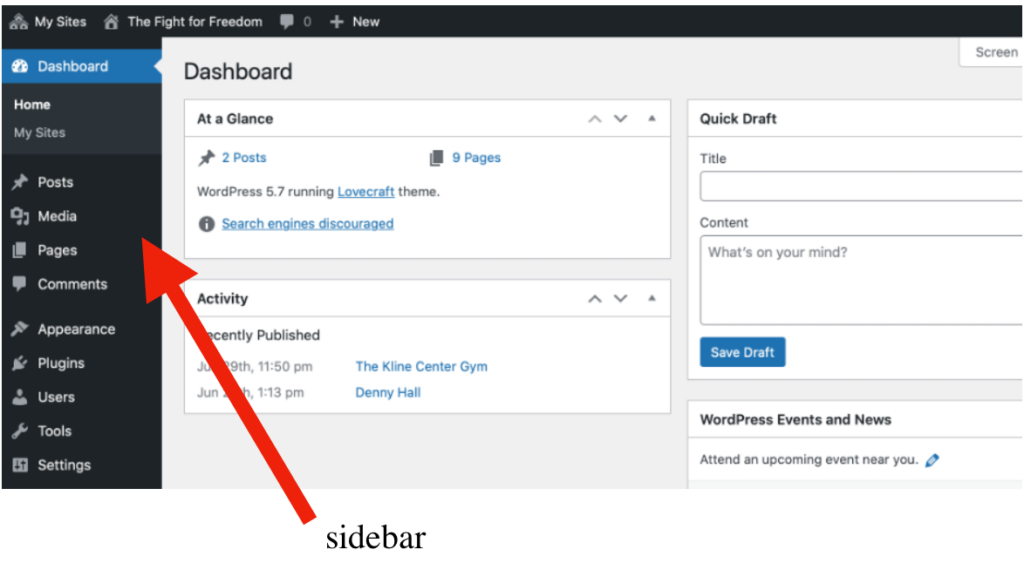
1. Go to the sidebar 2. Click “appearance”
 3. Go to subcategory “themes”
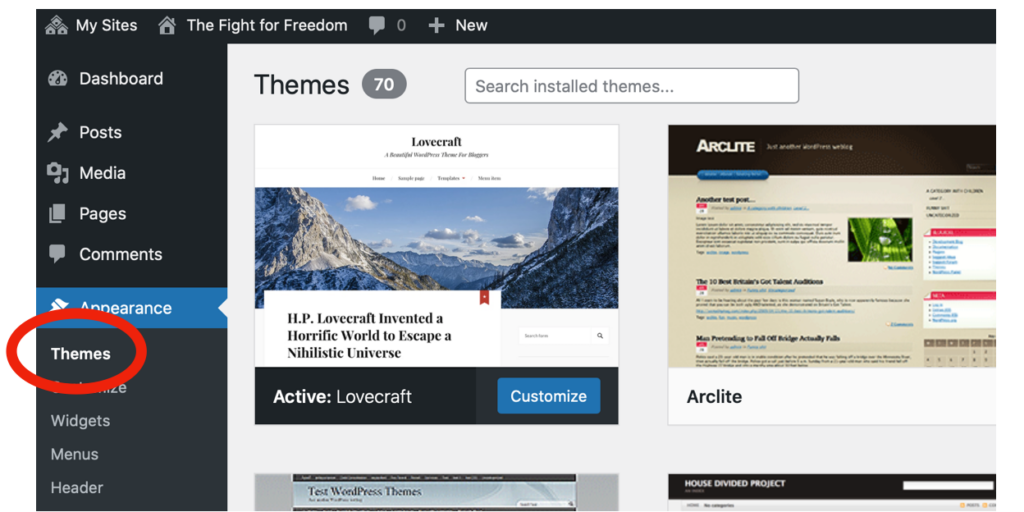
4. Scroll through the themes to find a good theme
5. Click on the theme you are interested in, then click “activate”
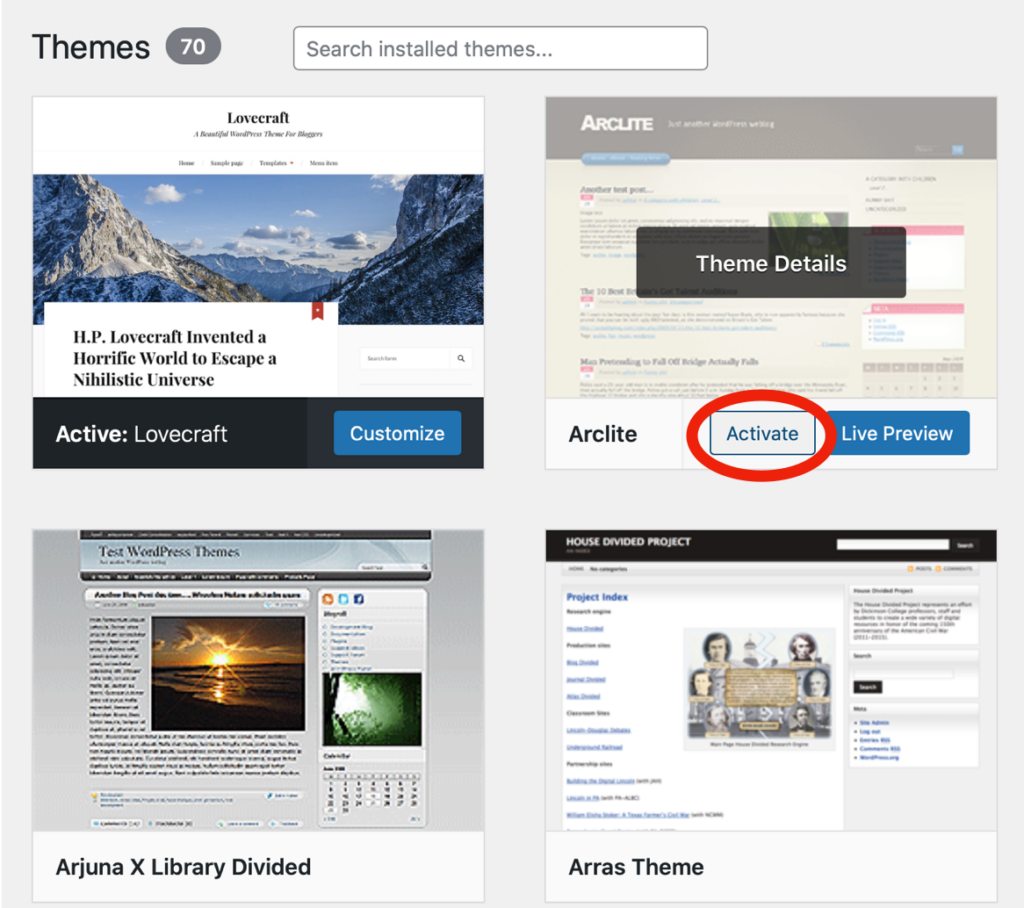
Note: you can always change your theme later without having to re-upload your content
What makes a good theme?
-
- clean looking, not outdated, cluttered, or confusing
- Has to have banner photo (the photo at the top of the document)
- Has to have a sidebar
- Has to be “responsive” meaning it looks good on computers and phones
- Some good examples include: Twenty-twelve, Lovecraft, Hemingway
How to Customize Theme:
1. Go to the “theme” you chose, click the “customize button” in the bottom right corner of your active theme
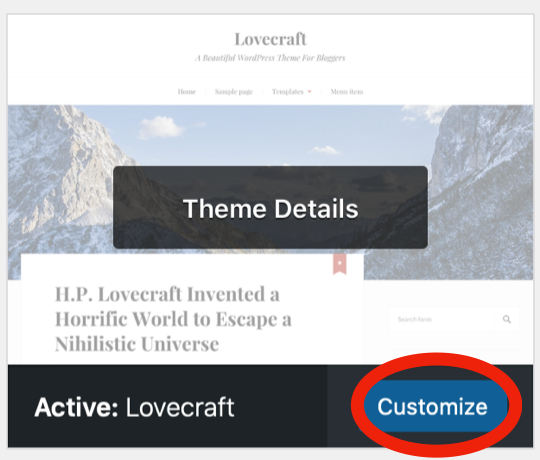
2. Go to the white sidebar on the left-hand side and you can choose what you want to customize
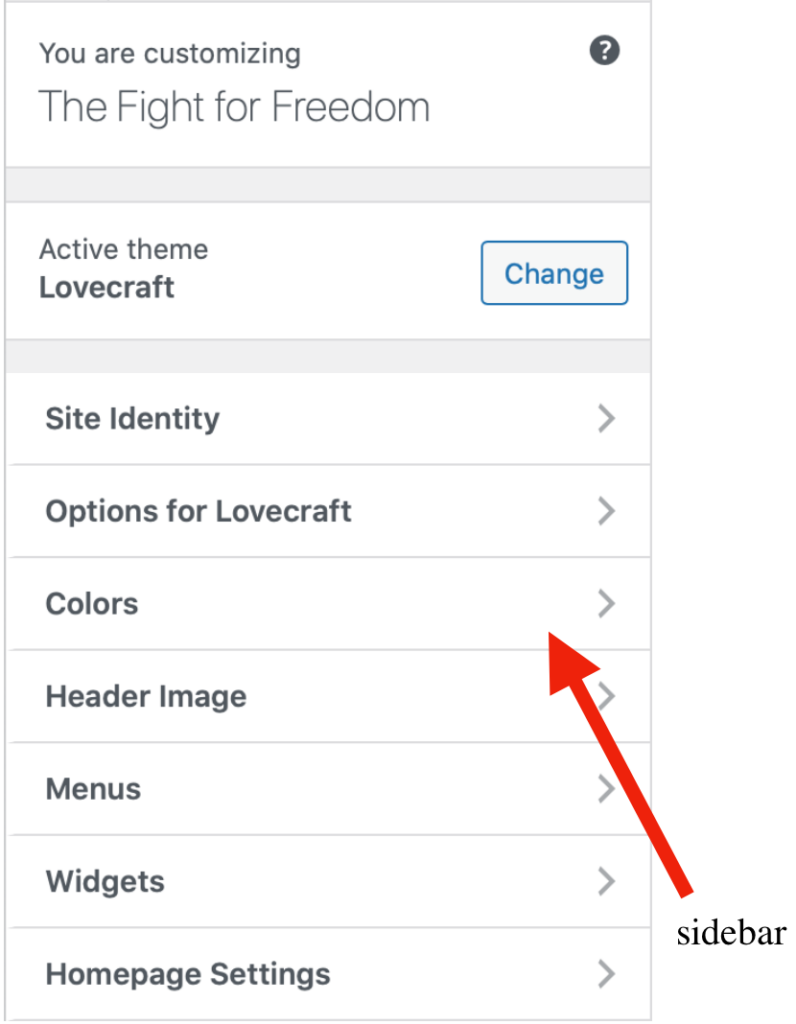
Customizations include:
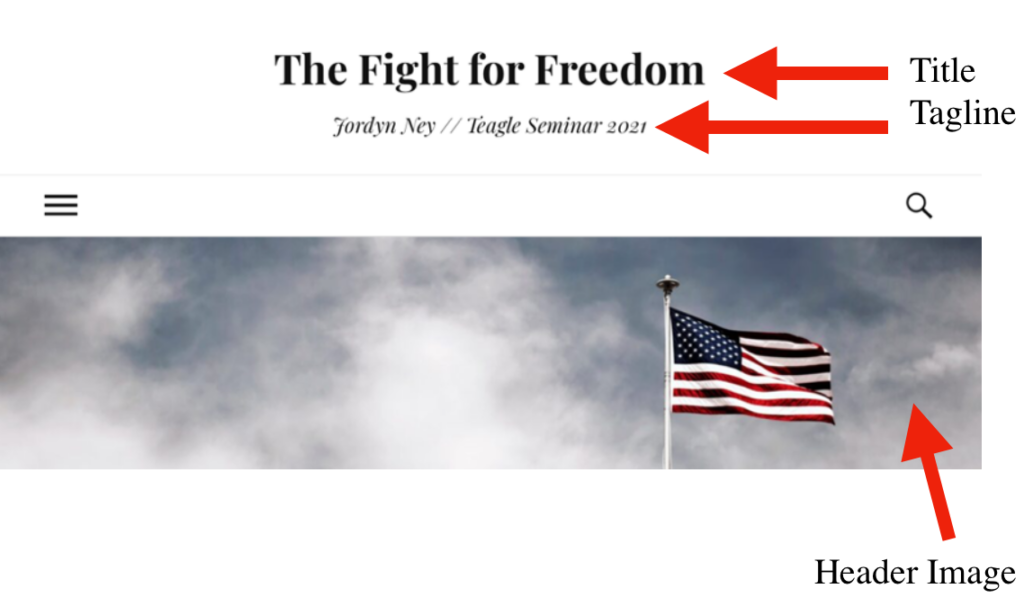
Site identity: click this to change your title, tagline, and site icon
Options for *theme name*: click this for certain features unique to the theme you chose (my theme has the option to add the sidebar for mobile devices)
Colors: click this to customize accent colors
Header image: here you can upload image by clicking “add image” button under the “current header” section
Menus: do not worry about this section until later, there is an easier way to customize menus
Widgets: do not worry about this section until later, there is an easier way to customize widgets
Homepage Settings: under “your homepage displays” click “a static page” and under “homepage” click “home” (you have to create a “home” page before this is an option)
For Reference this is what a “Title,” “Tagline,” and “Header Image” look like:
How to change title:
1. Go to the sidebar

2. Click on category called “settings”
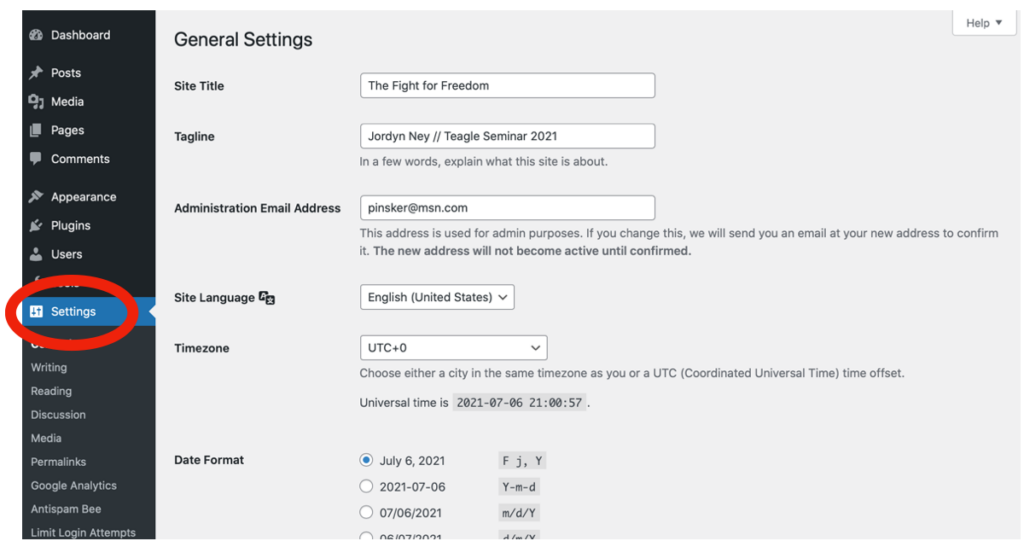
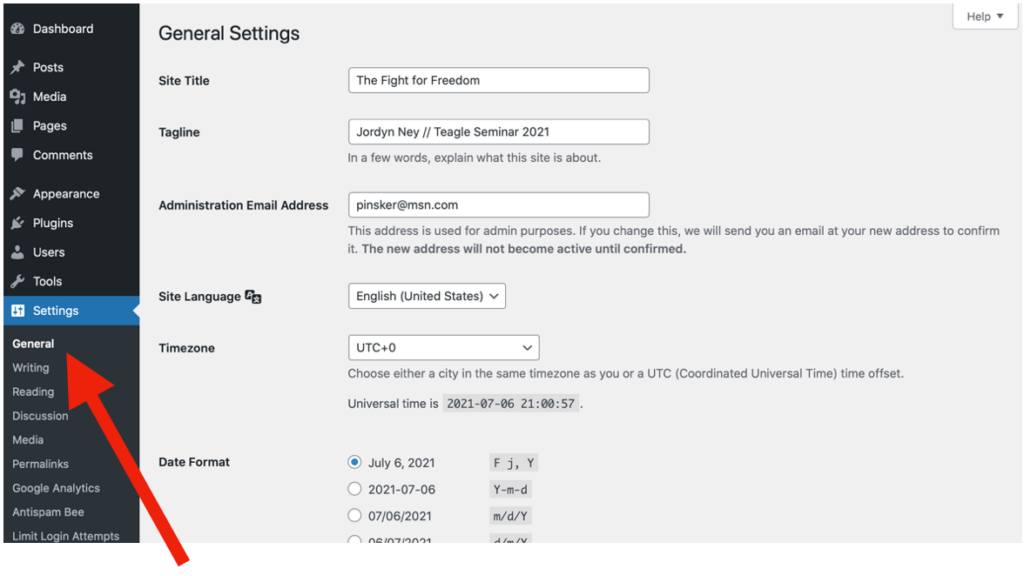
3. Go to subcategory “general”
-
- Here you can put in your site title (something creative about slavery, freedom, or something else related to the Teagle program)
- Tagline (*your name* // Teagle 2021)
- Note: If you already did this under theme “customizations,” you will not need to do it again
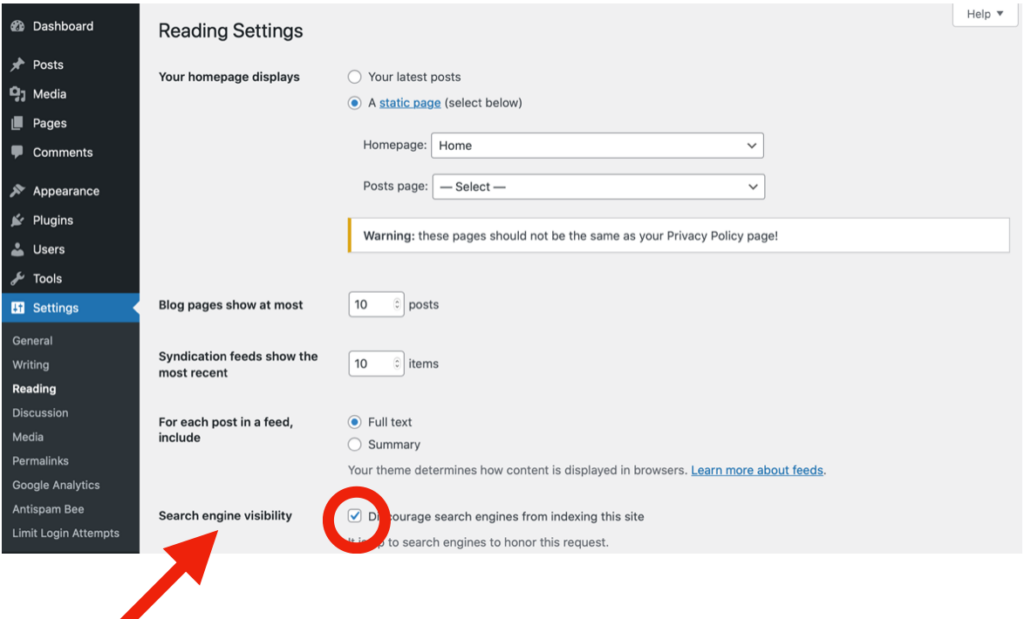
How to disable search engine visibility:
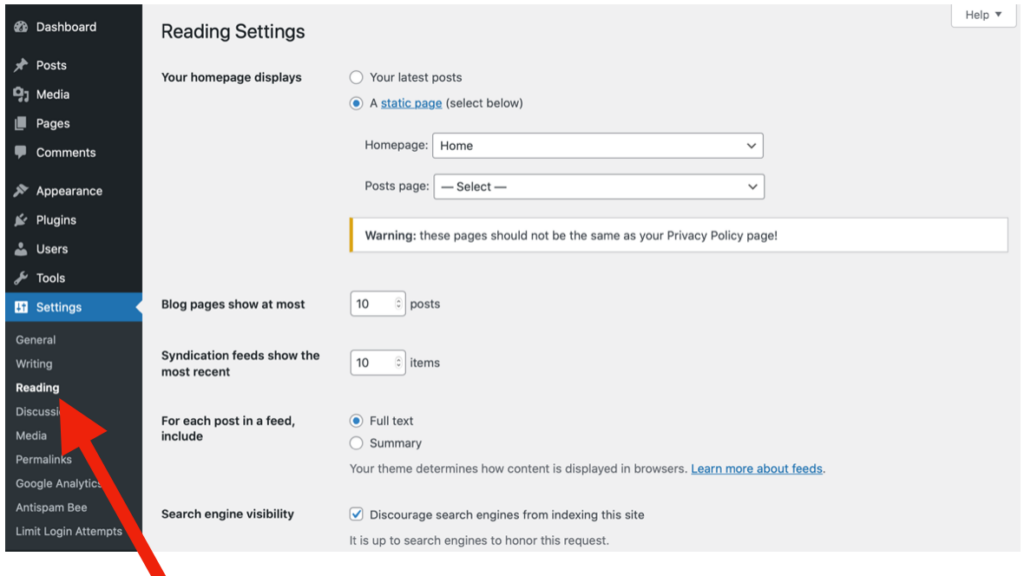
1. Go to the sidebar

2. Click on the category called “settings”

3. Go to subcategory “reading”

4. Scroll towards the bottom of the page until you see “search engine visibility”
5. Look to the right of search engine visibility” and click the box that said “discourage search engines from indexing this site”
6. Hit “save changes”
How to add administration tab:
1. Go to the sidebar

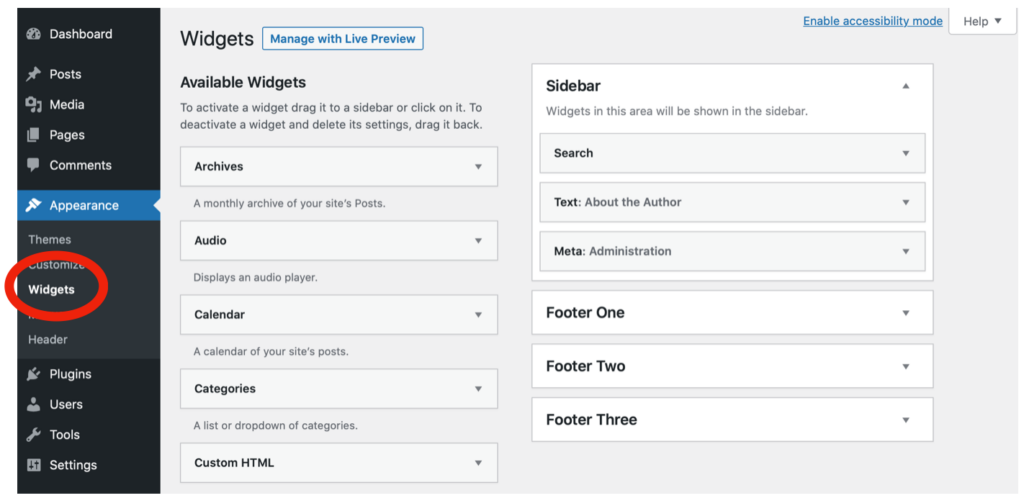
2. Click on the category called “appearance”

3. Go to subcategory “widgets”

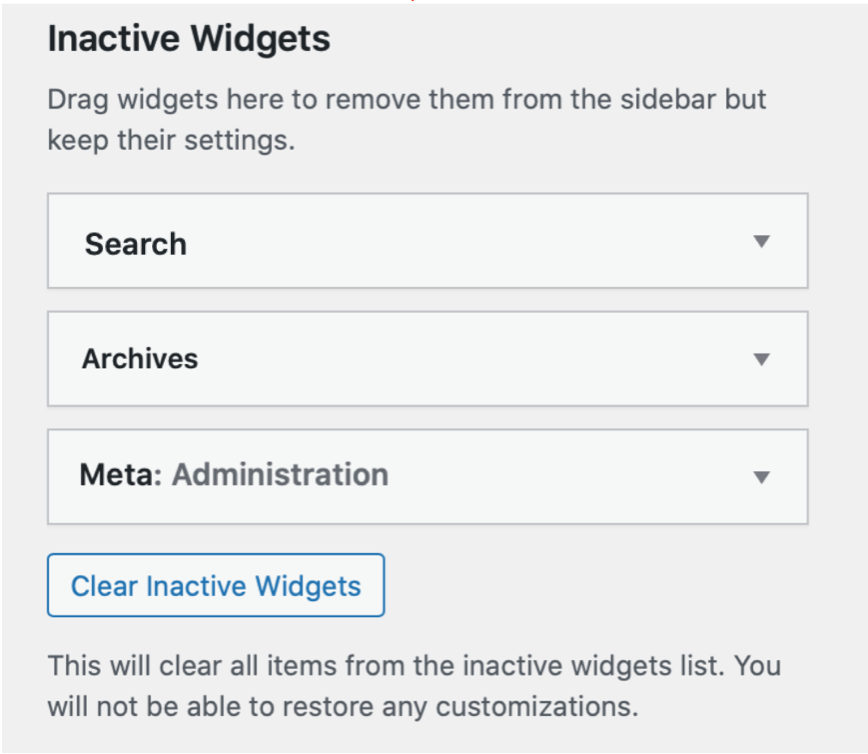
4. Scroll down to the bottom of the left hand column where you will find a section called “inactive widgets”
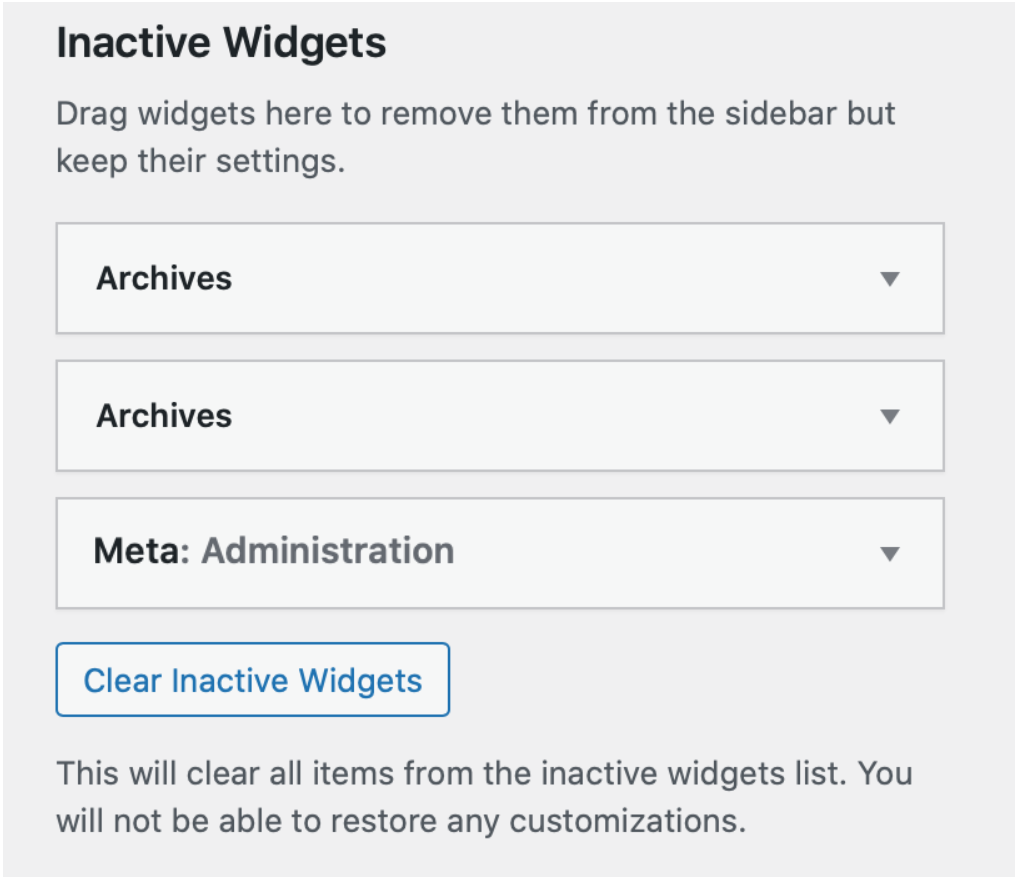
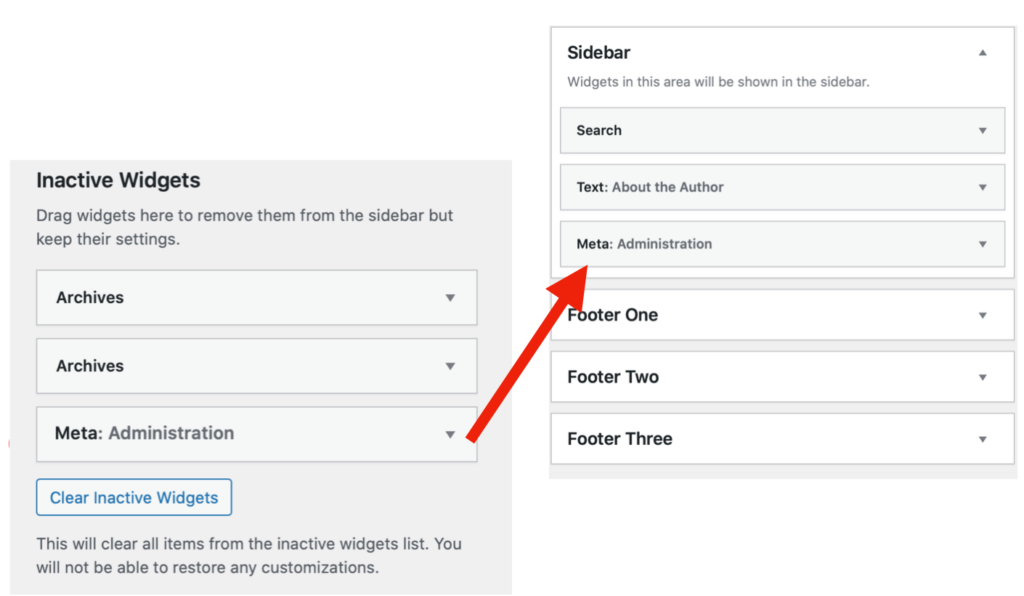
5. COMPUTER INSTRUCTIONS: Drag the inactive widget called “meta” up to the right hand column under the section called “sidebar”–you do this by clicking and holding down on the tab and dragging with your mouse)
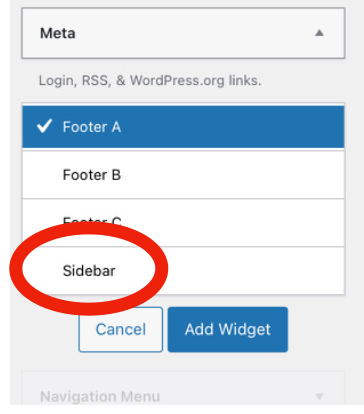
5. iPAD INSTRUCTIONS: Click on inactive widget which will trigger a drop down bar. Select the “sidebar” option and then click “add to menu”
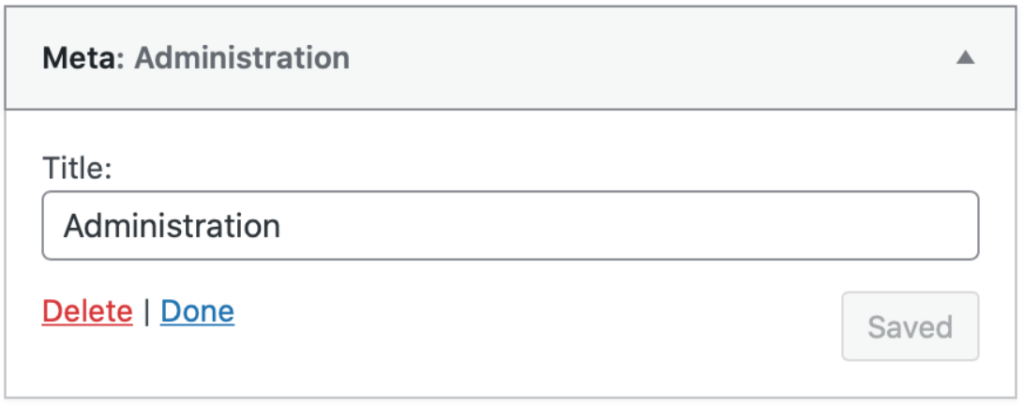
6. Click on small triangle to trigger the pull down bar, where you can rename Meta to “administration” under “Title”
How to add search bar:
1. Go to the sidebar

2. Click on the category called “appearance”

3. Go to subcategory “widgets”
4. Scroll down to the bottom of the left hand column where you will find a section called “inactive widgets”
5. COMPUTER INSTRUCTIONS: Drag the inactive widget called “search” up to the right hand column under the section called “sidebar” — you do this by clicking and holding down on the tab and dragging with your mouse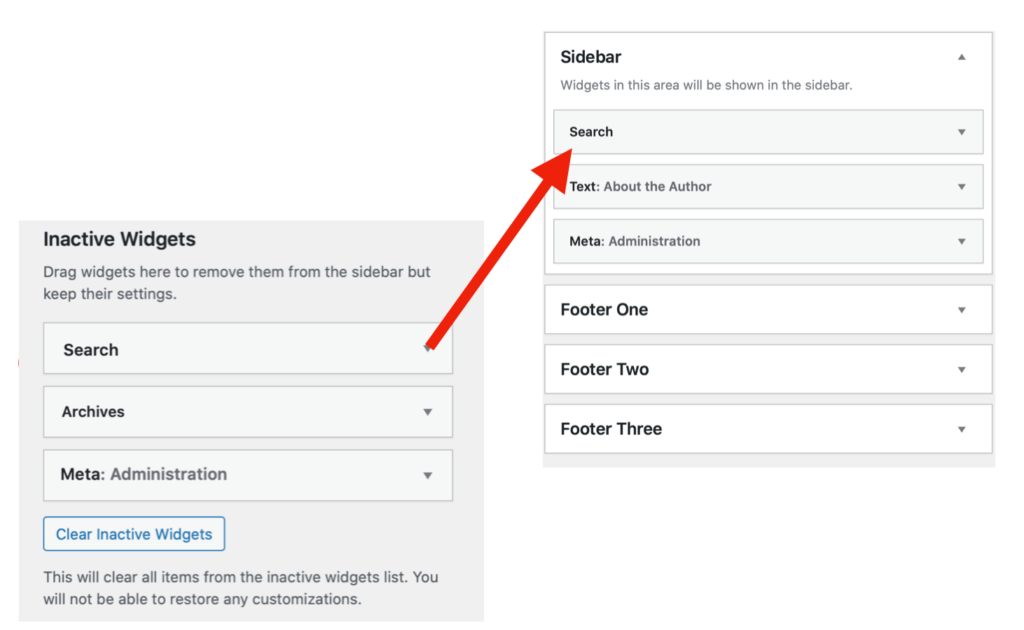
5. iPAD INSTRUCTIONS: Click on inactive widget which will trigger a drop down bar. Select the “sidebar” option and then click “add to menu”
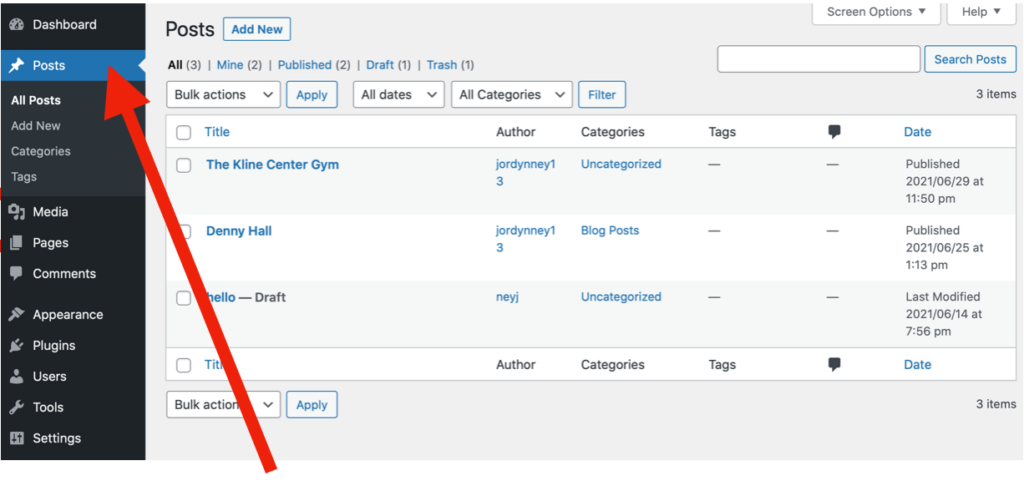
How to make categories:
(your “close readings” and “blog posts” should be categories)
1. Go to the sidebar

2. Click on the category called “posts”

3. Go to subcategory “categories”

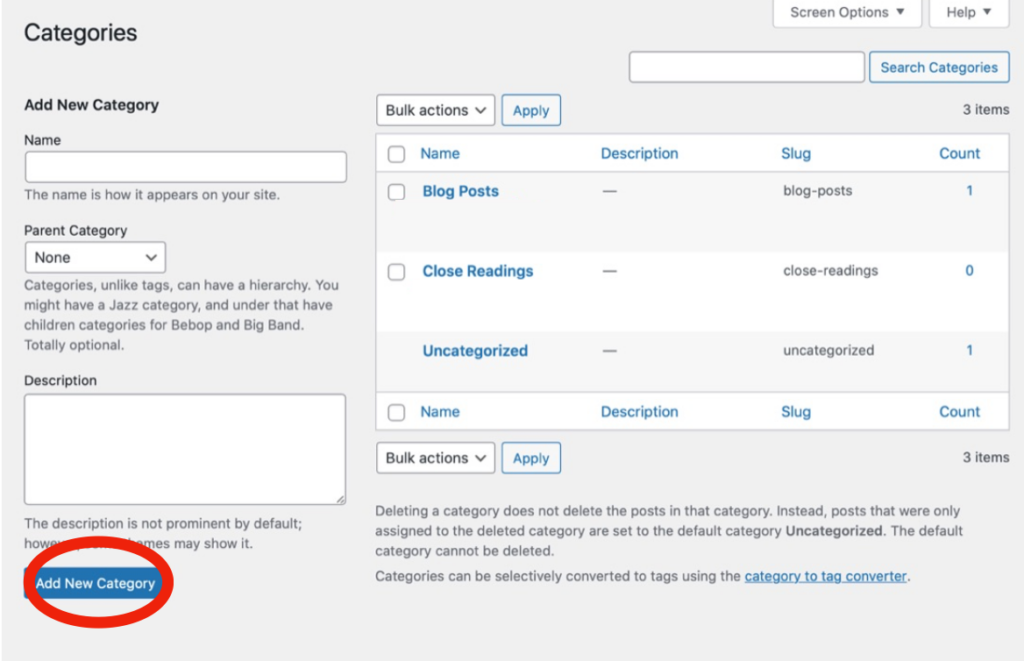
4. Name the category (first category should be called “close readings”, second should be called “blog posts”)

5. Click the blue “add new category” button

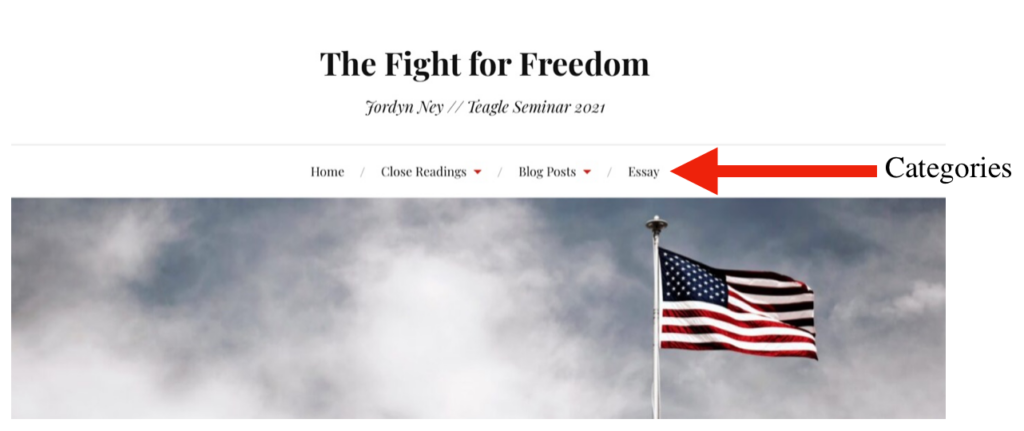
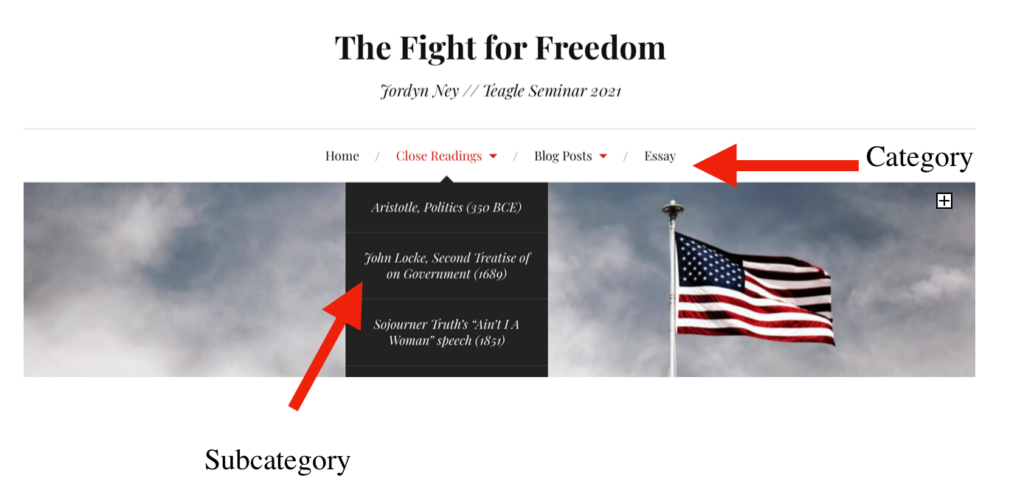
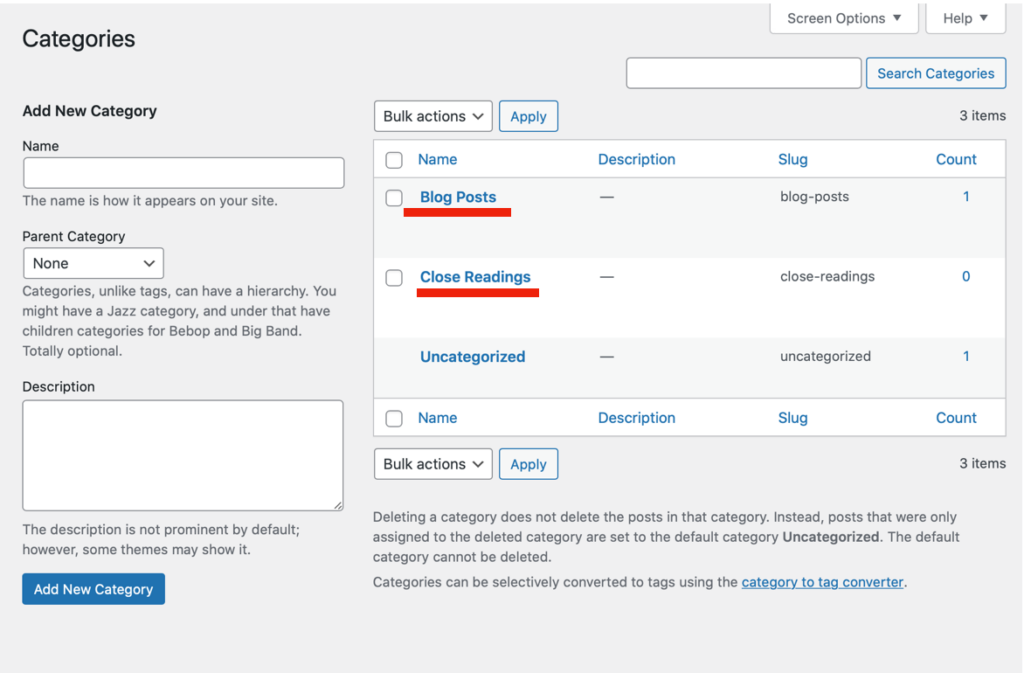
For Reference, this is what categories look like on the home page (the center two):
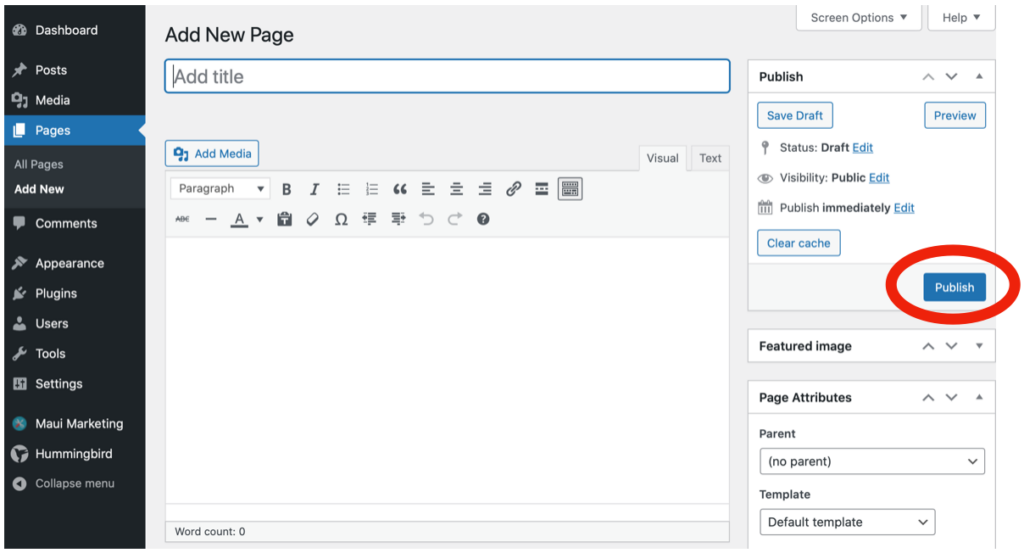
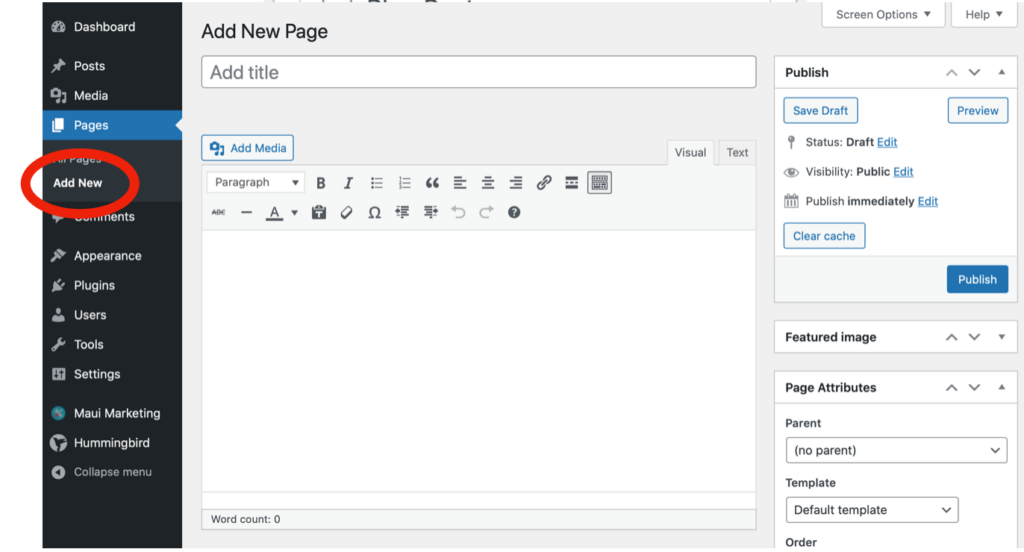
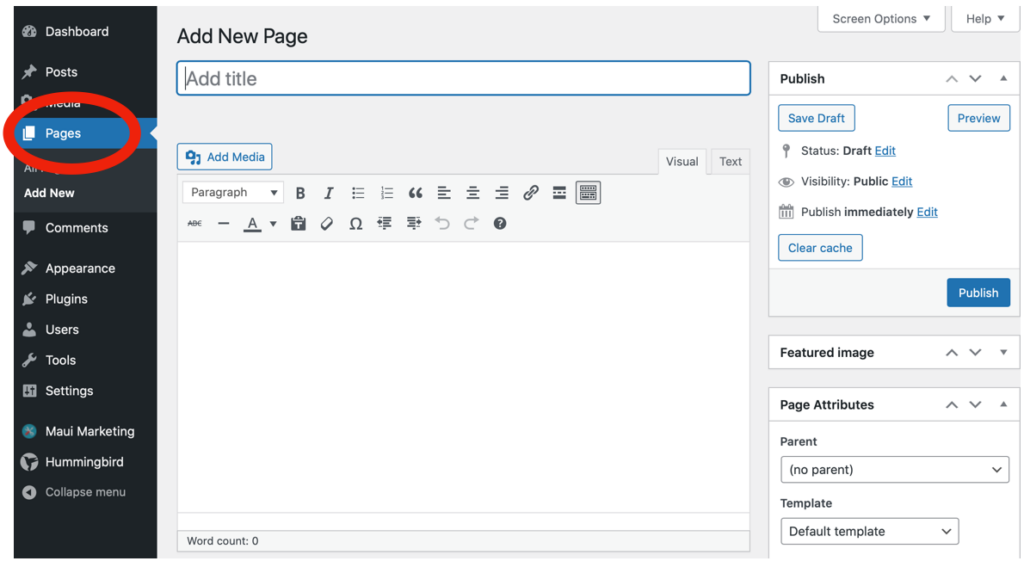
How to make pages:
(your “home” and “essay” should be pages as well as each individual “close reading” you choose to do)
1. Go to the sidebar

2. Click on the category called “pages”
3. Go to subcategory called “add new”

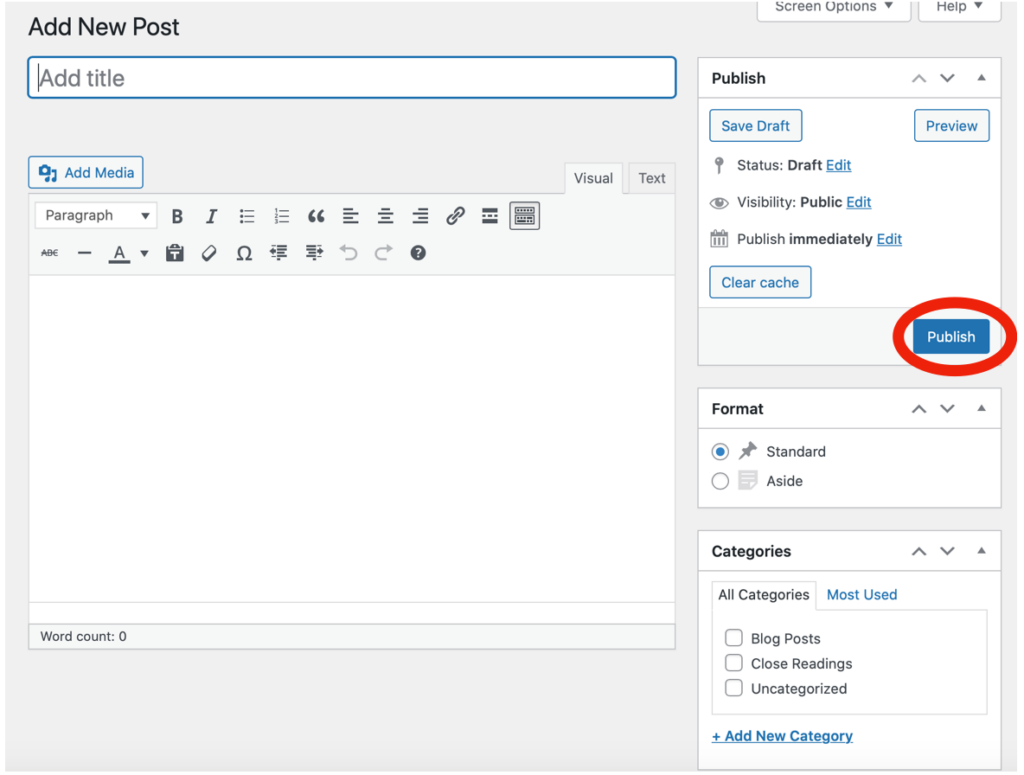
4. Type in the title and text you want for your page
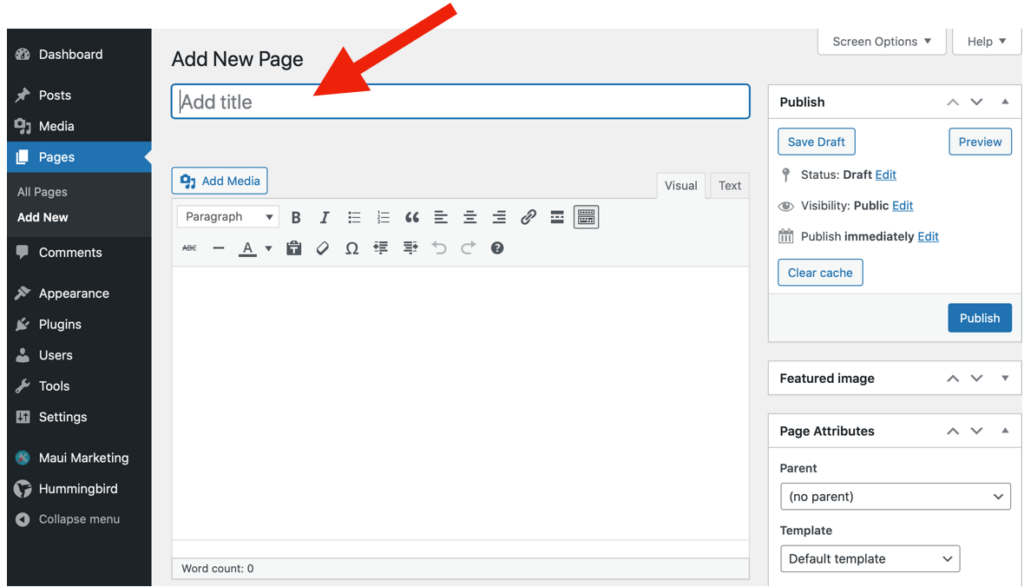
5. Hit the blue “publish” button to the right of the screen
How to add menus:
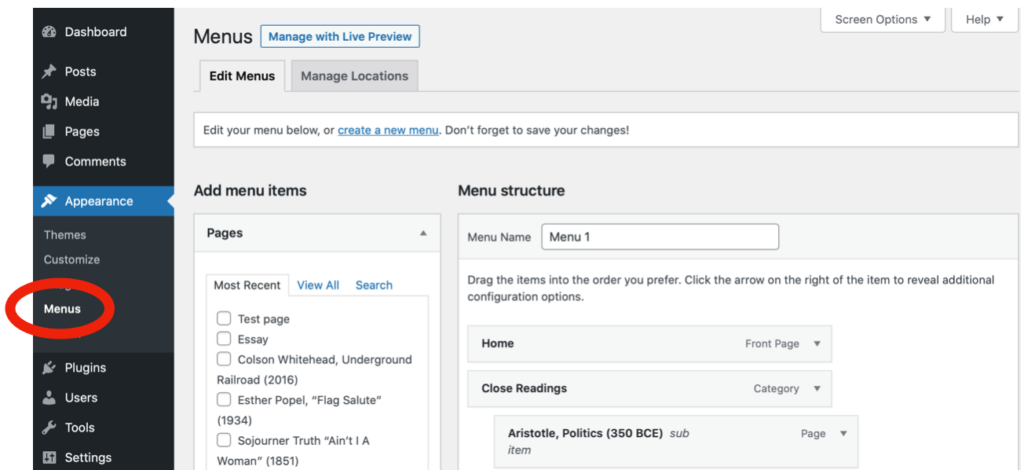
1. Go to the sidebar

2. Click on the category called “appearance”
3. Go to subcategory “menus”

4. Create new menu or use menu 1 if it is already there
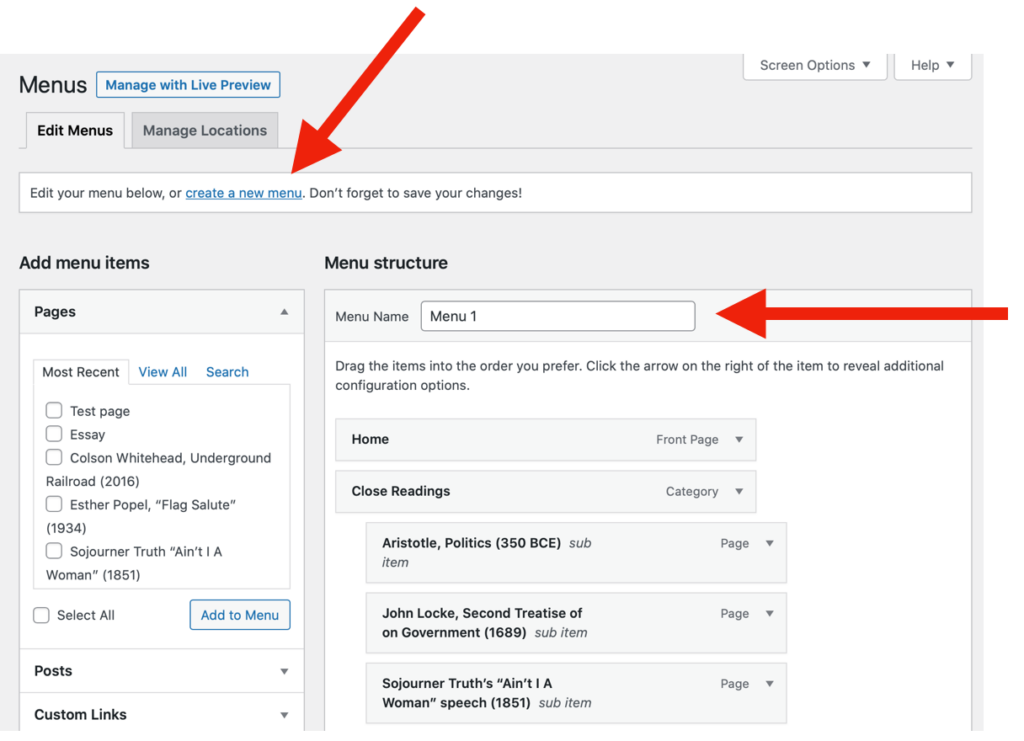
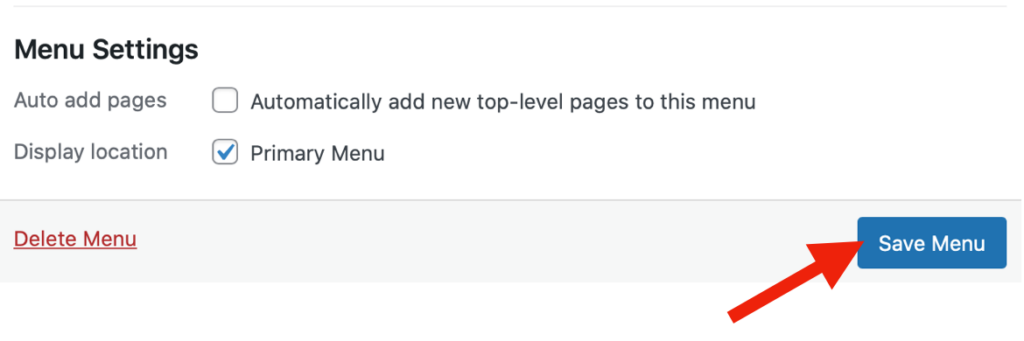
5. Under menu settings (towards the bottom of the page) click on “primary menu” so your menu will show up across the whole website
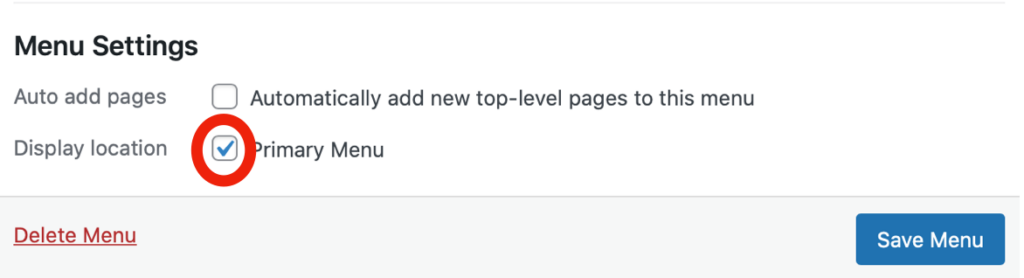
6. Click the blue “save menu” box
How to add categories, pages, and posts to the menu:
1. Go to the sidebar

2. Click the category called “appearance”

3. Go to the subcategory “menus”
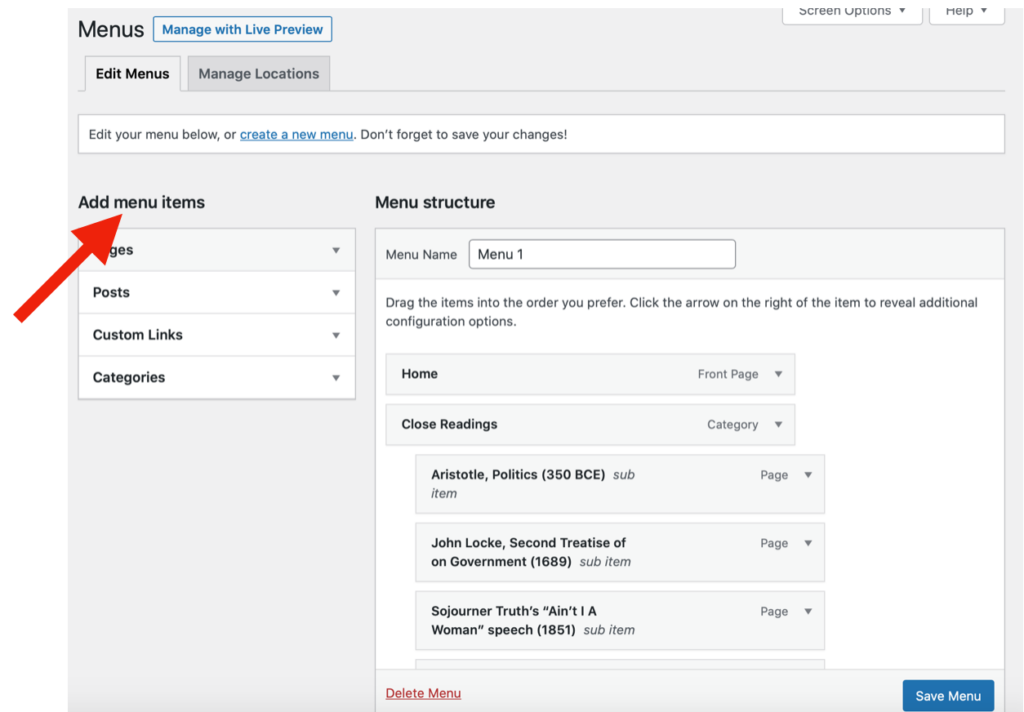
4. Go to left hand column under section called “add menu items”
5. Under “pages” section, click “view all” and check the boxes of pages you want to add to the menu (you should add all of them)
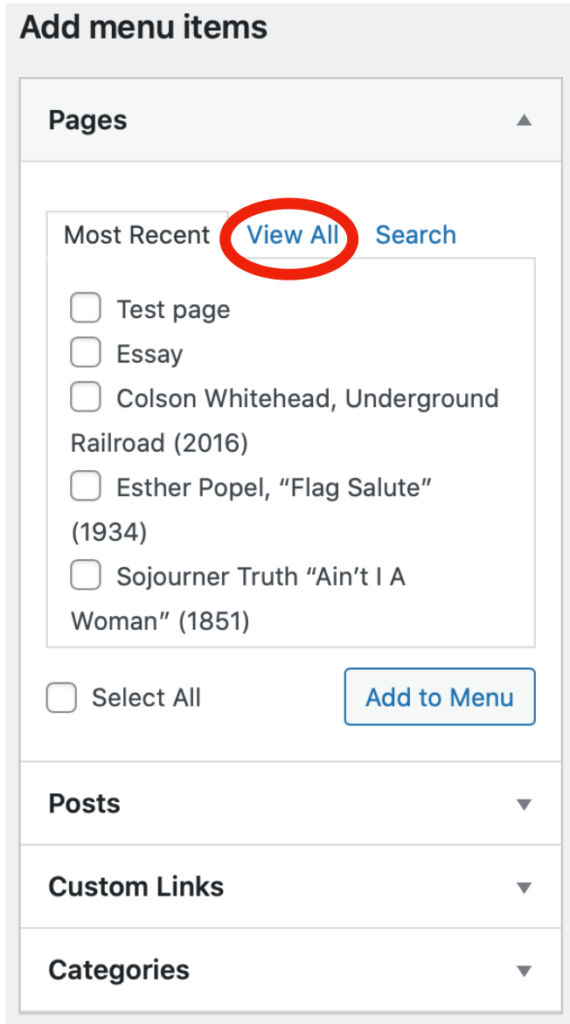
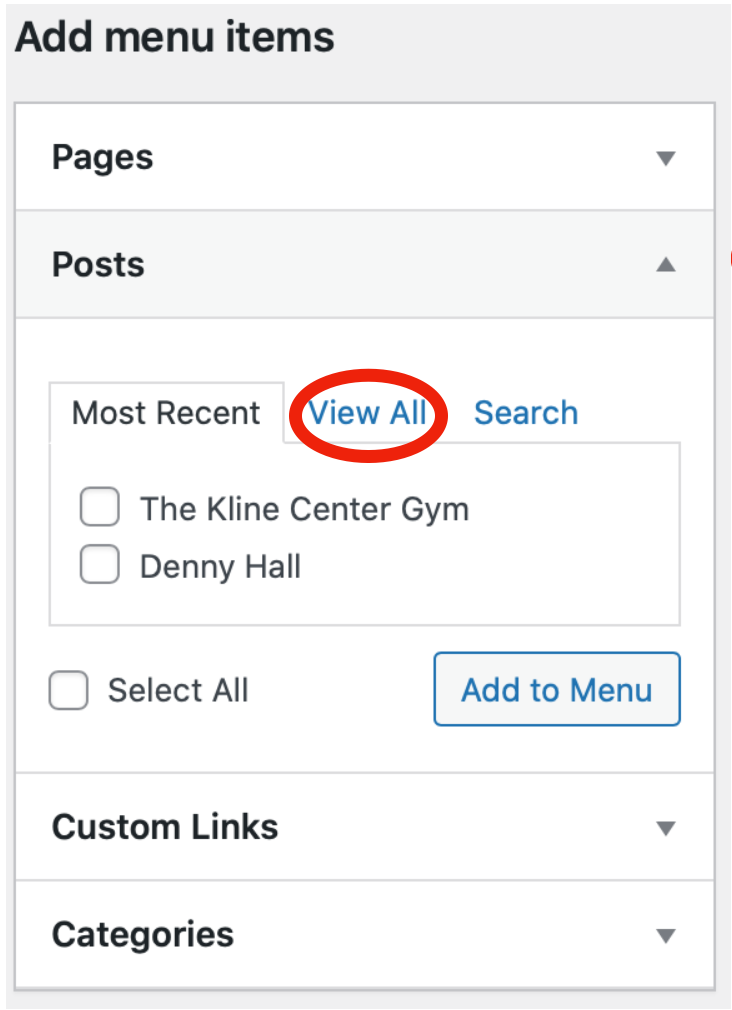
6. Under “posts” click “view all” and check the boxes of pages you want to add to the menu (you should add all of them)
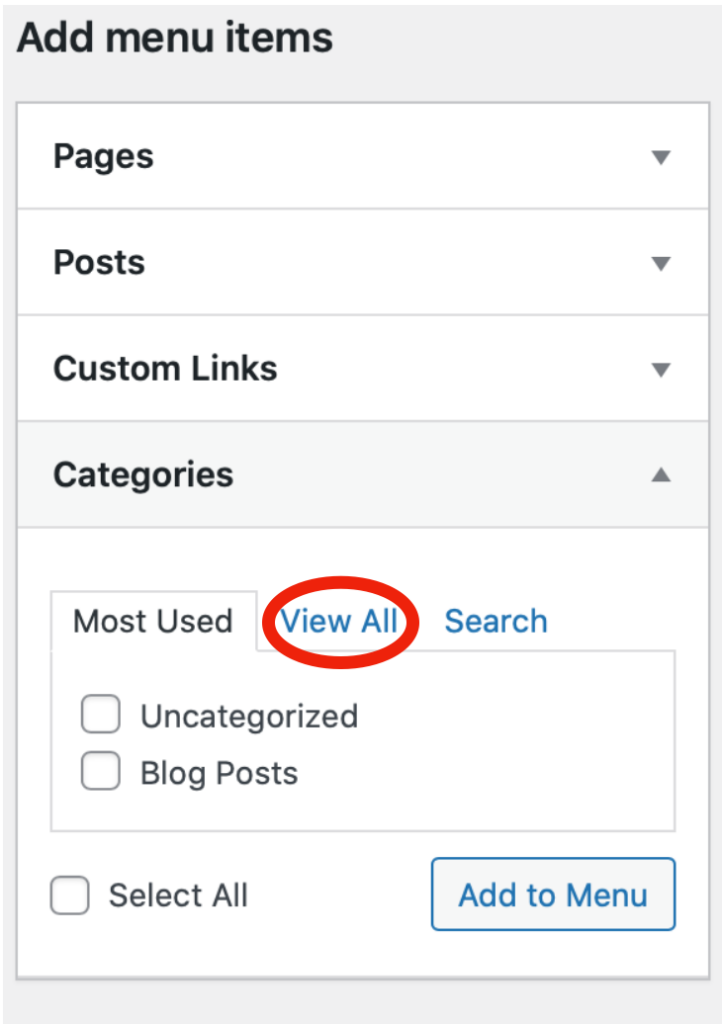
7. Under “categories” click “view all” and check the boxes of pages you want to add to the menu (you should add all of them)
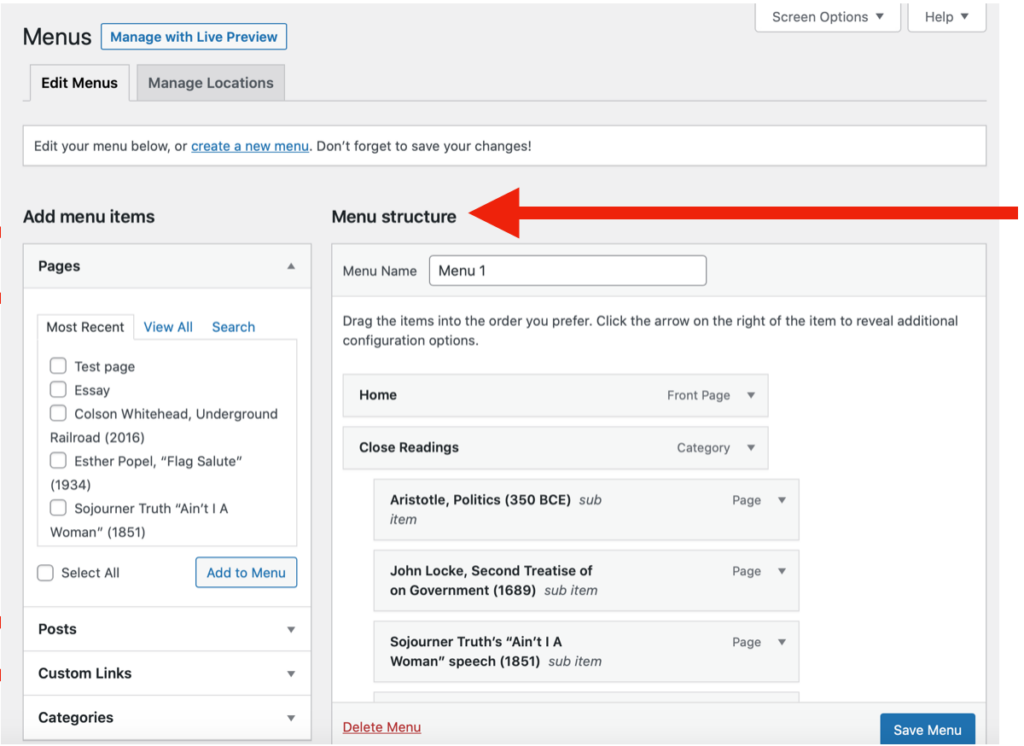
8. Then focus your attention to the right-hand column under the section called “menu structure”
9. COMPUTER INSTRUCTIONS: Click and hold down each category, page, or post to move it in the order you want, move it by dragging
-
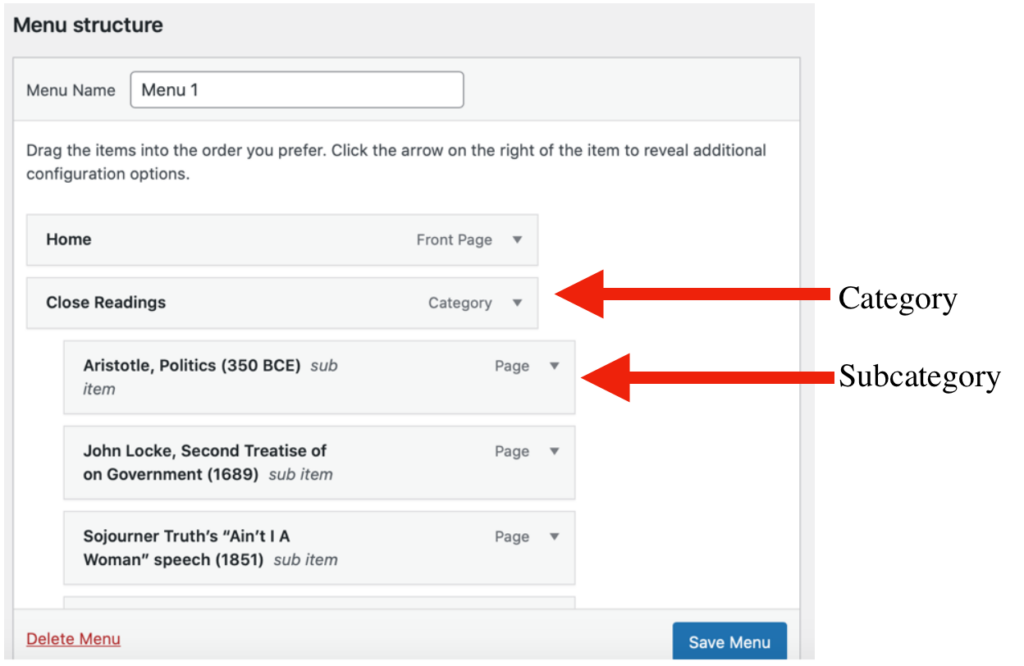
- to create subcategory under “close readings” and “blog posts”, click and hold down on the specific close reading or blog post you wish to move and drag it towards the right
9. iPAD INSTRUCTIONS: click the drop down bar next to the page, post, or category you wish to move. Then, click “up one,” “down one,” “under,” or “out from under…” to move it.
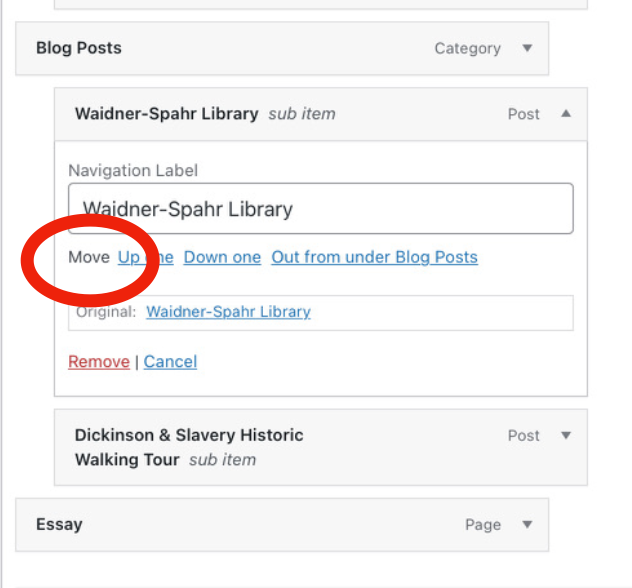
For Reference, this is what “categories” and “subcategories” look like on the home page: (note– “category” in the image below refers to categories and pages)
How to add about the author:
1. go to the sidebar

2. go to appearance

3. go to subcategory “widgets”

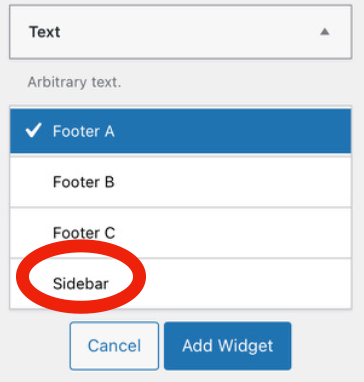
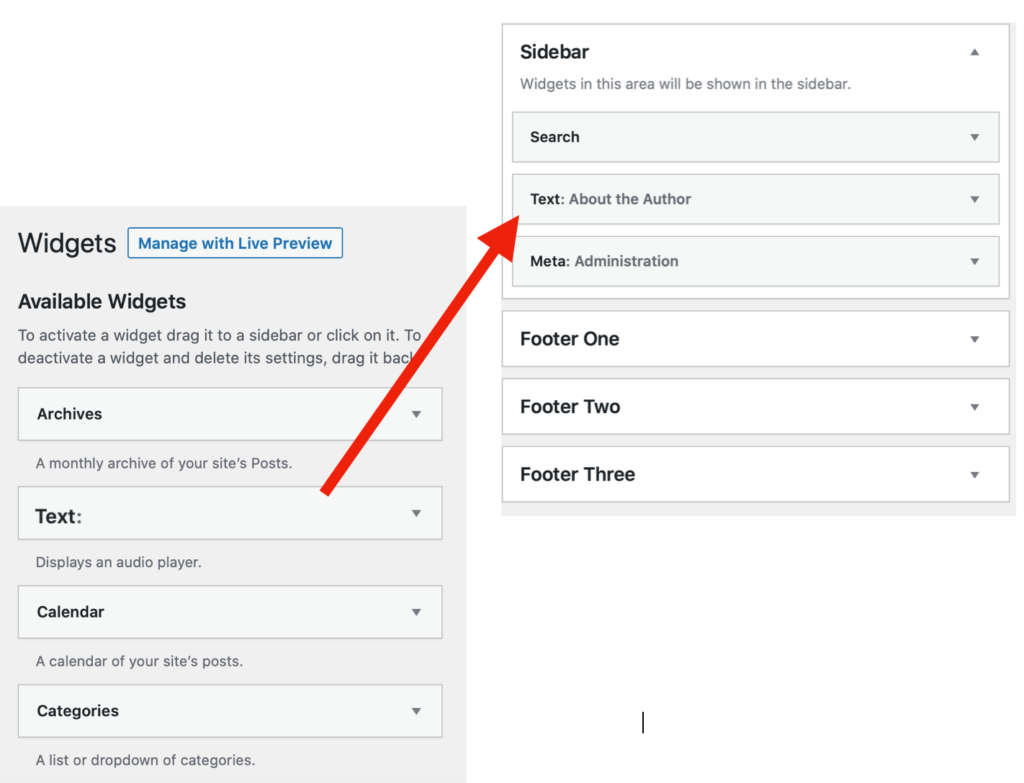
4. find the “text” widget
5. move it from the “inactive” or “available” widgets column to the right column called “sidebar”
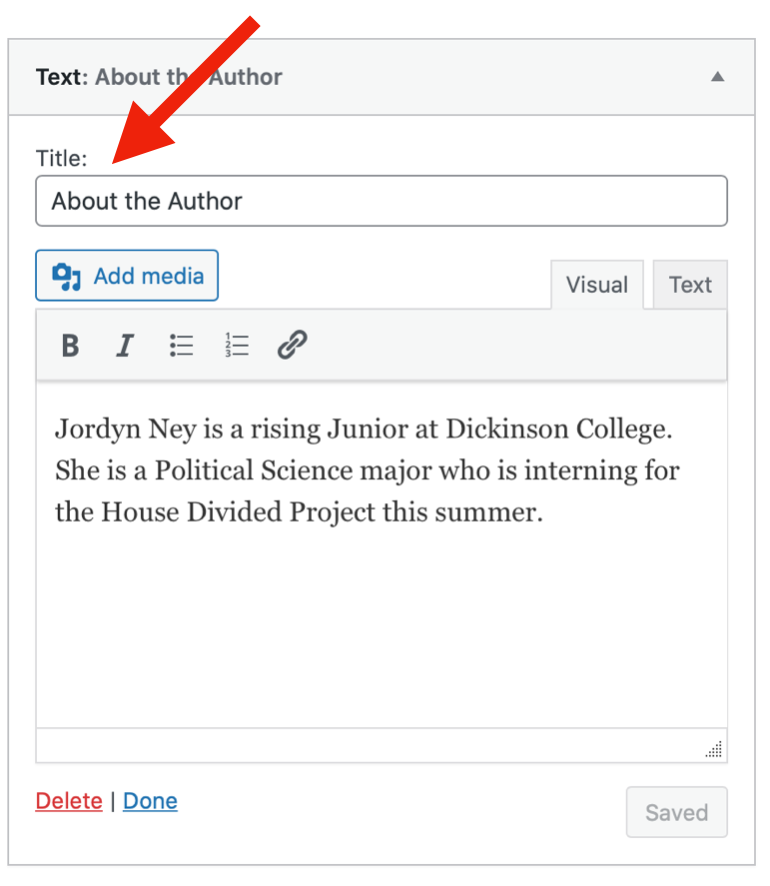
6. Use the drop down bar next to the “text” widget to title and write your About the Author section
How to make a page, post, category private:
1. go to the sidebar

2. go to “pages,” “posts,” or “categories”
3. click on the page, post, category you want to edit
4. once in editing mode, you will see a “publish” box towards the righthand side
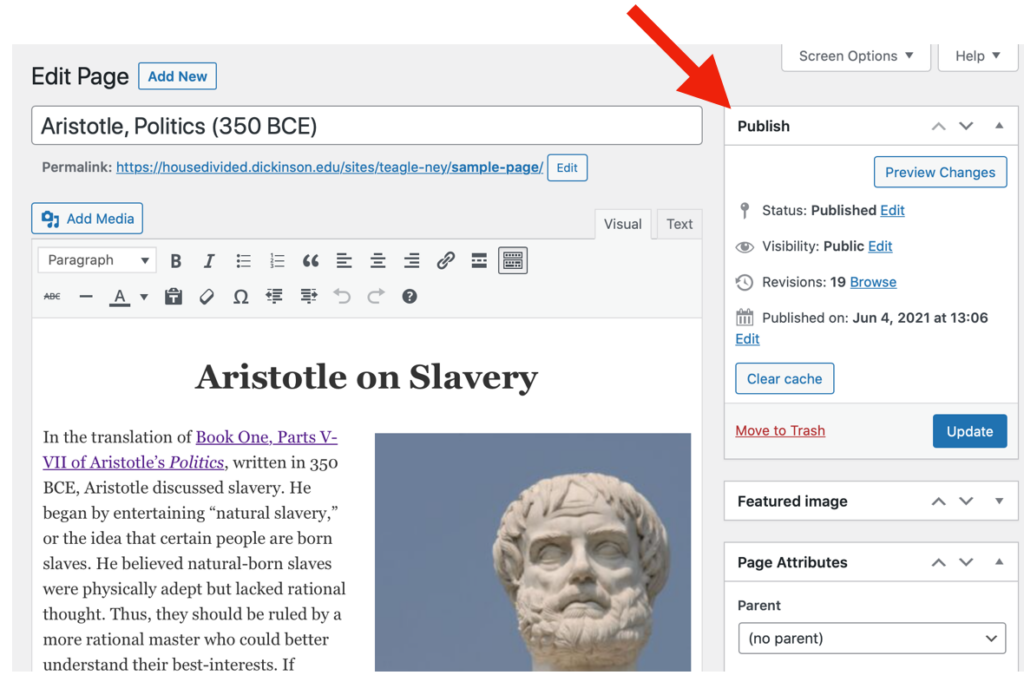
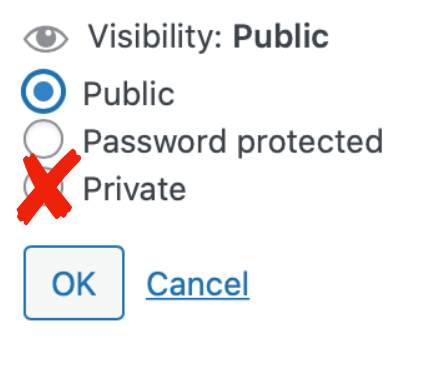
5. go to the “visibility” status in the “publish” box and click “edit”
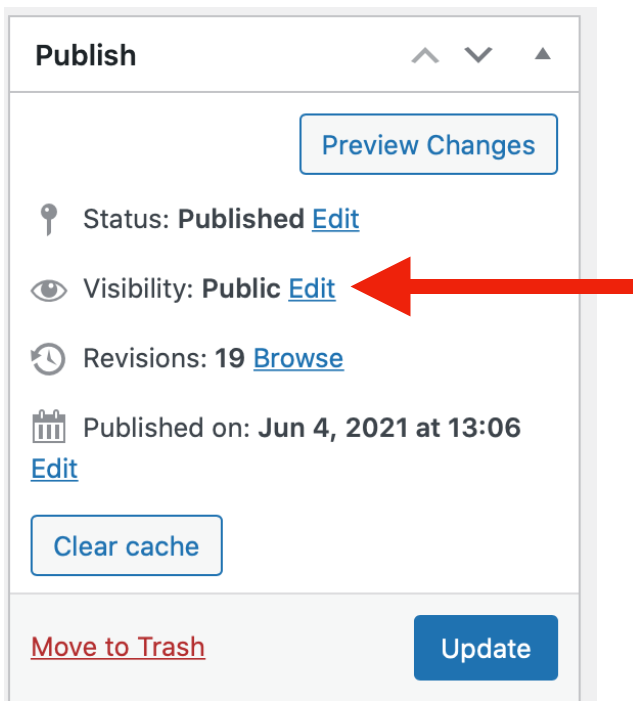
6. change the post from “public” to “private” by clicking the circle next to it
How to Make a Static Homepage:
1. Go to the sidebar
2. go to “settings”

3. go to subcategory “reading”
4. click on box that says “make homepage static”
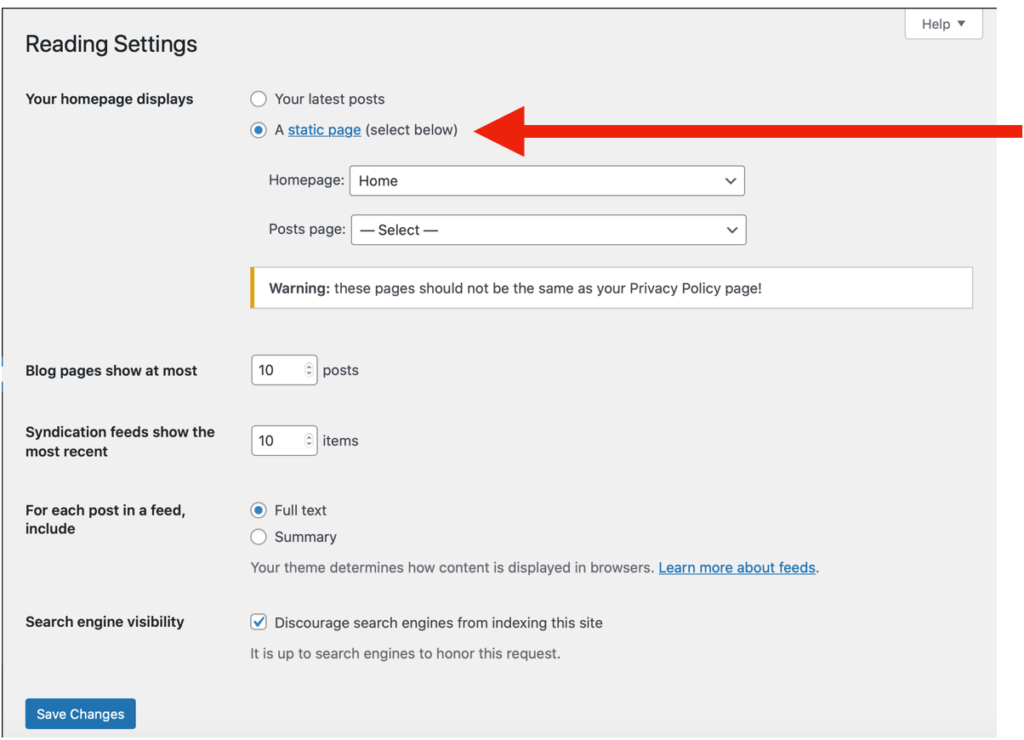
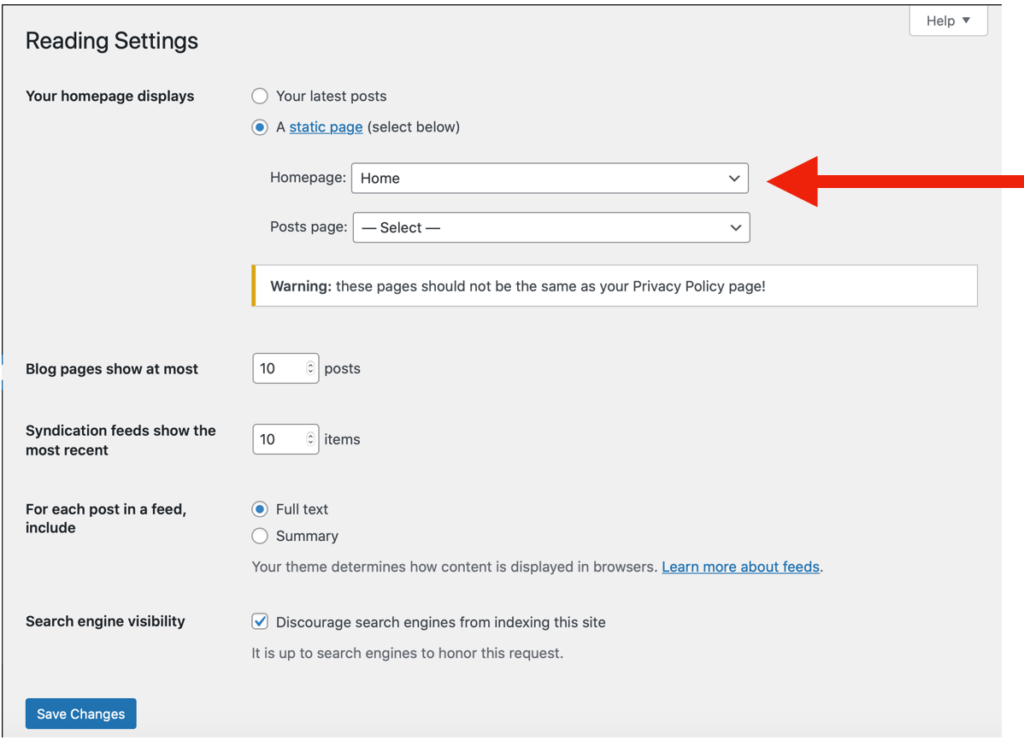
5. Directly under, next to the “homepage:” there is a drop down bar, click it and select which page you want to be your home page
Part 2: Close Reading Reflections, Blog Posts, and Essay Instructions
To create close reading/blog post category:
1. Go to the sidebar

2. Click on the category called “posts”
3. Go to subcategory “categories”

4. Name the category (first category should be called “close readings”, second should be called “blog posts”)
5. Click the blue “add new category” button
To create specific close reading pages:
1. Go to the sidebar

2. Click on the category called “pages”

3. Go to subcategory called “add new”
4. Type in the title and text you want for your page
-
- Your title should be the author of the book, the name of the book, and the year it was published in parenthesis (example: Aristotle, Politics (350 BCE))

5. Hit the blue “publish” button to the right of the screen

To create specific blog posts:
1. Go to the sidebar

2. Click on the category called “posts”

3. Go to subcategory called “add new”

4. Type in the title and text you want for your post

5. Hit the blue “publish” button to the right of the screen
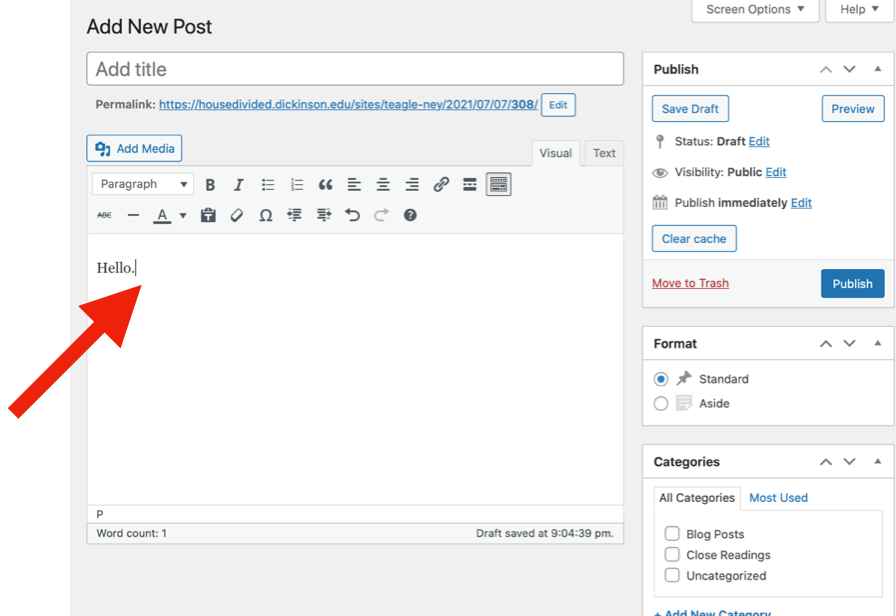
Once you are ready to add content onto each page…
1. Type the text into the text box directly OR copy and paste from a word document
OR
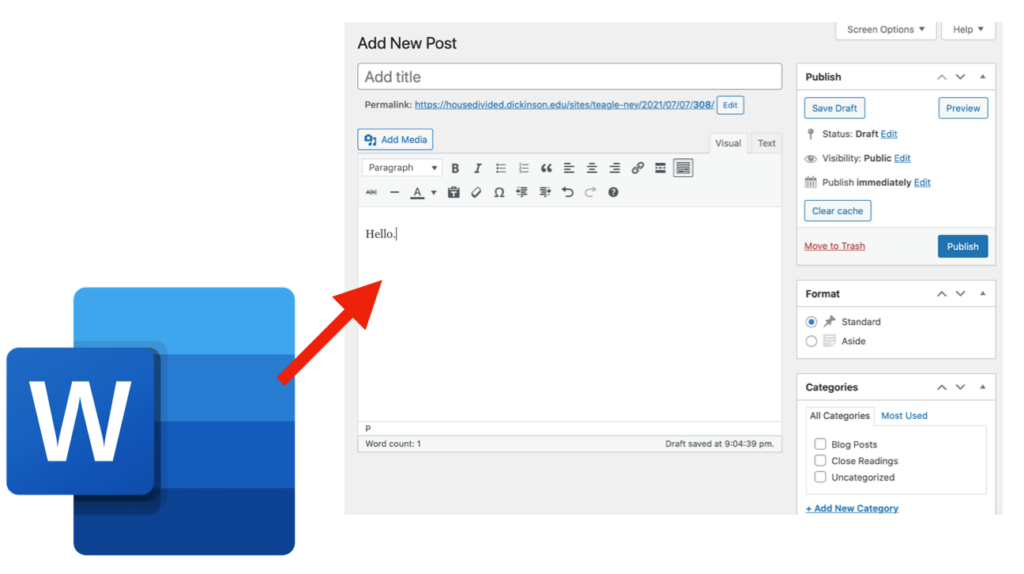
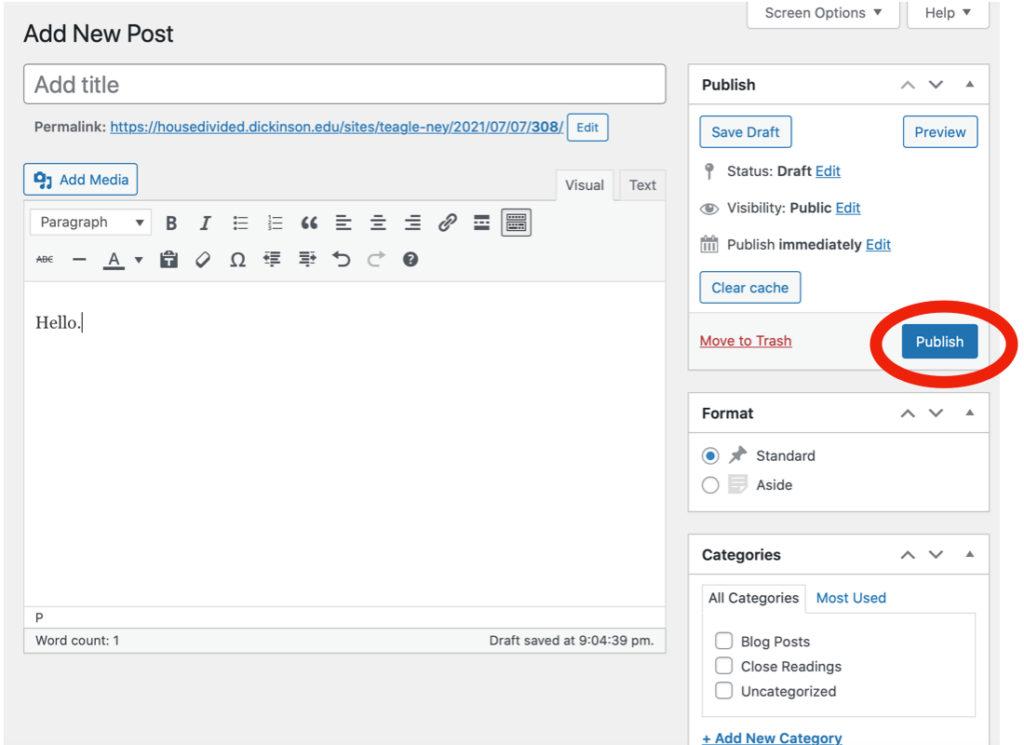
2. Hit the blue “publish” button to the right of the screen
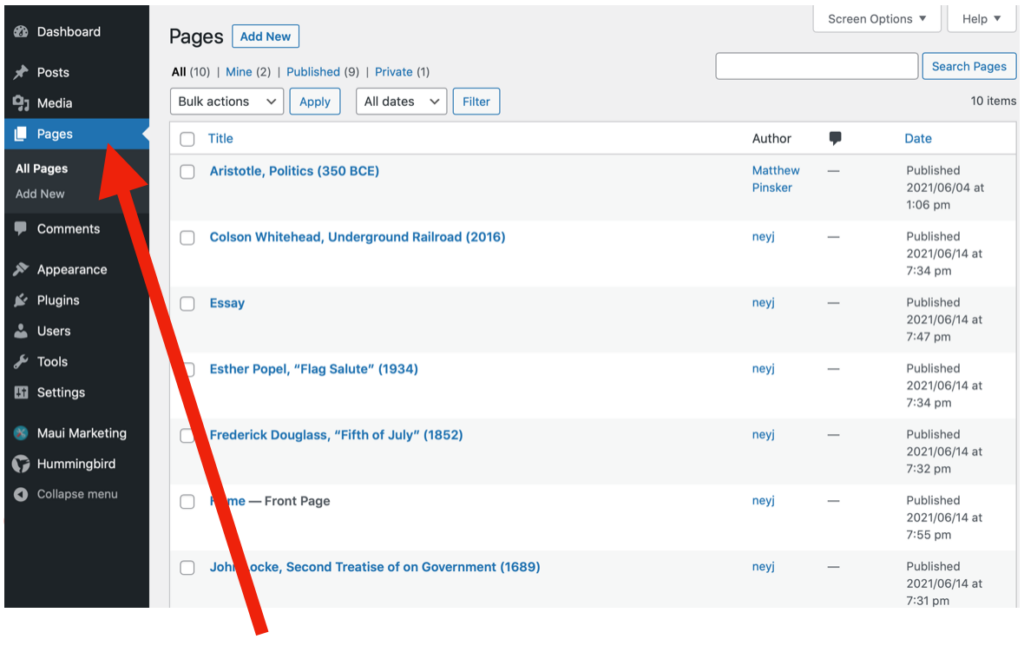
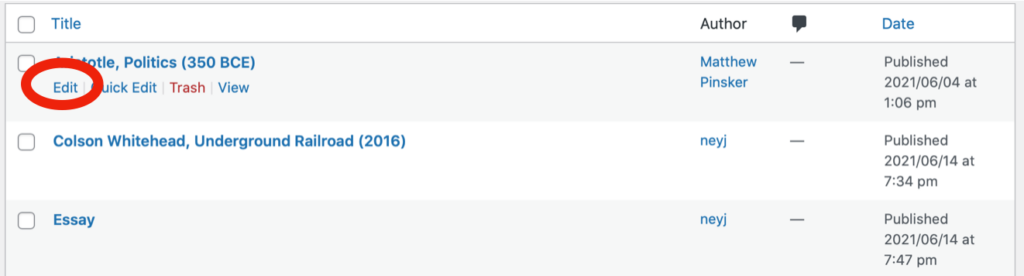
To go back and edit a page once it is published:
1. Go to the sidebar

2. Click on the category called “pages”
3. Go to subcategory called “all pages”
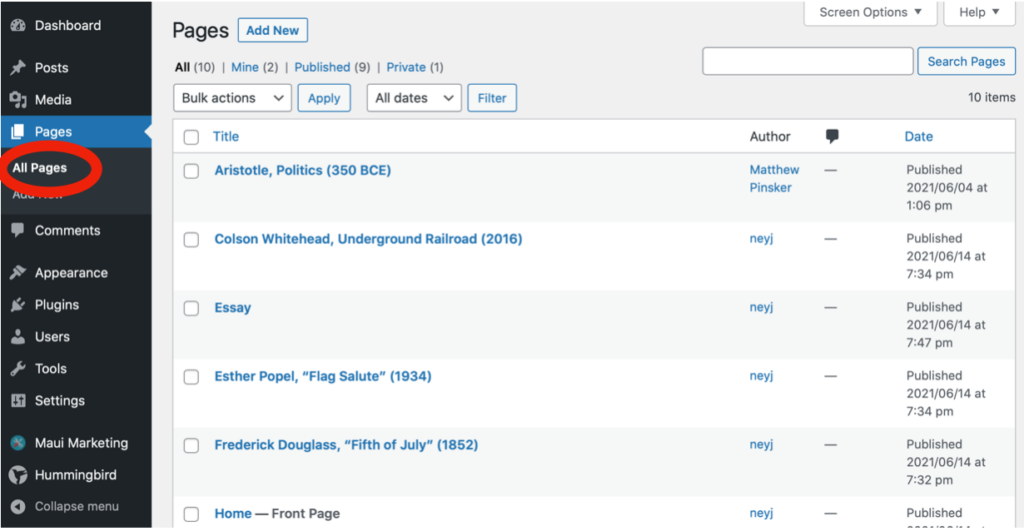
4. Click somewhere on the white space to the right of the title (don’t click underneath because you accidentally might trash it)
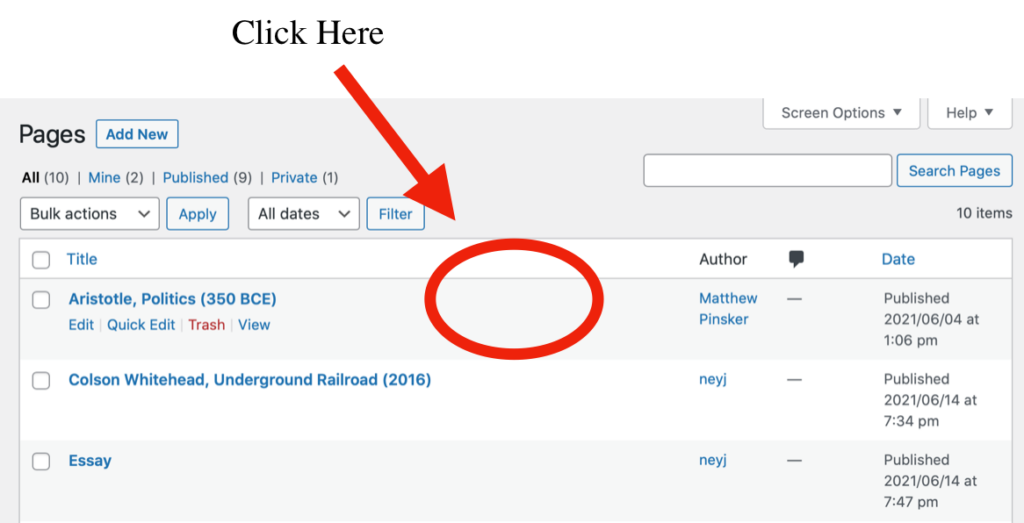
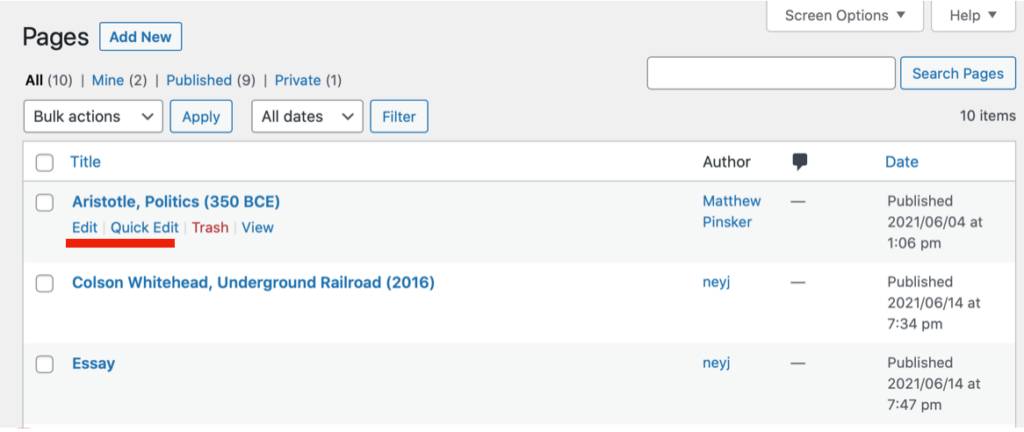
5. Hit the “edit” button located furthest to the left under the title of your page
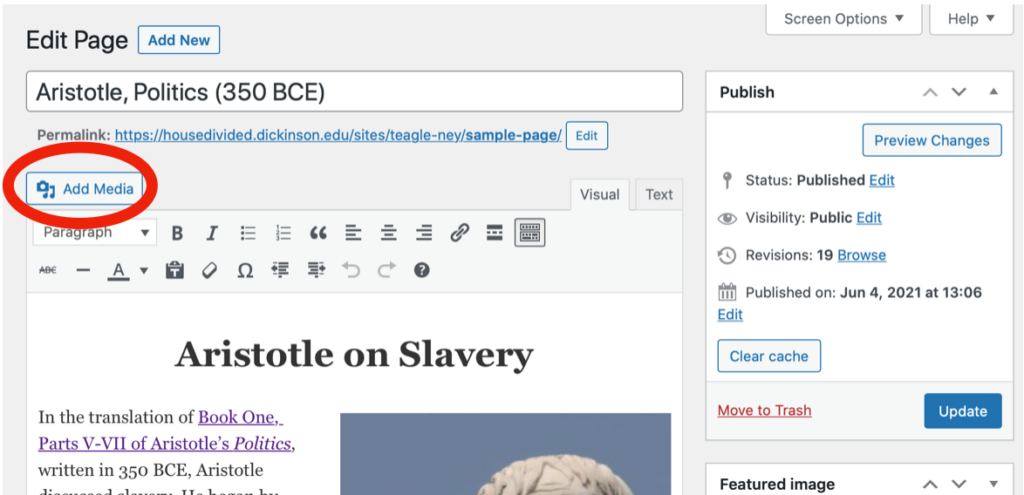
How to add picture to your close reading reflections:
1. Click the “add media” button to the left above the text box
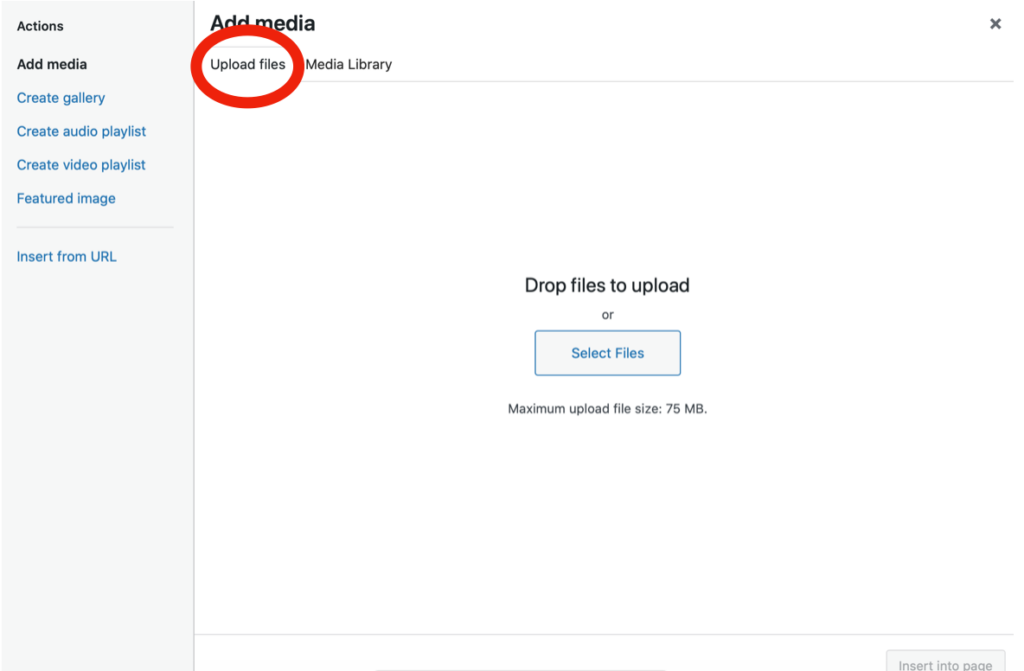
2. Click “upload files” to upload a photo that is saved to your camera roll or downloads, or drag a photo into the box that says “drop files to upload”
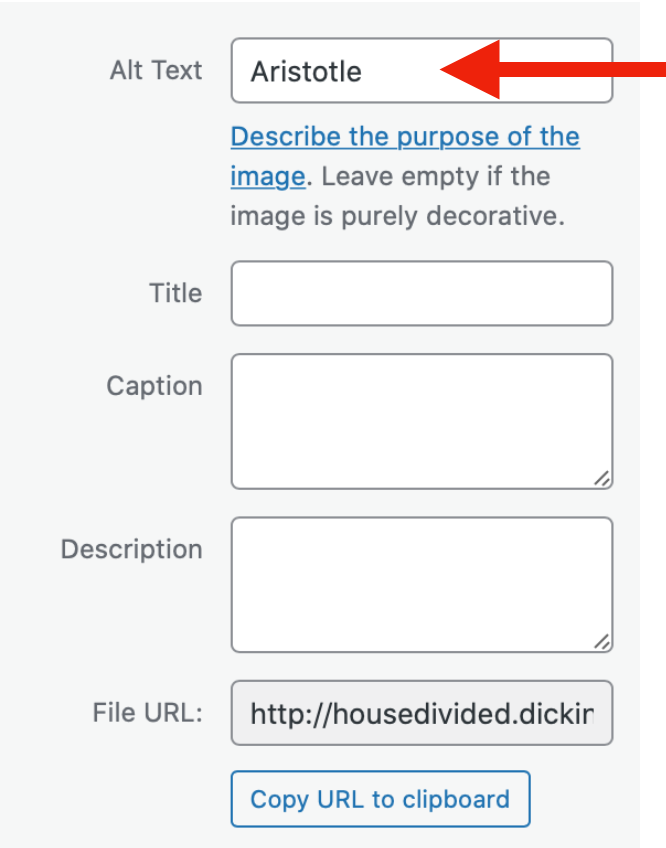
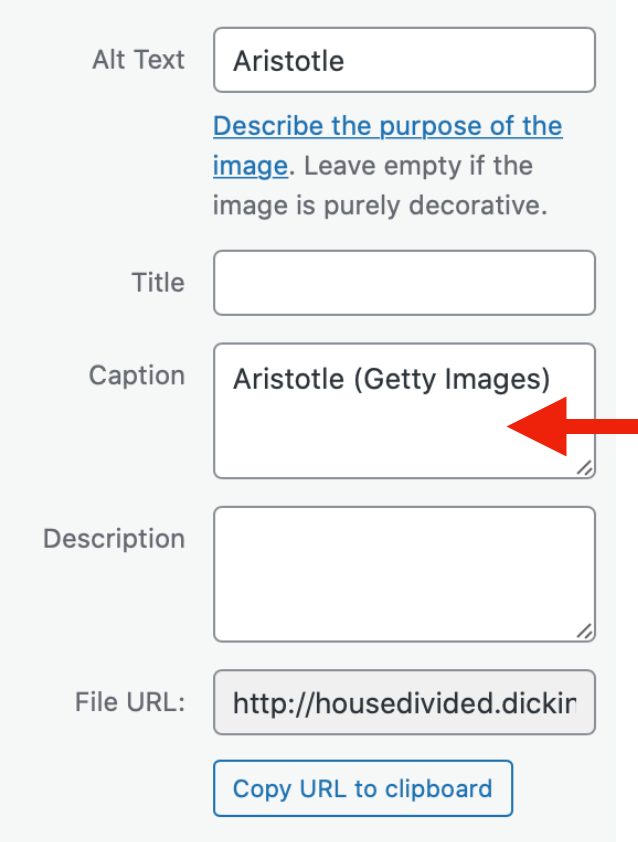
3. Look to the right of the popup and fill in the details, starting with alt text; write the most basic description of what the picture is in the “alt text” box
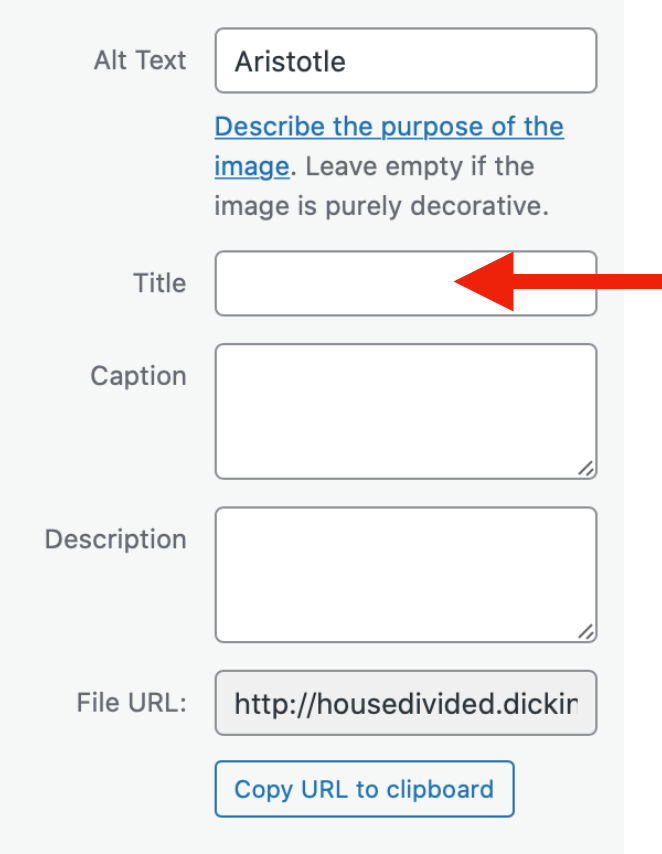
5. Leave “title” blank
6. “Caption” the image with a brief explanation and put the source in parenthesis
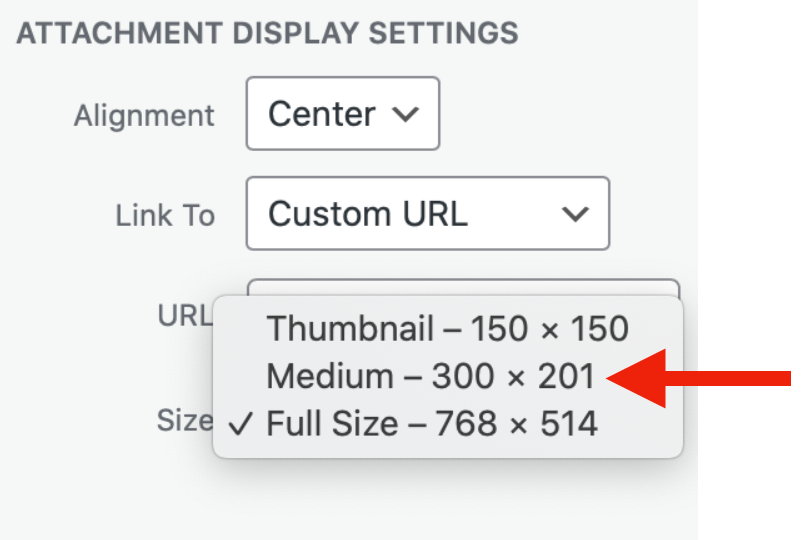
7. Scroll down to “attachment display settings” section
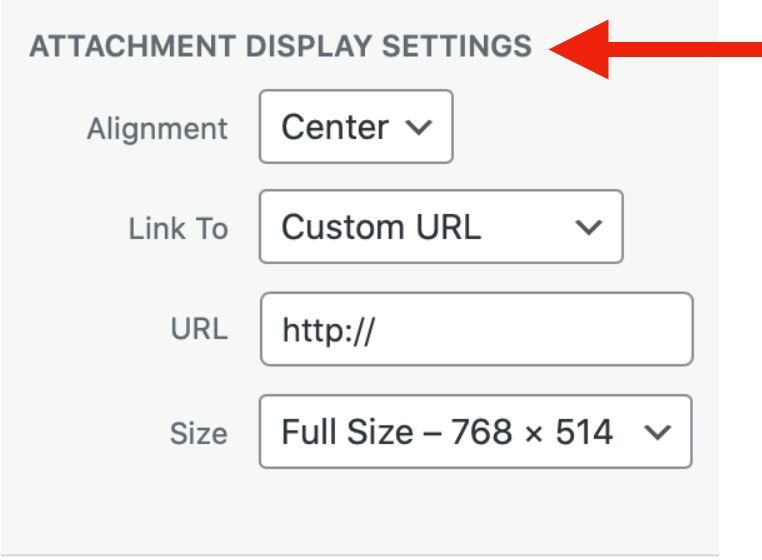
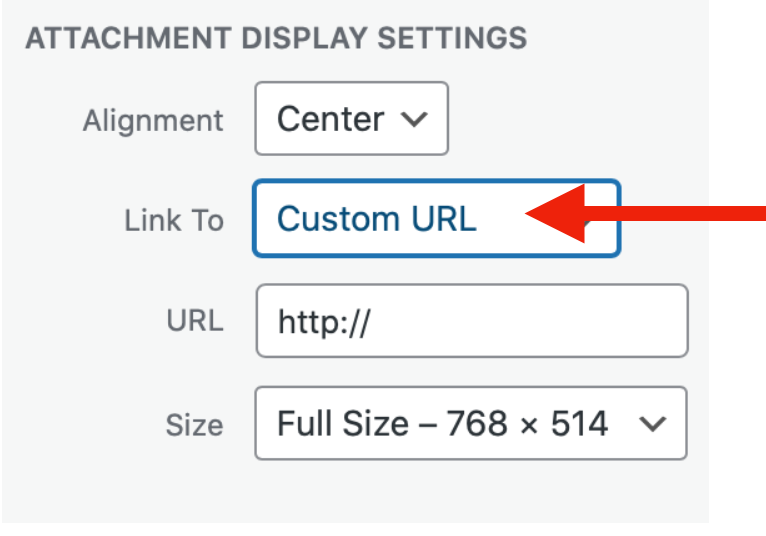
8. Click the triangle to the right of the “link to” box and select “custom URL”
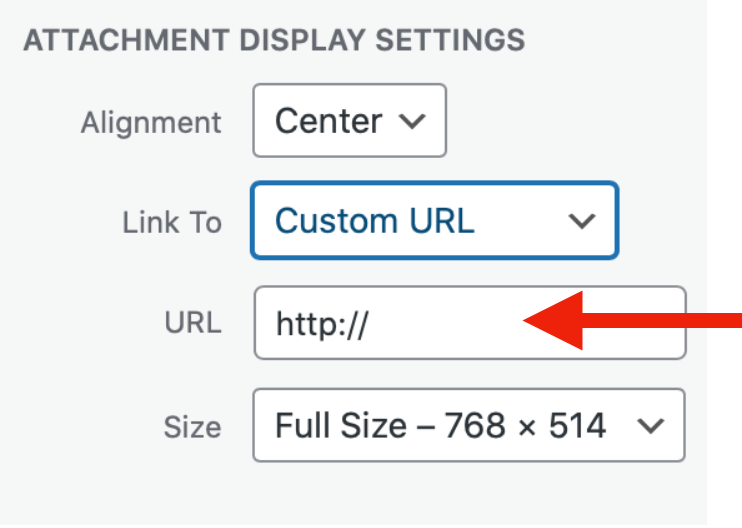
9. Copy and paste the URL where the image is originally from in the box (hint: make sure to delete the http:// that is already in the “URL” box)
10. Select whatever “size” you see fit
11. Insert into page
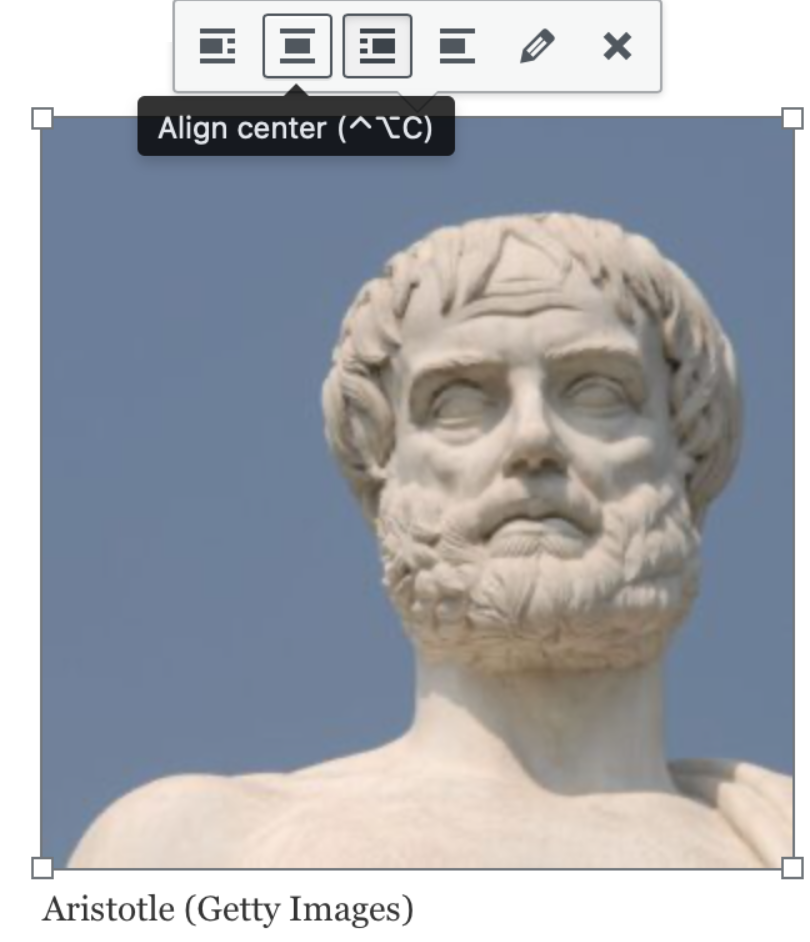
To move the picture once it is in the page:
1. In editing mode, tap the image you would like to move
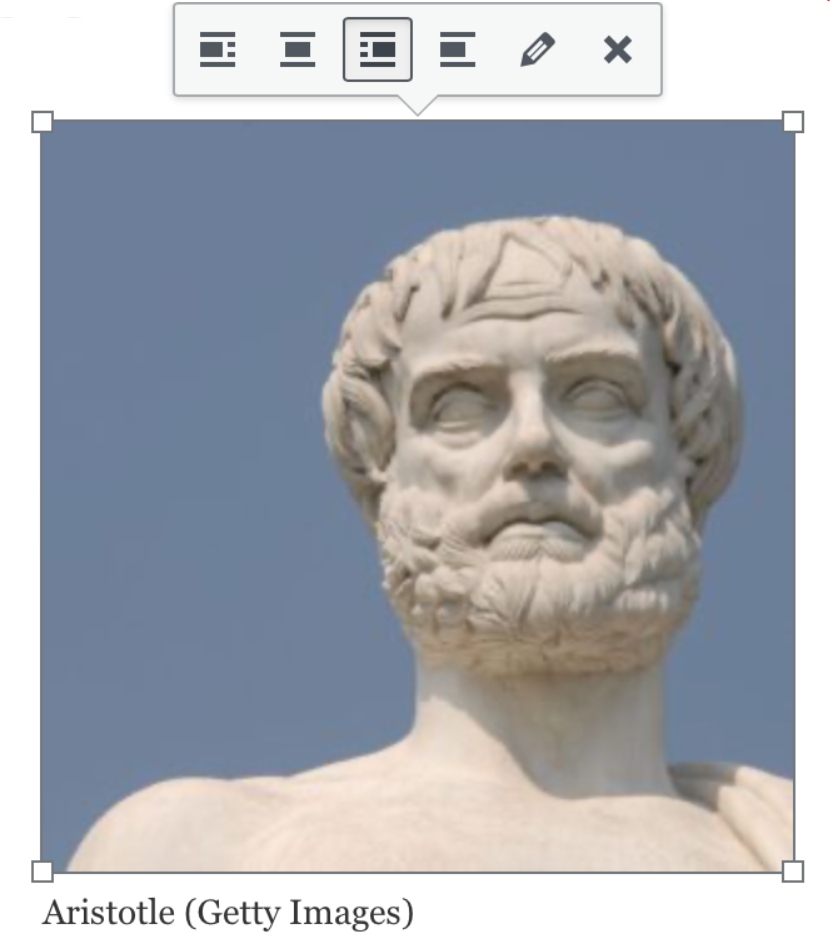
2. Click the alignment you would like, and the text will automatically fill in around it
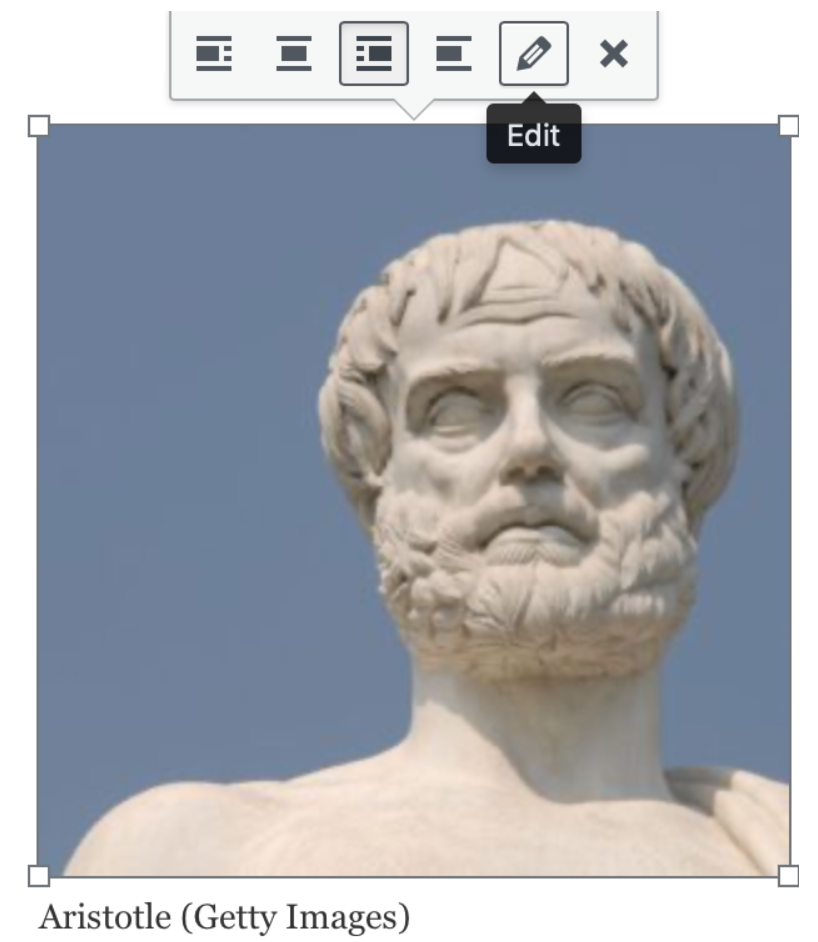
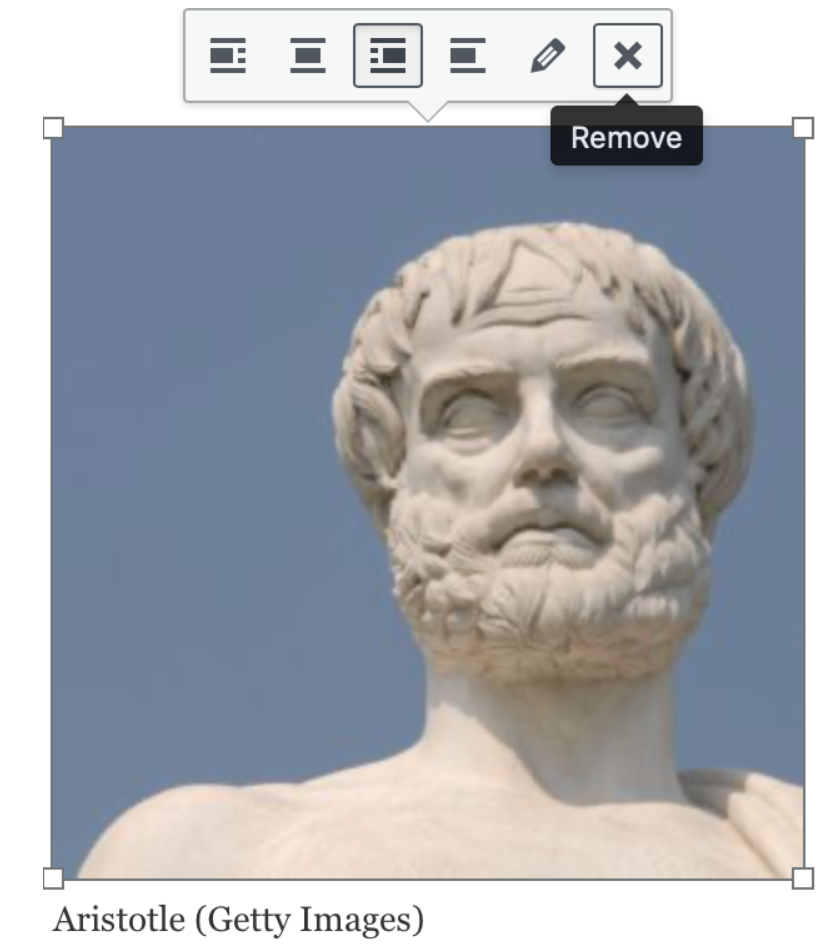
To edit the picture once it is in the page:
1. In editing mode, Tap the image you would like to edit

2. Click on the pencil icon
To delete the picture once it is in the page:
1. In editing mode, Tap the image you would like to delete

2. Click the x icon
How to embed a video to your close reading reflection:
1. Make sure you are in editing mode on “pages”
2. Go to the top right-hand corner of the text box where it says “visual” and text”

3. Click on “text” and paste the embed code you copied from WeVideo in the text box
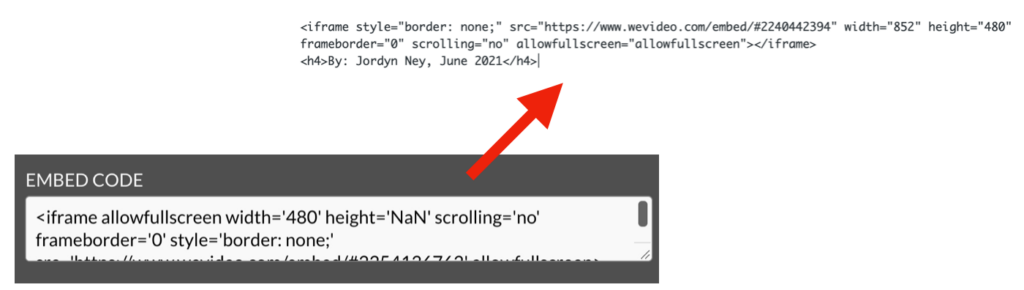
4. Manually change the dimensions of your video (width and height) Note: you may have to play around with it until you create the right size; usually half of the original width and height

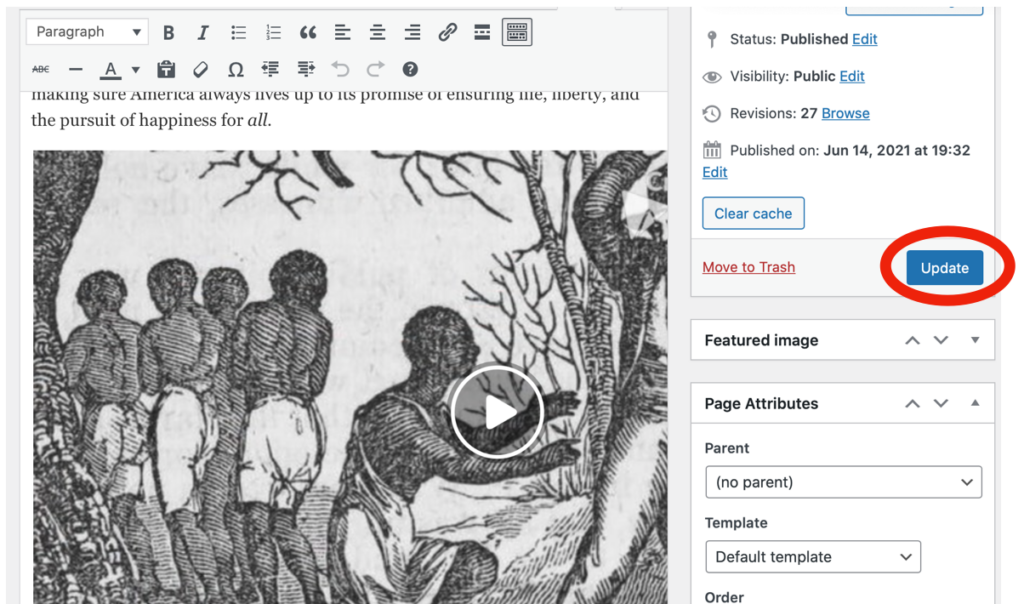
5. Go back to “visual” to preview your work
6. hit “publish” or “update”
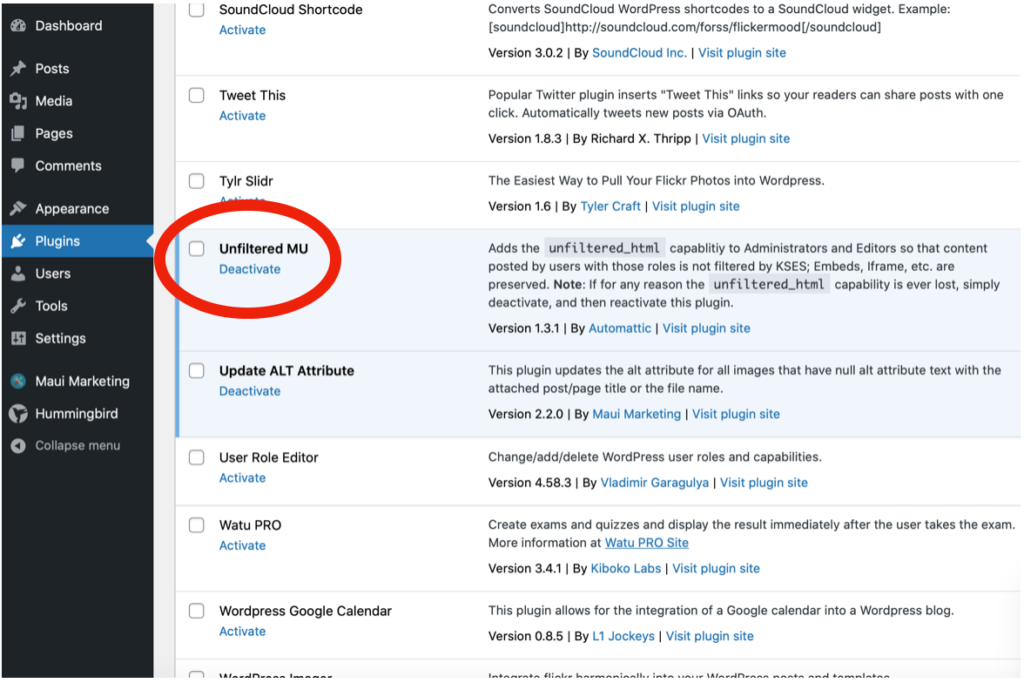
Note: the first time you embed a video, you must follow this process:
1. Go to the sidebar

2. Click on “plug ins”
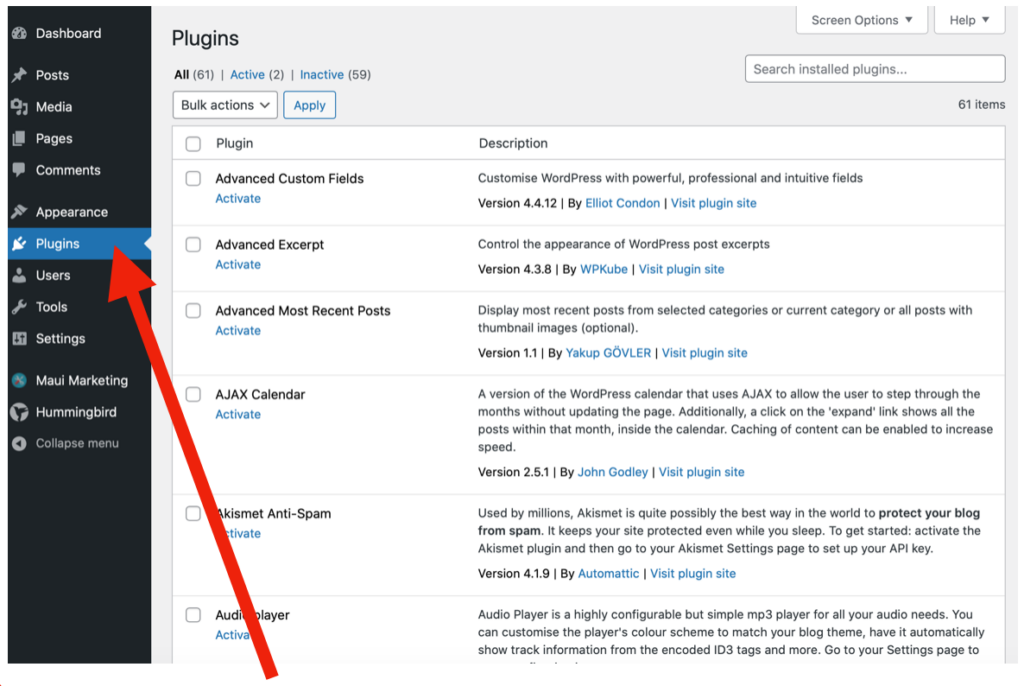
3. Scroll until you see “unfiltered MU” and click on it to activate it
Part 3: What to Include on Each Page
What to put on your home page:
- Essential question: your question should embody the theme of the seminar
- Home page paragraph: your paragraph should begin with content introduction, explain the Teagle seminar, and provide a roadmap to your website
- Photo: choose a photo/picture that embodies your website
- Sidebar: the sidebar is to the right or left side of the webpage. It should include:
- Search bar
- Administration (meta)
- About the author: a brief except including your name, high school, and interests
What to put on your close readings pages:
- Creative Title: choose a title that relates to your reflection
- Byline: write your full name and the date it was published (at beginning or end of post)
- Reflection: your 500 word close reading reflection
- 1-2 photos: these photos should relate to your close reading reflection
- Hyperlink to original source
- Multimedia: either podcast, documentary style, or face-to-camera video
What to put on your blog posts:
- Blog Post: about your fieldtrips
- 1-2 photos: these photos should be taken on your field trips or at activities
What to put on your essay page:
- Essay
- 1-2 photos: these photos should relate to your essay