 A “boiling line” effect is a drawn visual effect in which two or more similar versions of one drawing (or tracing) are edited together in a loop. The result is a line drawing that subtly shifts (or “boils”), appearing as a sort of living sketch. Here are some examples of when this technique might be a particularly good option:
- You don’t have many images and are trying to make your content more visually engaging (especially if you prefer not to use generative AI to animate images)
- The images you have are blurry/low quality, tracings could be clearer
- You’re considering ways to get more creative or artistic with your content
This technique takes a bit of time, but you don’t need to be a skilled artist to do it. You do, however, need something to draw on. The least you’re going to need is a device with a screen such as a cellphone plus your finger to draw, but working on an iPad with a stylus/pen is ideal. You can use almost any drawing software, but this particular demonstration uses the free app Sketchbook.
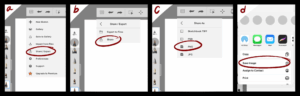
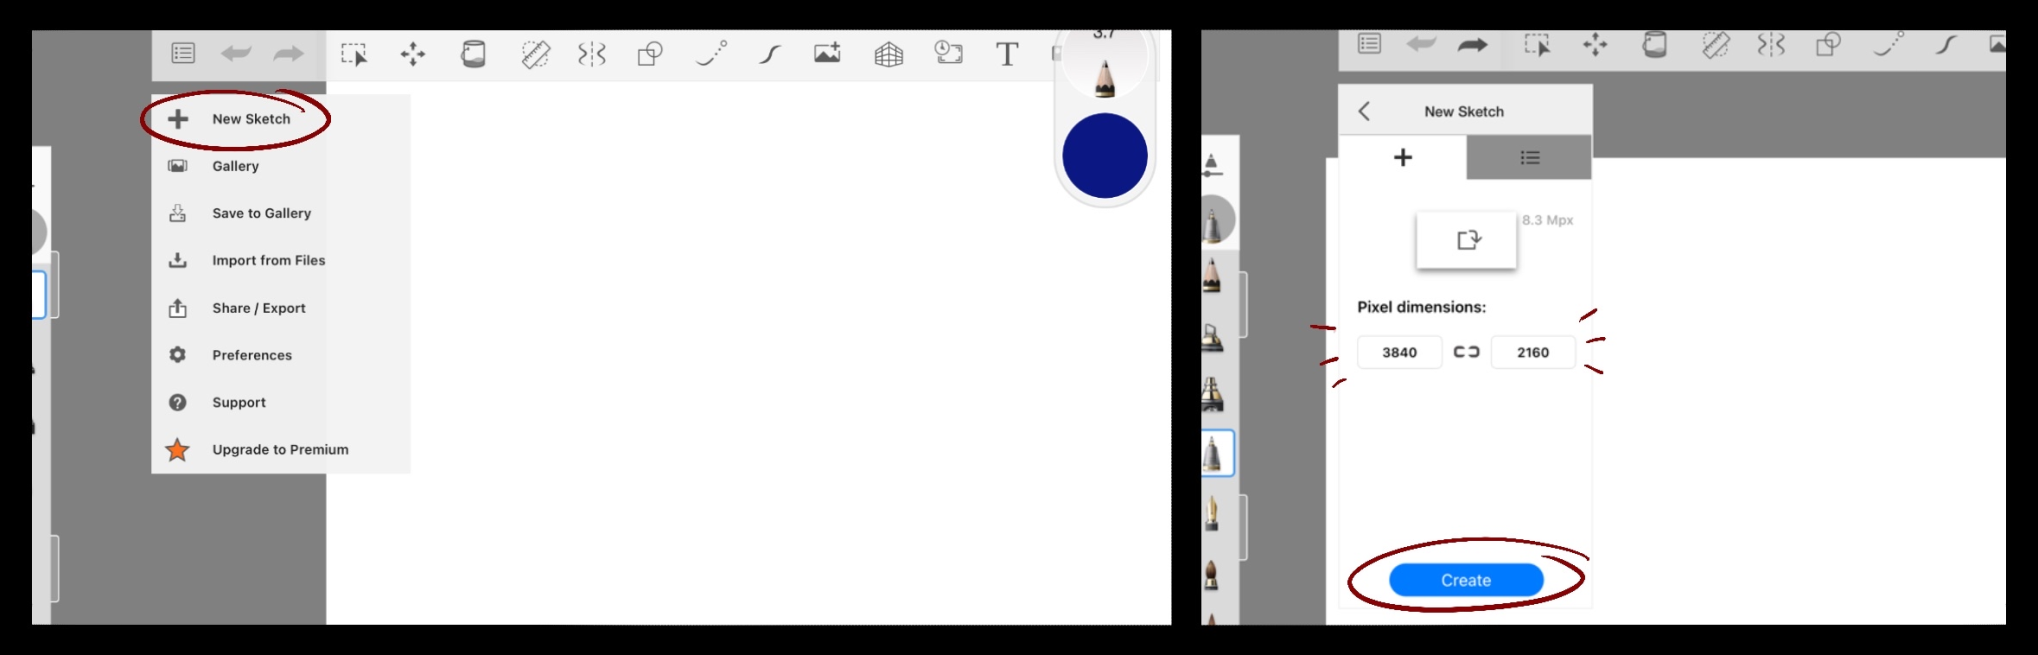
- Once you open your drawing app, create a new canvas. The ratio of length to height should be about 16:9 if you want it to fit in a WeVideo project. I use a canvas size of 3840 x 2160 pixels for this.

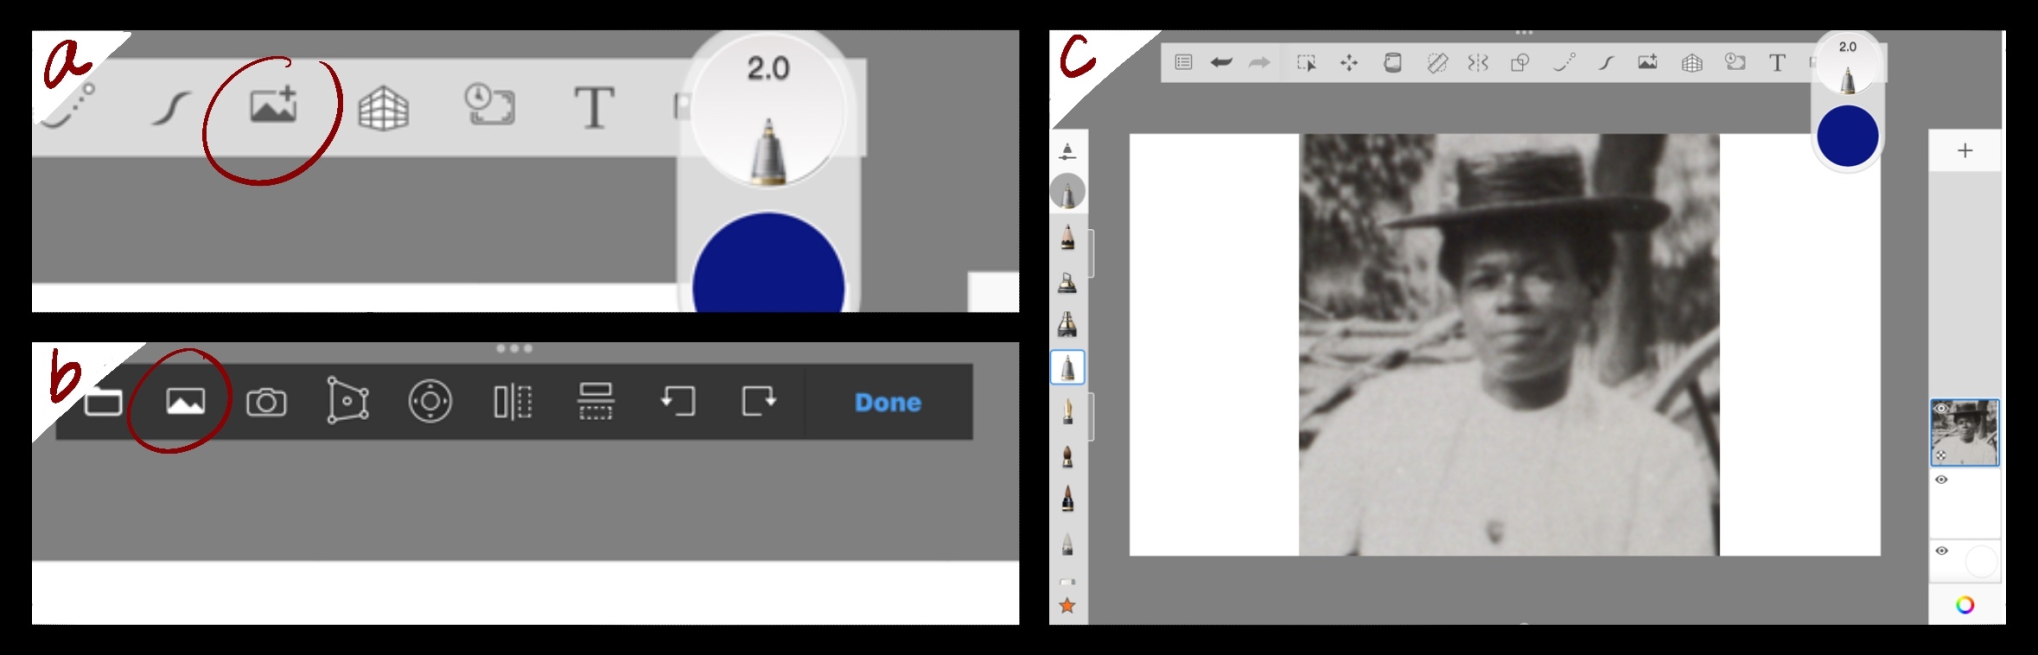
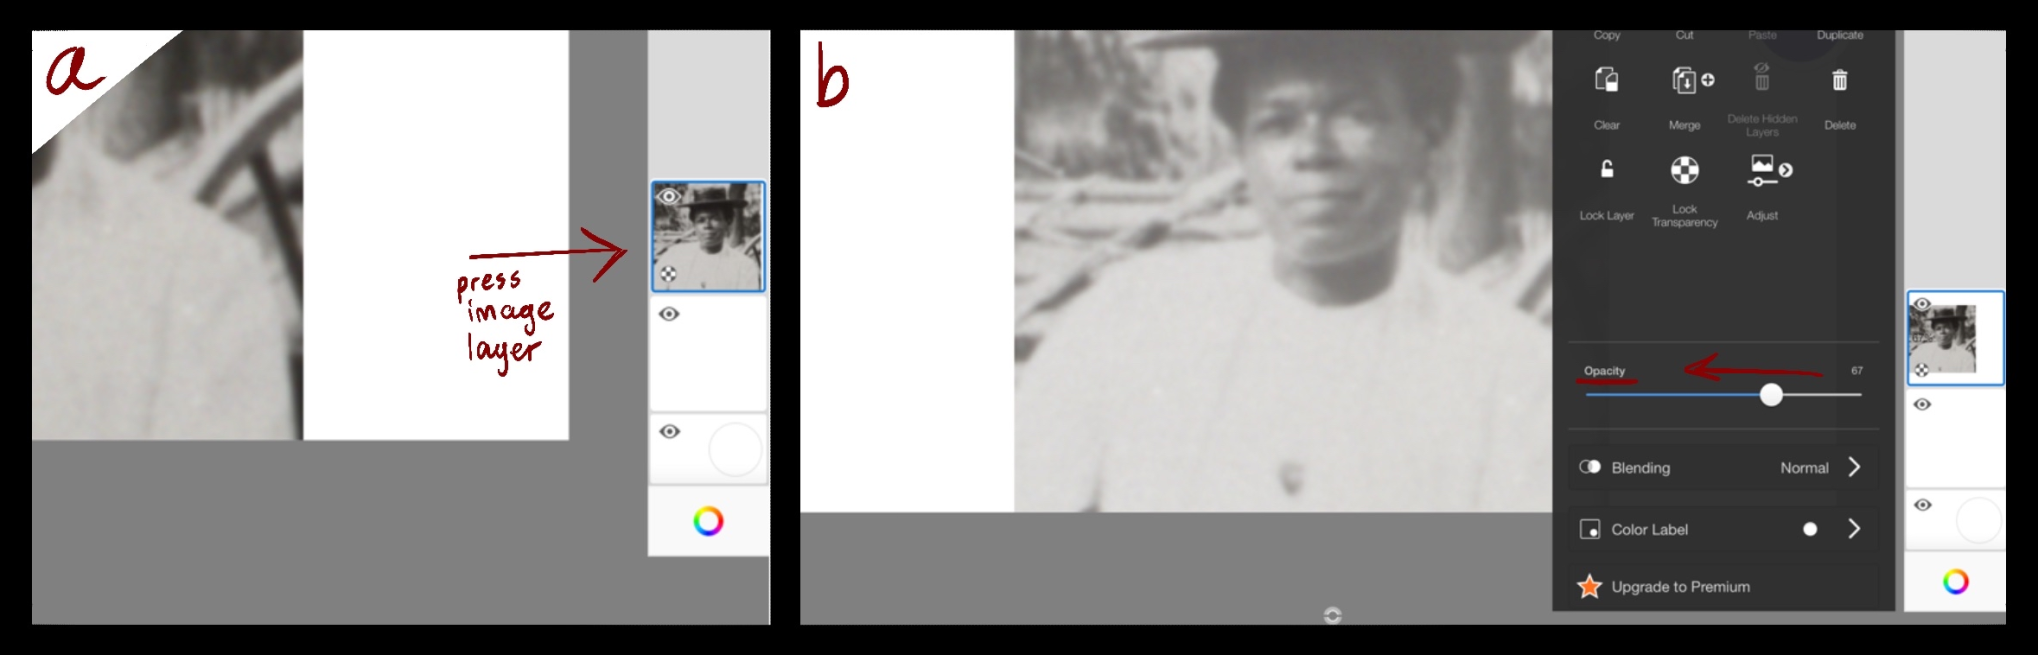
- Import the image you want to trace and size it to the canvas if needed.
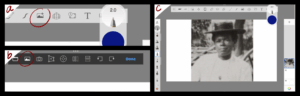
- Locate your “layers.” Turn down the opacity of your image layer. You should still be able to see details but it should be light enough so that your black tracing lines will stand out.
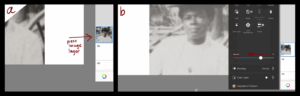
- Create a new layer above the image layer.
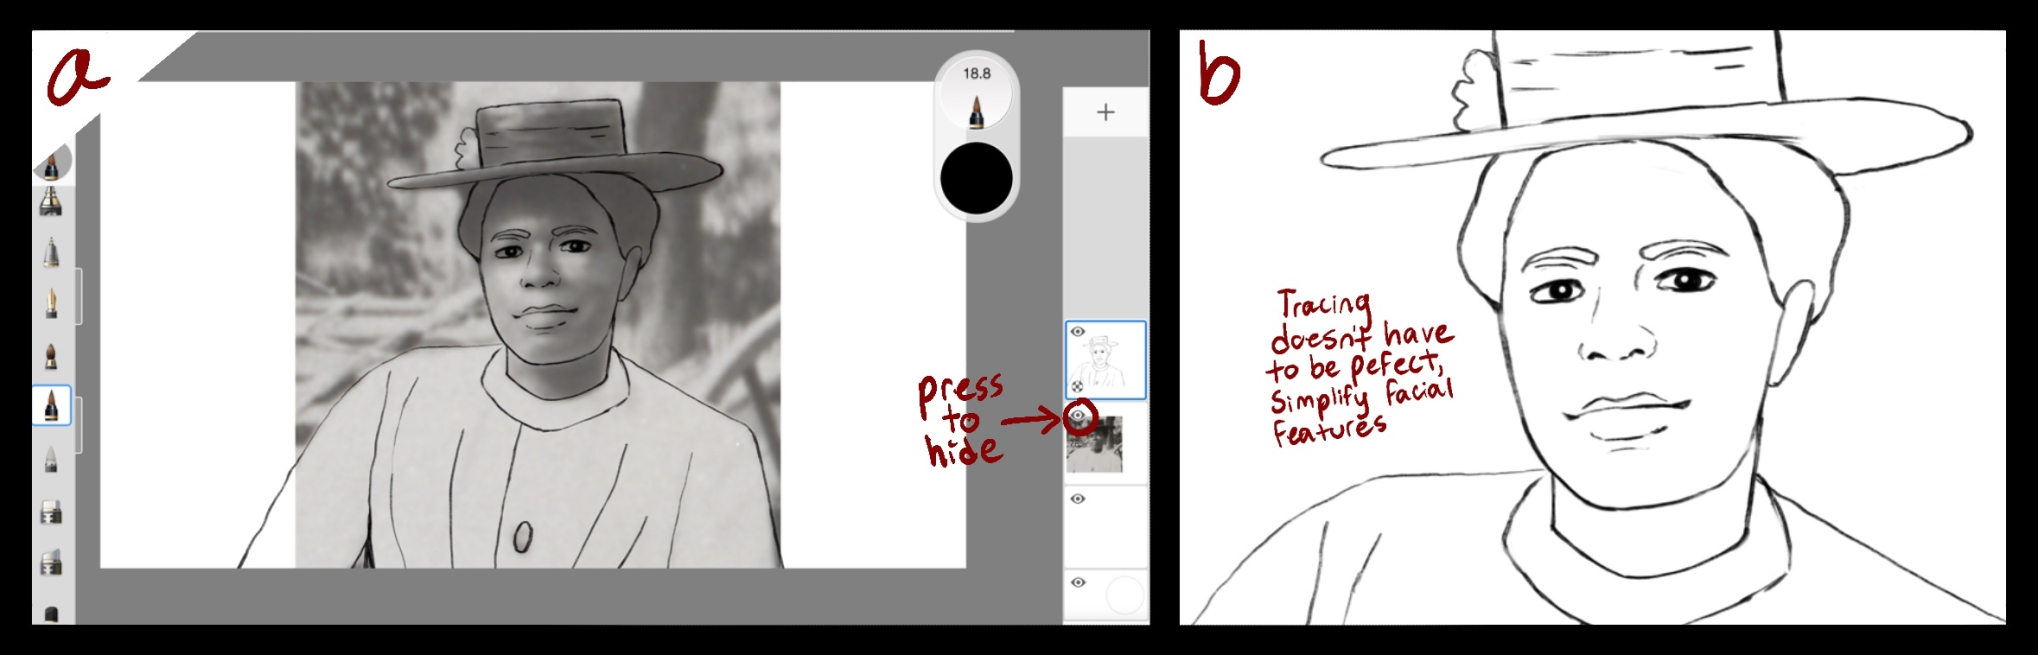
- Select a brush to draw with (you may want to quickly test a few out before deciding), adjust the size and opacity to your liking by pressing on the brush again, and set your color to black.
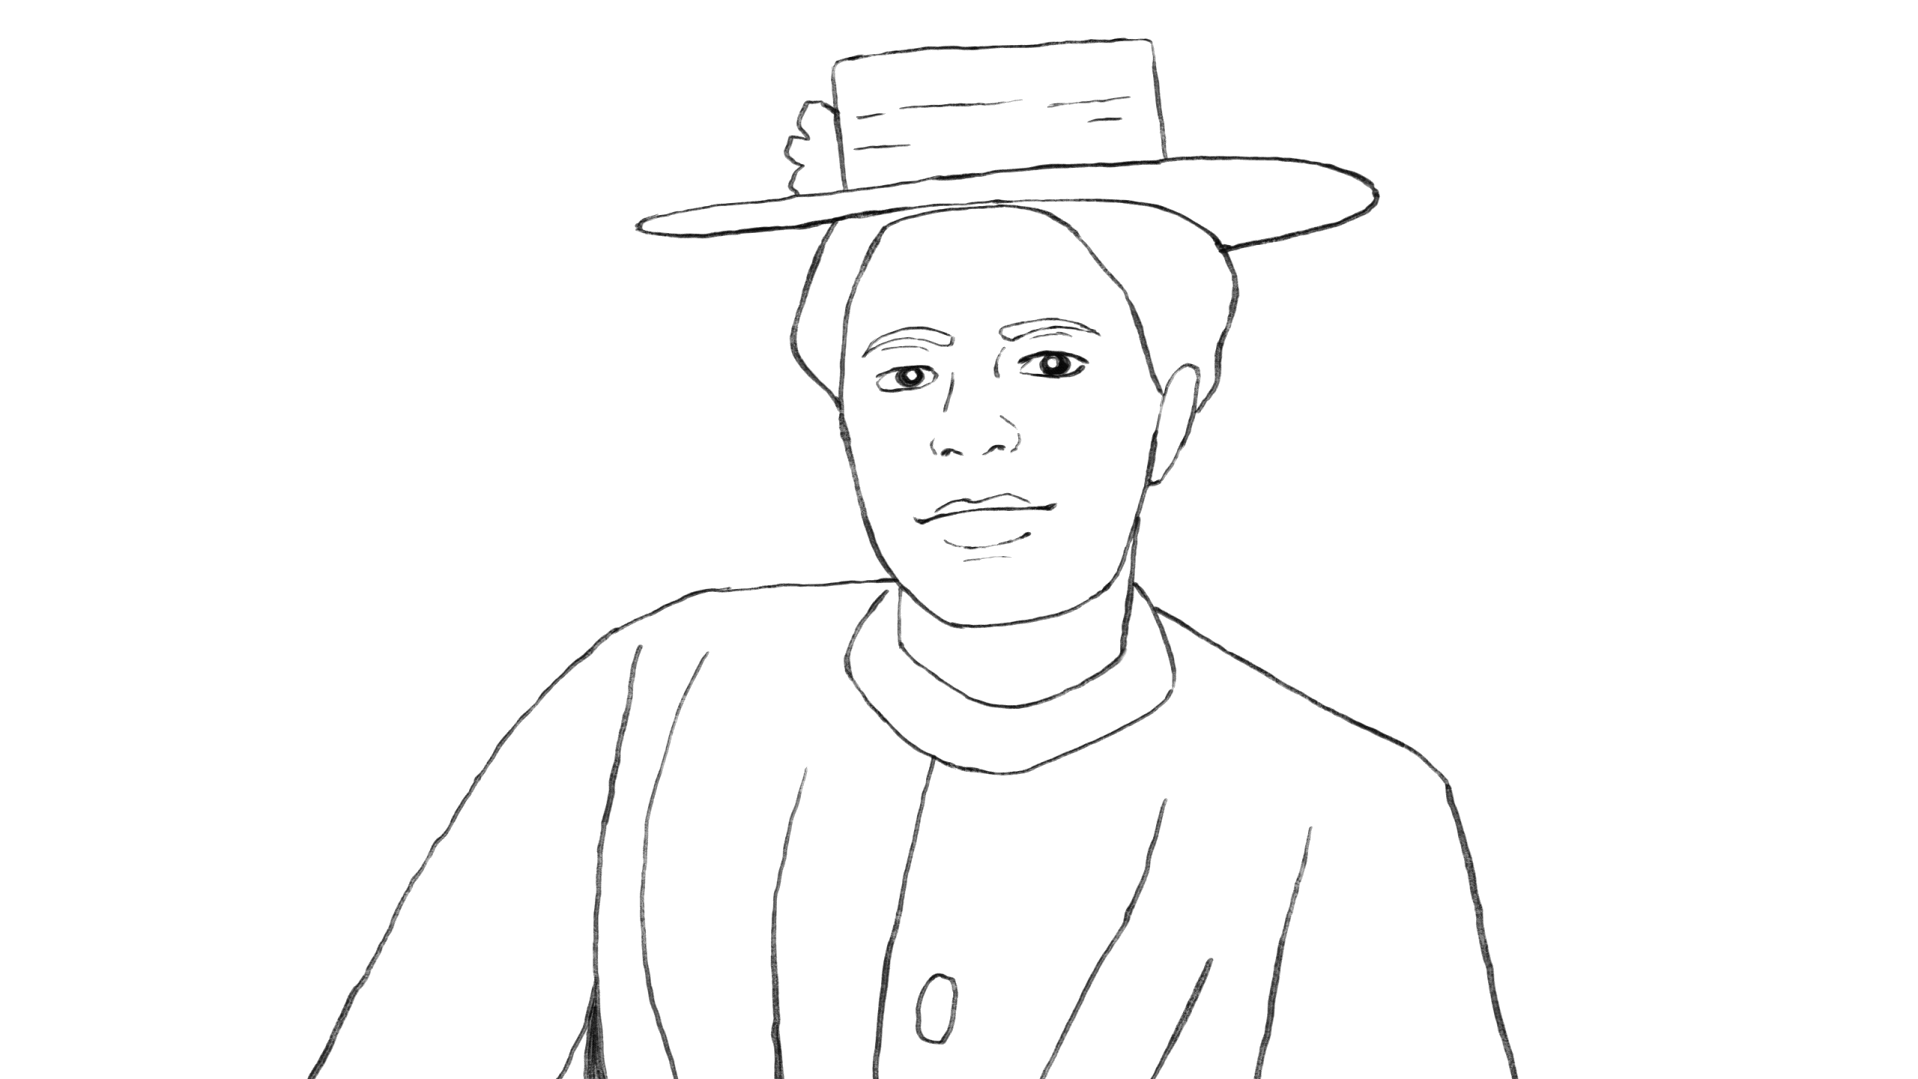
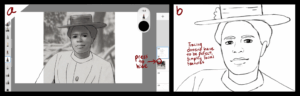
- On your new layer, trace the image. You don’t have to trace every tiny detail– just keep enough to effectively convey the subject, and don’t worry about making your lines perfectly smooth. You’ll have to simplify some things (and extrapolate a few details if your image is blurry or faded). You can reference how I simplified the facial features if you find it helpful.
- Hide your image layer and export this drawing.
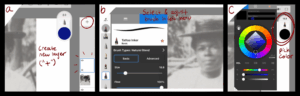
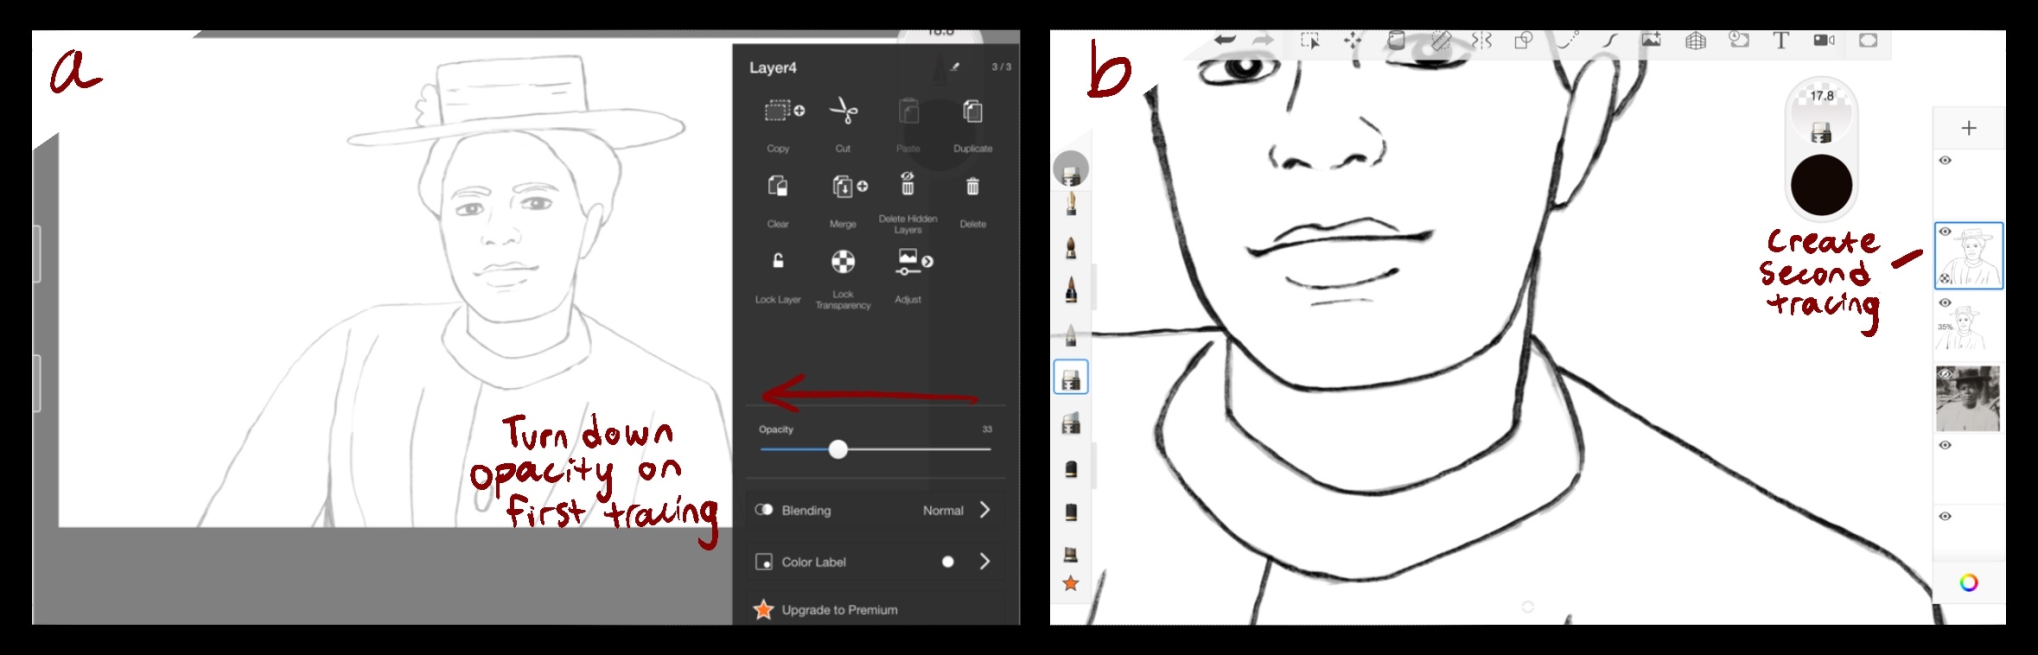
- Lower the opacity of your first drawing layer and create a new layer.
- On the new layer, trace your first drawing. The lines don’t have to be perfect (in fact, they shouldn’t be), but keep in mind that the more they deviate from the first drawing, the more dramatic the effect will be.

- Hide the first drawing layer and export the second drawing.


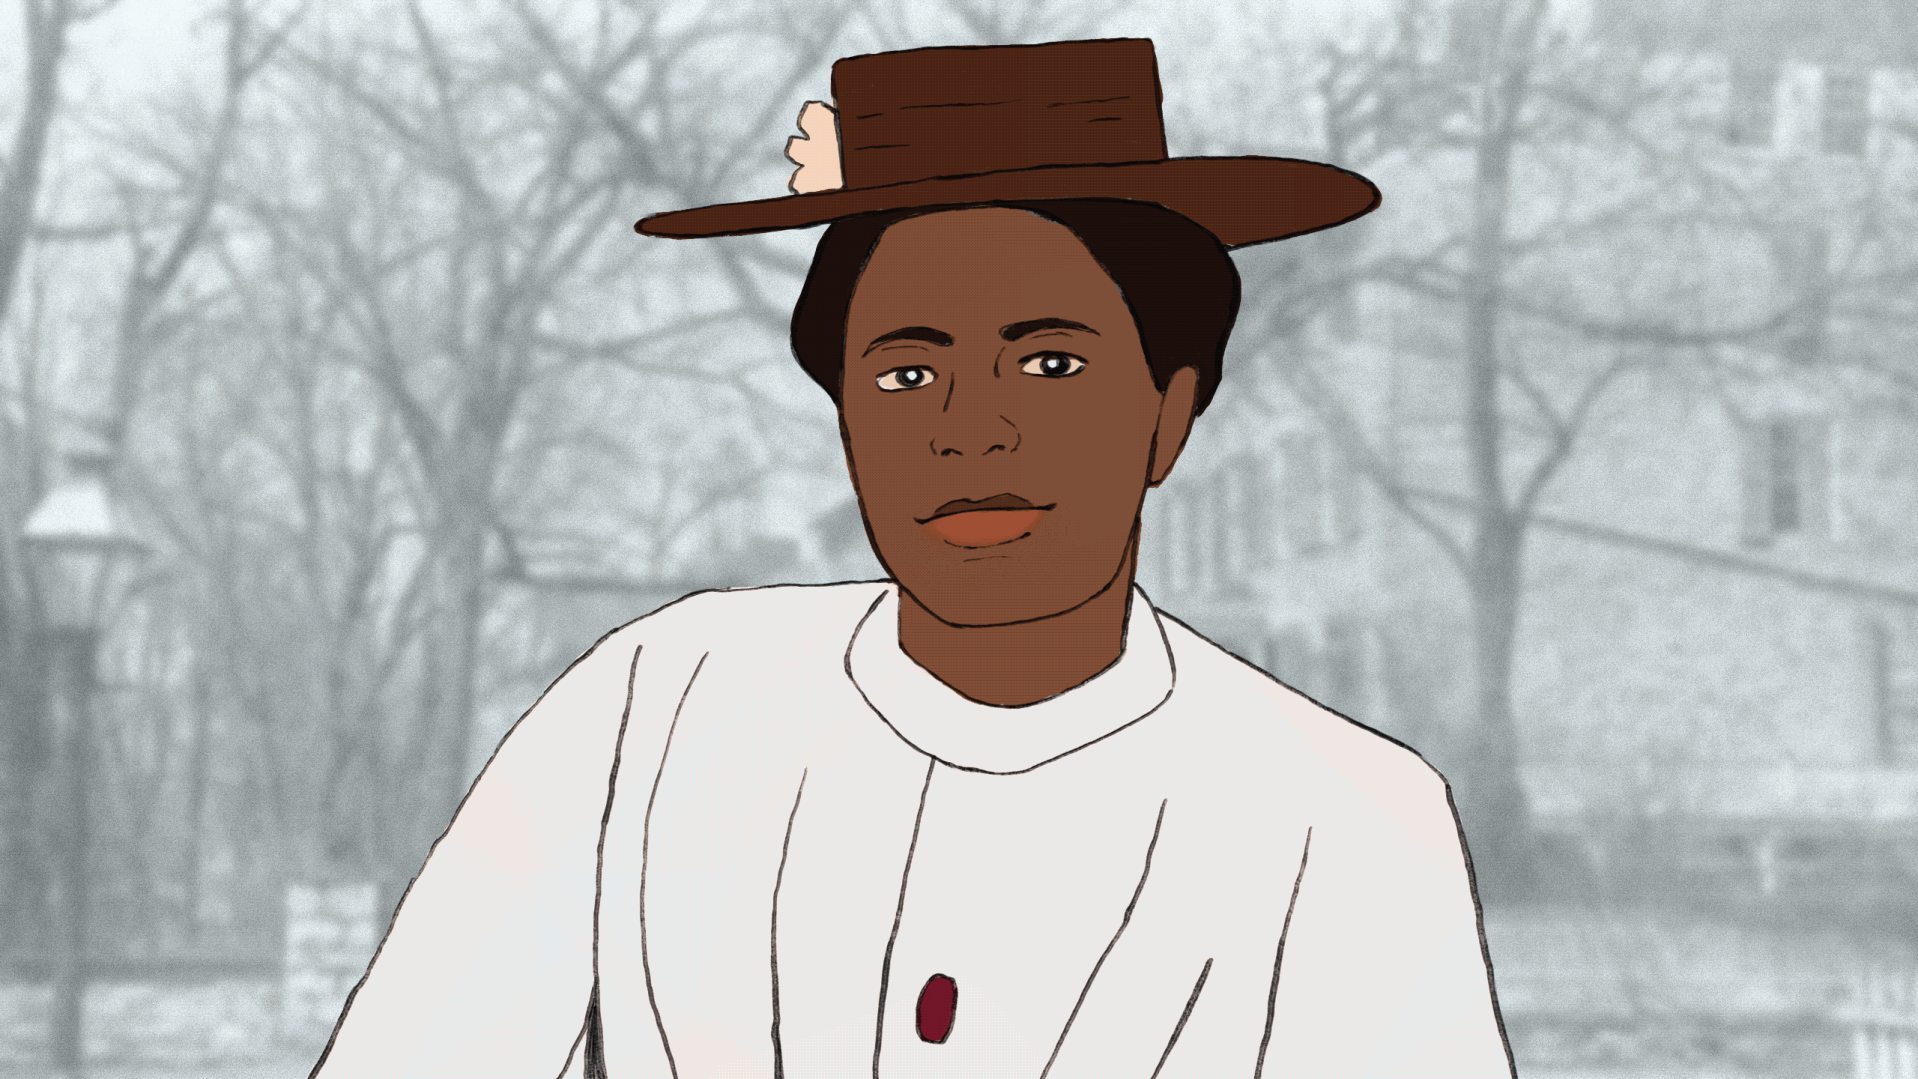
You now have two similar drawings. If you want, you can create more, but otherwise just edit the two images switching between each other a few times on your editing software (I advise that you have each clip no more than one second). Make sure the last image is different from the first image so that the clip can loop seamlessly. On some drawing programs like Procreate, you can create this video with an animation tool. Otherwise, just use your regular video editing software.
Tip: If you are comfortable with your drawing software and up for it, you can try adding background and color layers to your project.
Leave a Reply