Image and text effects are a great way to make your video more engaging and to add life to your images. These are just a few examples to get you started, and I am sure that when you begin playing around in WeVideo you will be able to discover a lot more depending on what image you are looking at. Think about what parts of your image and text would be the easiest and most useful to enhance and how it would help your viewers to understand the topic better.
- I use an app called Vimage to easily add overlays to images. For images that illustrate an outdoor scene, I have added overlays like falling rain, snow, or tree branches/grass swaying in the wind. There are a ton of different options, so take some time to explore.
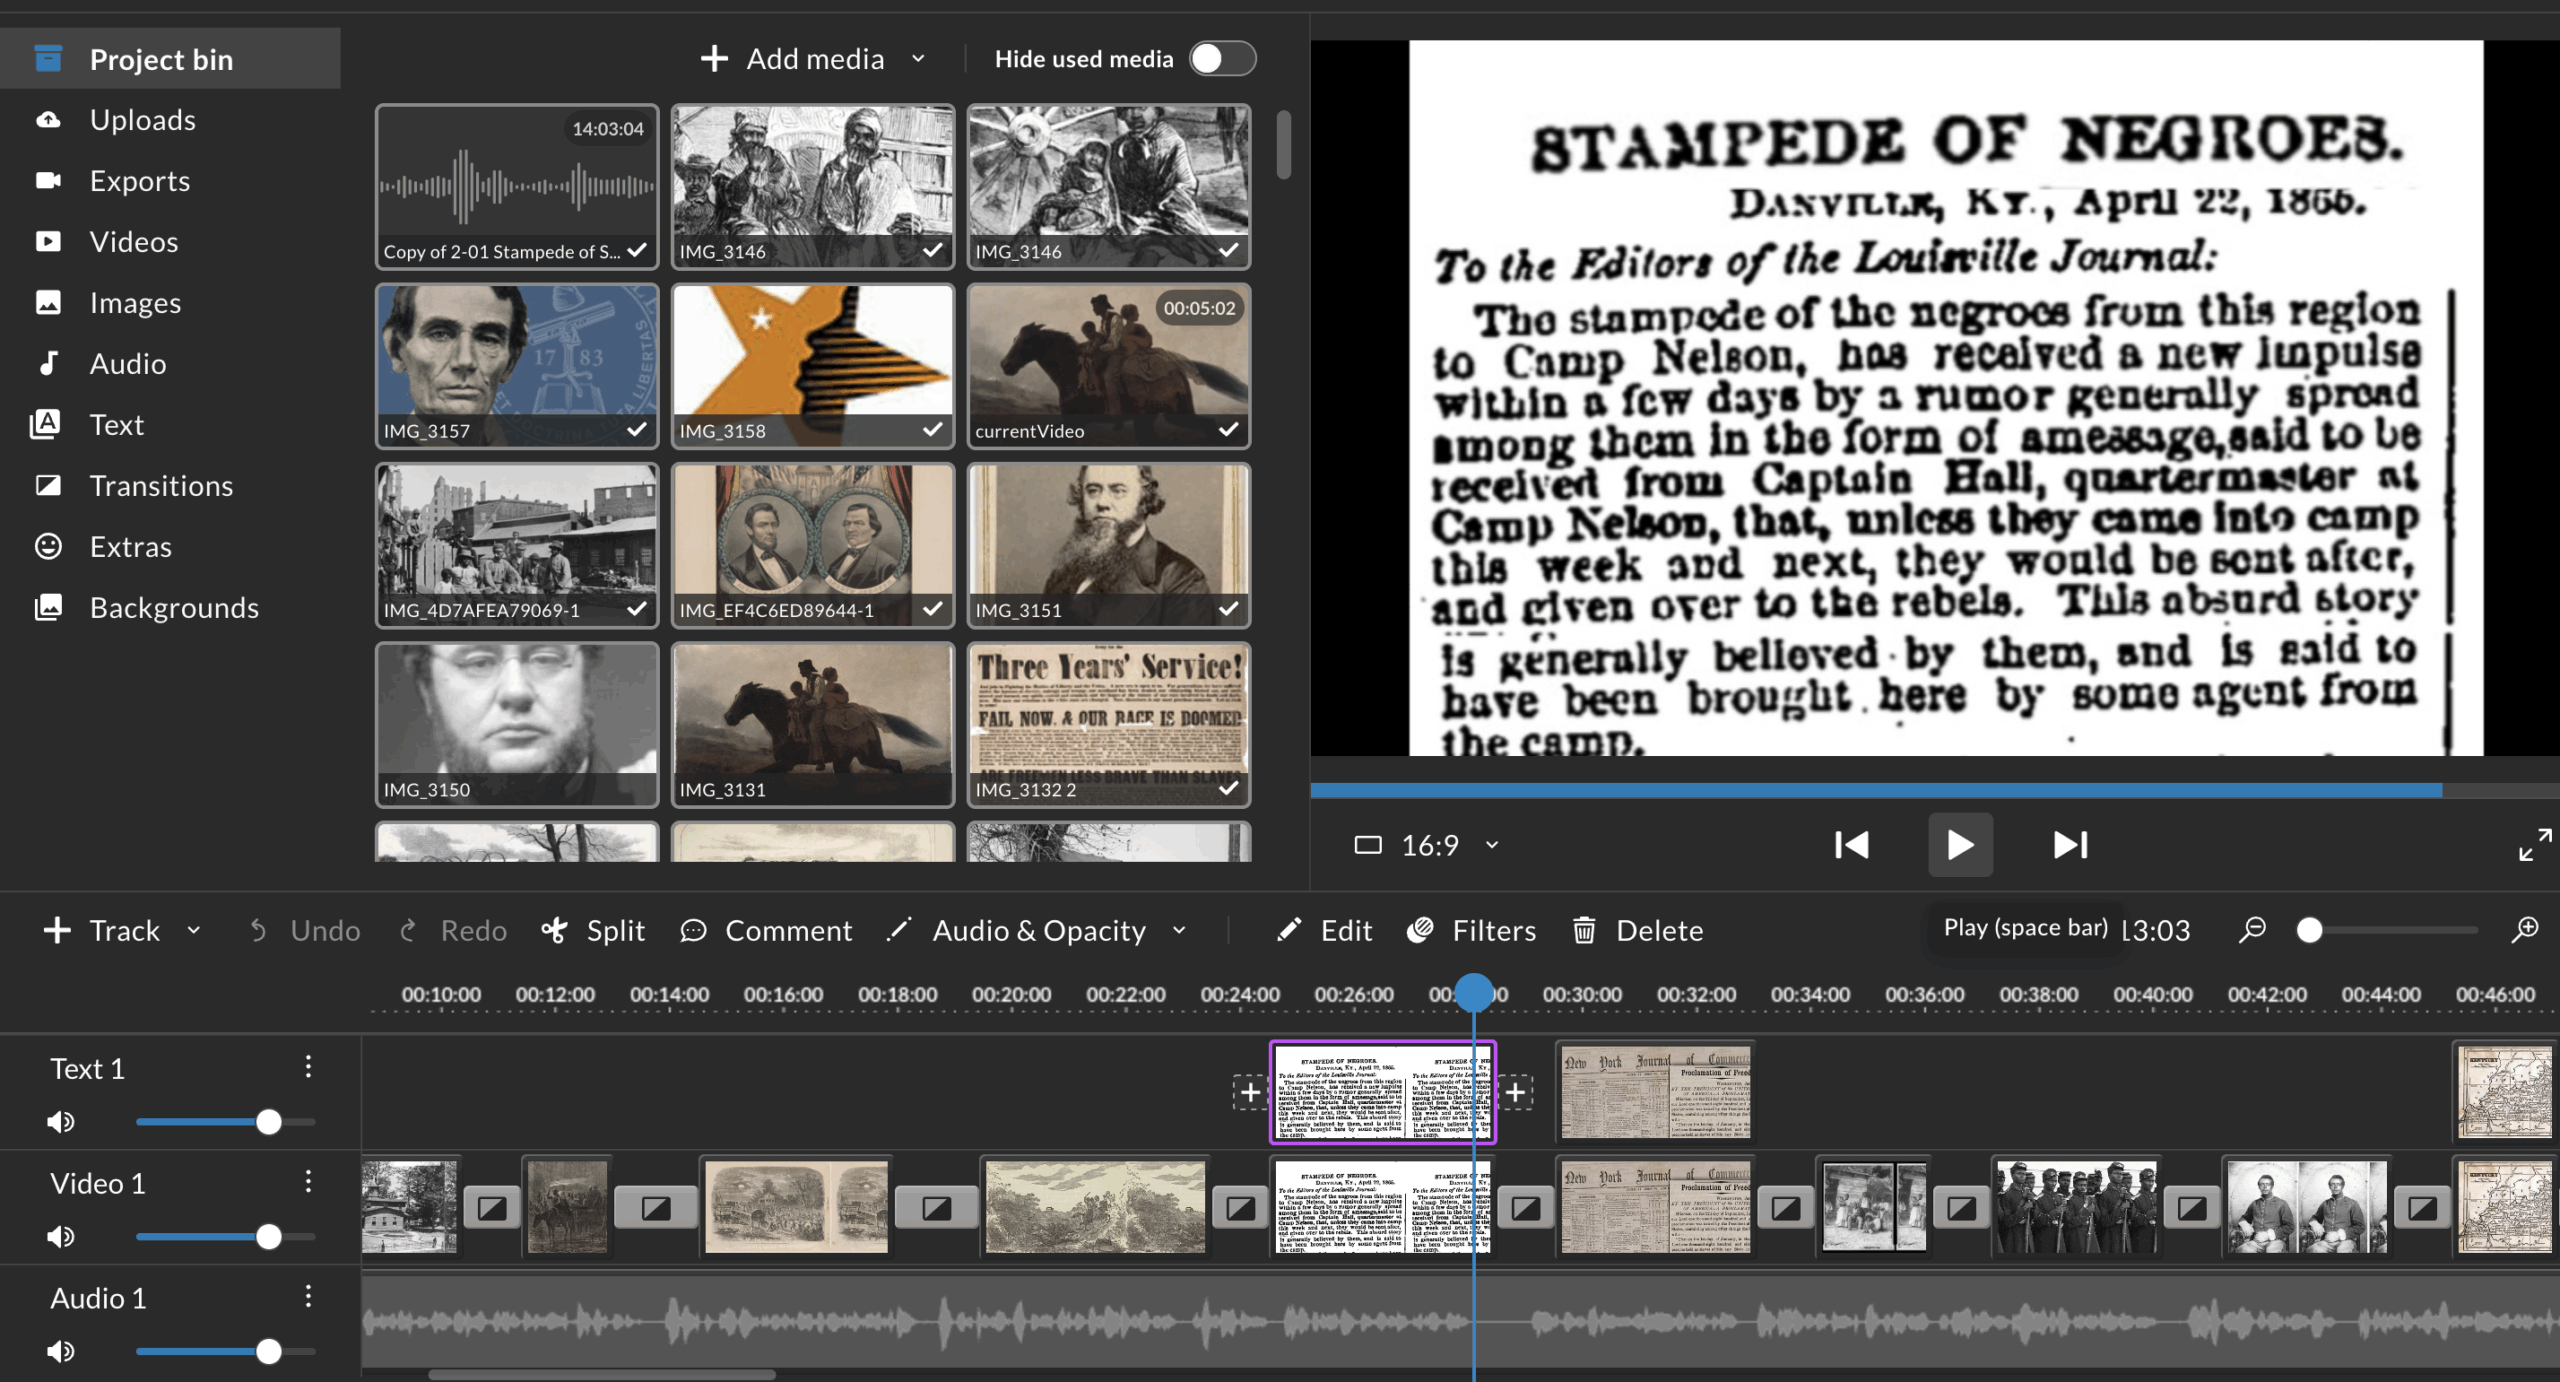
- You can also use Vimage to add simple animation to images. Effects “Zoom” or “Layered Foreground” (located in the 3D Parallax section) will scan the image, locate the key figures, isolate them from the background, and have the two layers move separately from each other. I normally have used this with images that already depict “action,” like the illustrations found on the Slave Stampede website.
- With both of these above options, make sure to crop out the watermark at the bottom of the finished product!
- If there is a keyword or phrase in a letter, poster, or newspaper (for example, the headline of a newspaper), you can gradually enlarge it. Add the image like normal to the video, but add an additional video/text track above. To this track, add a version of the document cropped to just the words you want to highlight and position it over where the words were in the original document. Go to the animation settings and make the words grow gradually in size. Make sure they don’t end up overlapping with another word.
- You can also modify the above directions to layer different images. Play around with adding transitions and animation to the image added above to add additional movement.

- It is also fun to add a “Page Turn” transition between pages of letters, newspapers, or other documents.
- Sometimes it can enhance your video to add extra information/a caption. I did this for my Frances Harper video; although I wanted to include context on her grave, I couldn’t start talking about something completely new after finishing the poem. If you feel like there is a certain part of your narration that you want to highlight, you could also add that to a text box. Try to keep the font/color somewhat simple, and feel free to add a transition to the text.
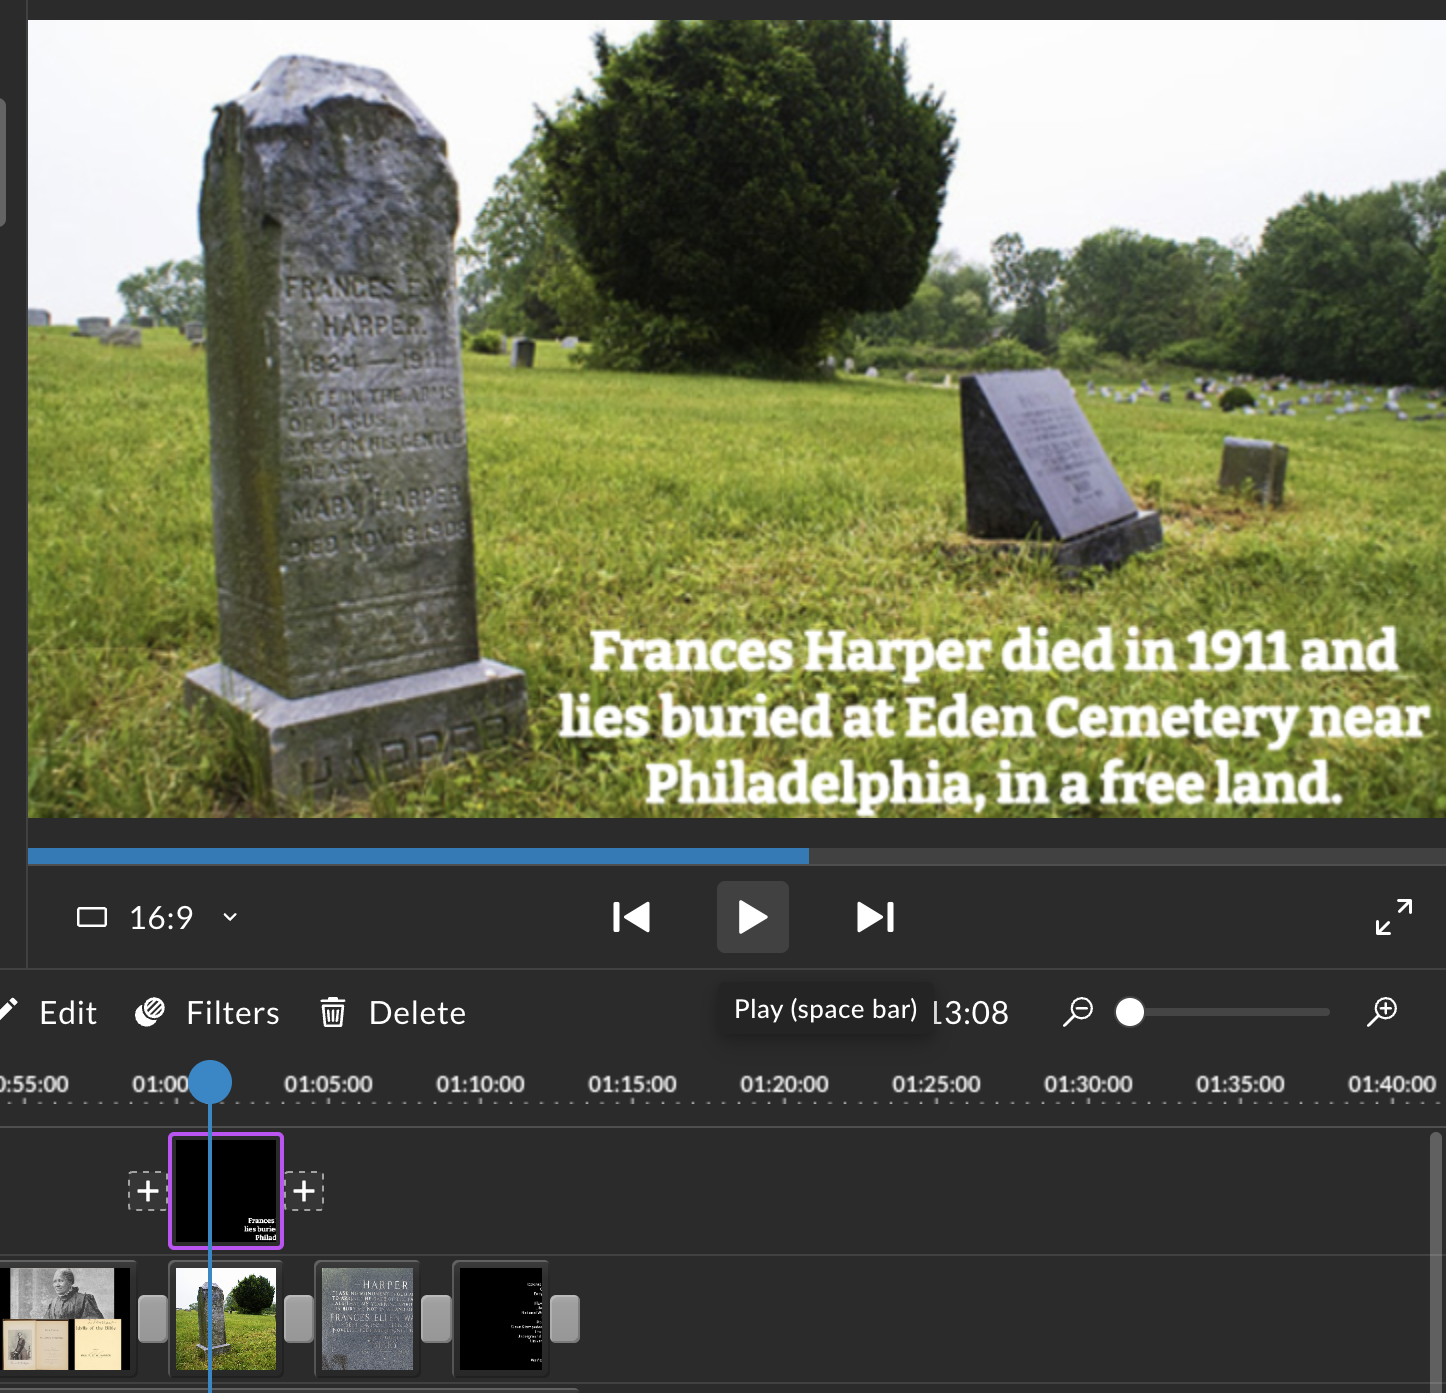
- Don’t be afraid to have a few extra images or videos after your spoken audio is finished. Think carefully about what the lingering effect should be. For example, for the video I did that narrated Frances Harper’s poem, I added a few images of her published works, her at different points as she aged, and her grave. This helps to draw out the fact that even though Harper didn’t know at the time of writing the poem if slavery would ever end, she was eventually able to live in a free land. This also gives you an opportunity to add some more information with a caption.
Leave a Reply